I get asked often about my photos and what I am doing to edit them. Spoiler alert! I use my own presets – wink. This probably comes as no surprise, but I thought I would walk you through how I edit my photos and just how easy it really is. Because unless you hang out with me on Instagram, you might have missed me walking through it step-by-step. So let me walk you through how I’m editing my photos these days!
First off, when you purchase my preset pack, you receive a complete step-by-step walk-through of how to download your purchase and install them onto your phone utilizing the free Lightroom Mobile app.
Then, it is literally as easy as one touch. So, let me walk you through how I edit my photos using some photos I took back in January after this season’s snowstorm.
Step 01: Adding my photos into Lightroom for editing
To add your photos into the Lightroom mobile app, you will first want to tap the three-dot icon in the upper right corner. This will pop up a sub-menu and you then want to select ‘add photos’.
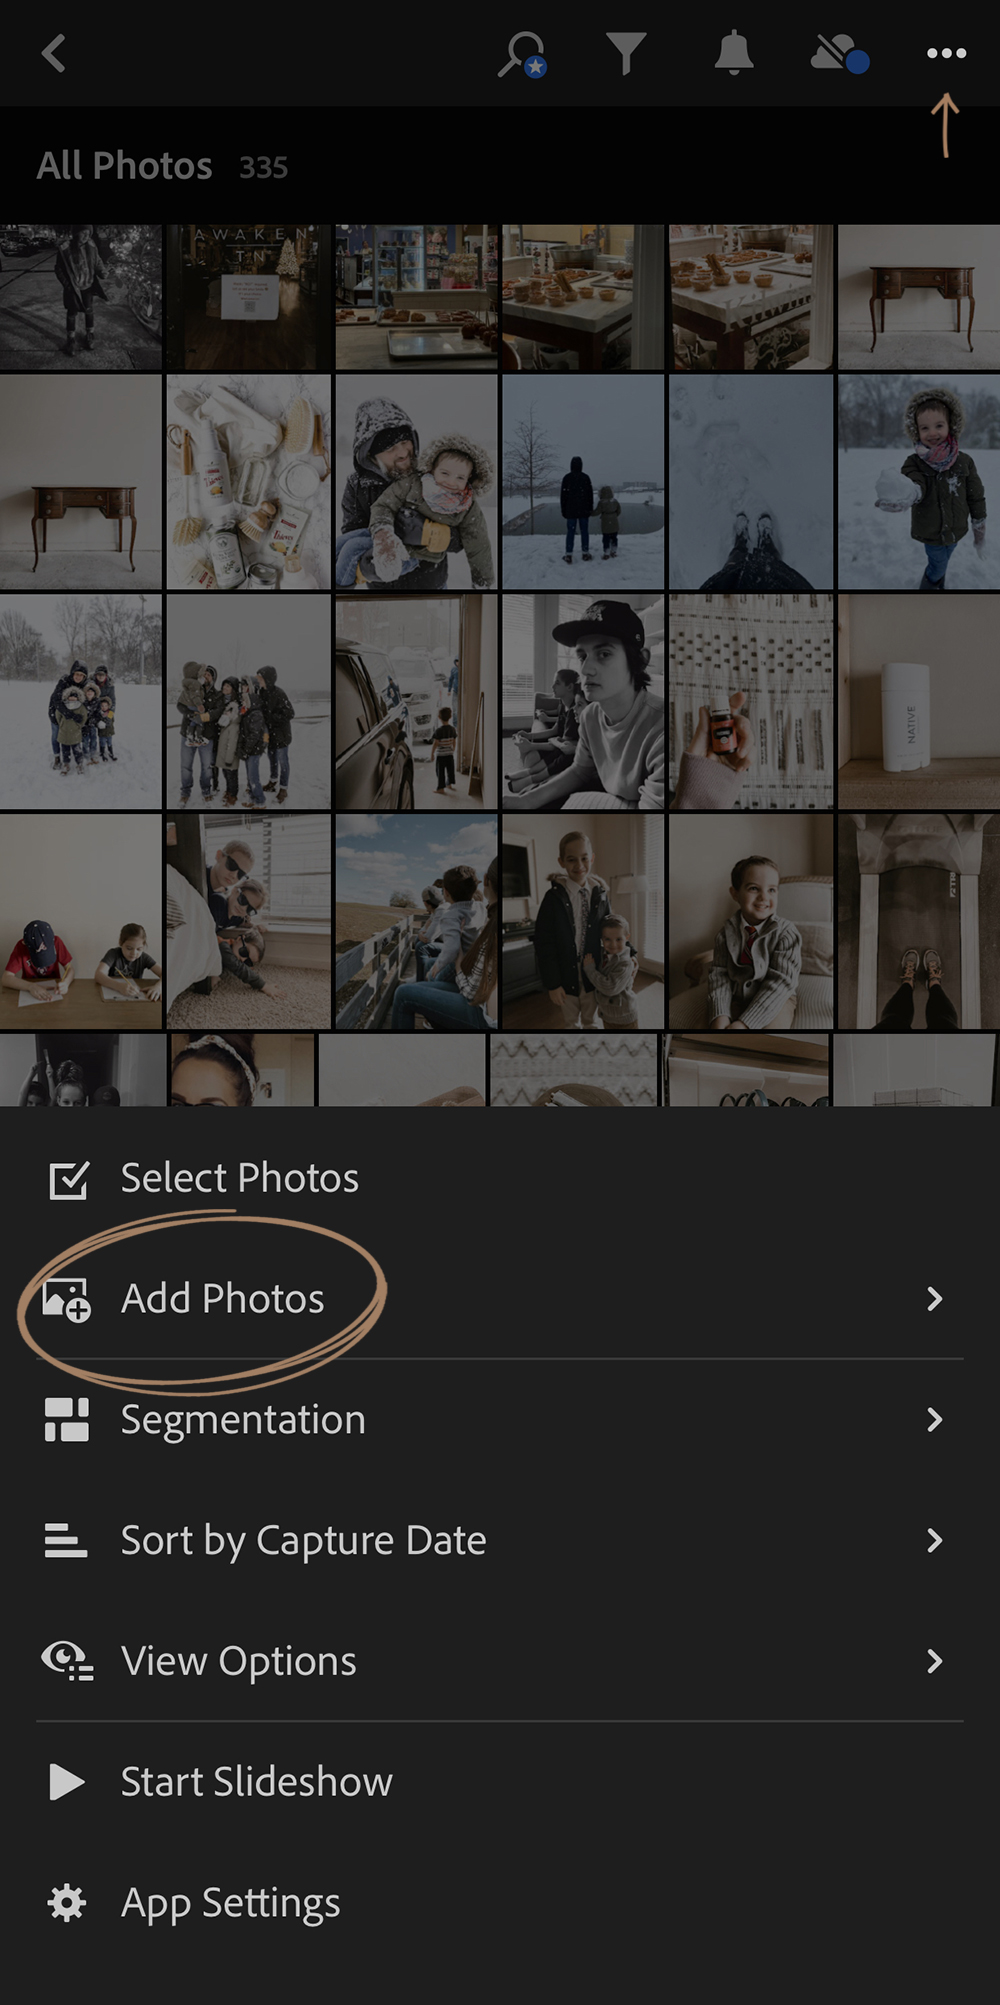
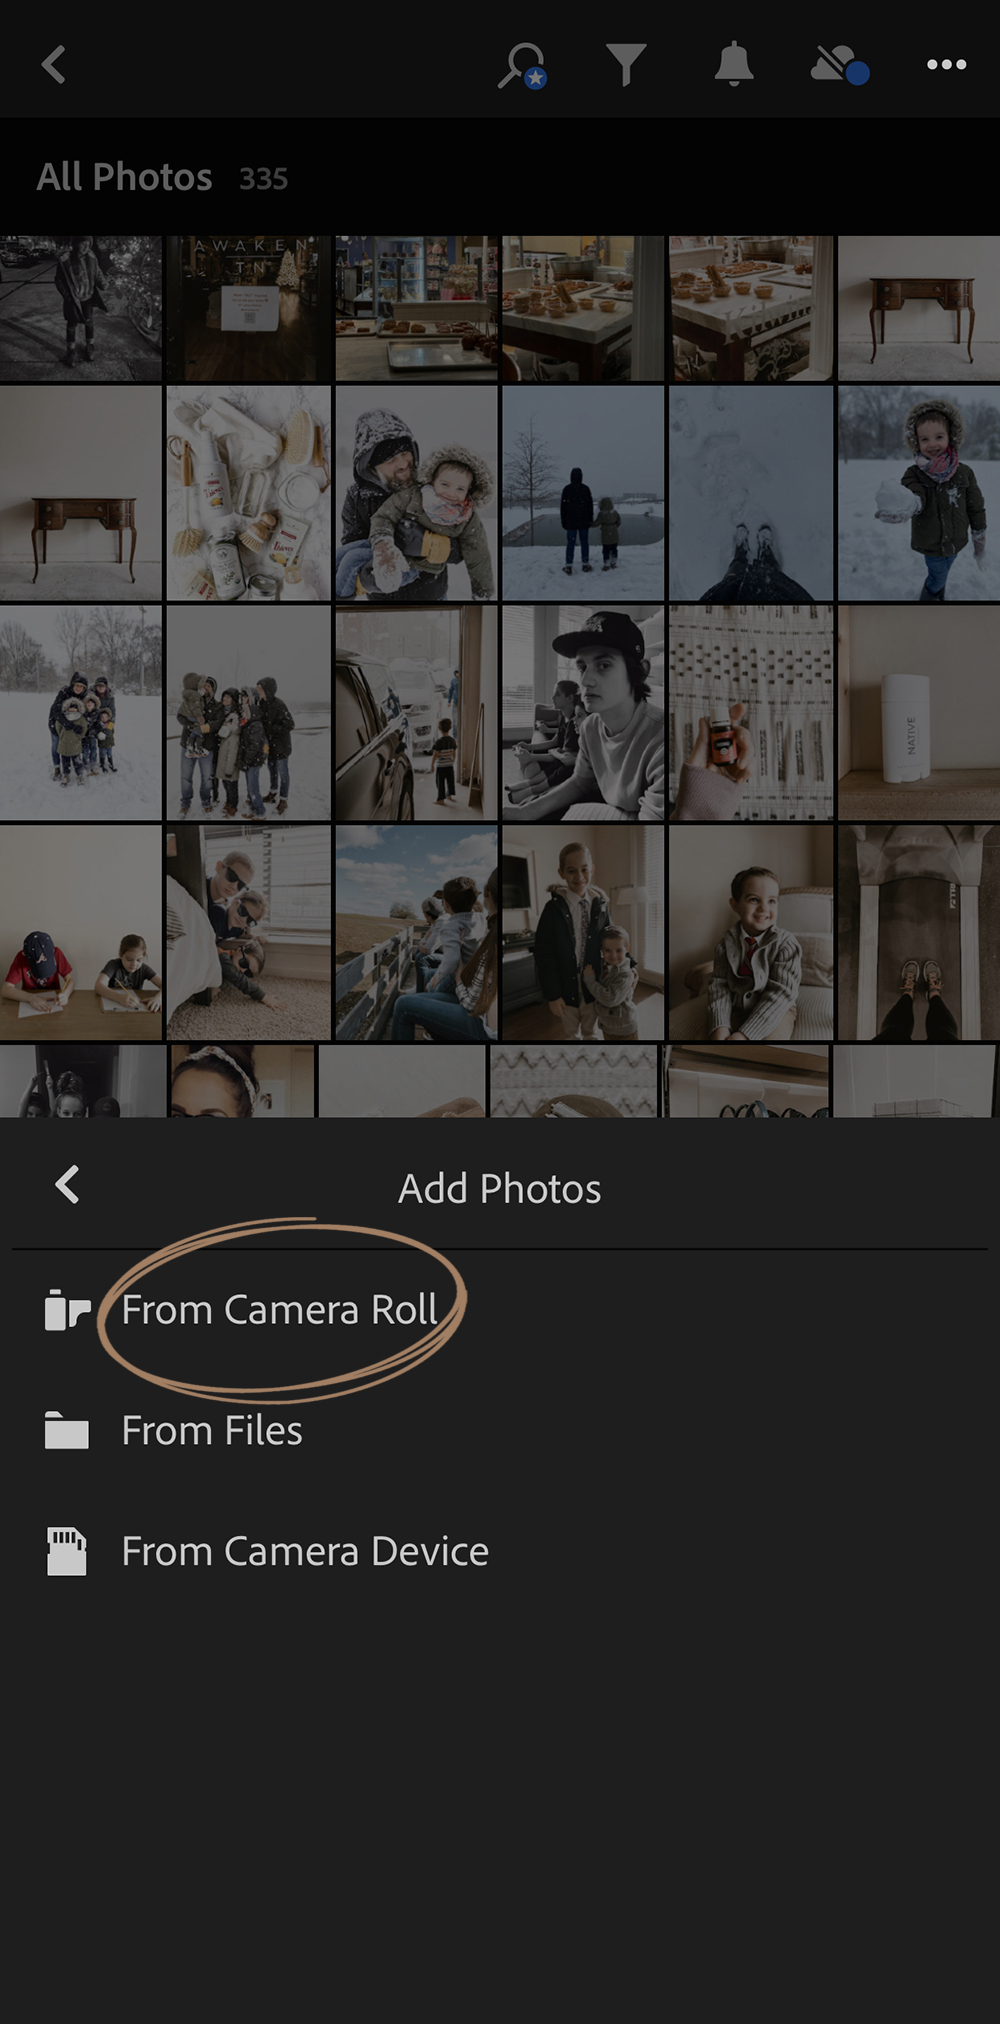
Once you have tapped ‘add photos’, the submenu will refresh and you will then want to select where you are importing photos from. For me, I am always pulling from my camera roll.
It will then display your camera roll and your latest photos.
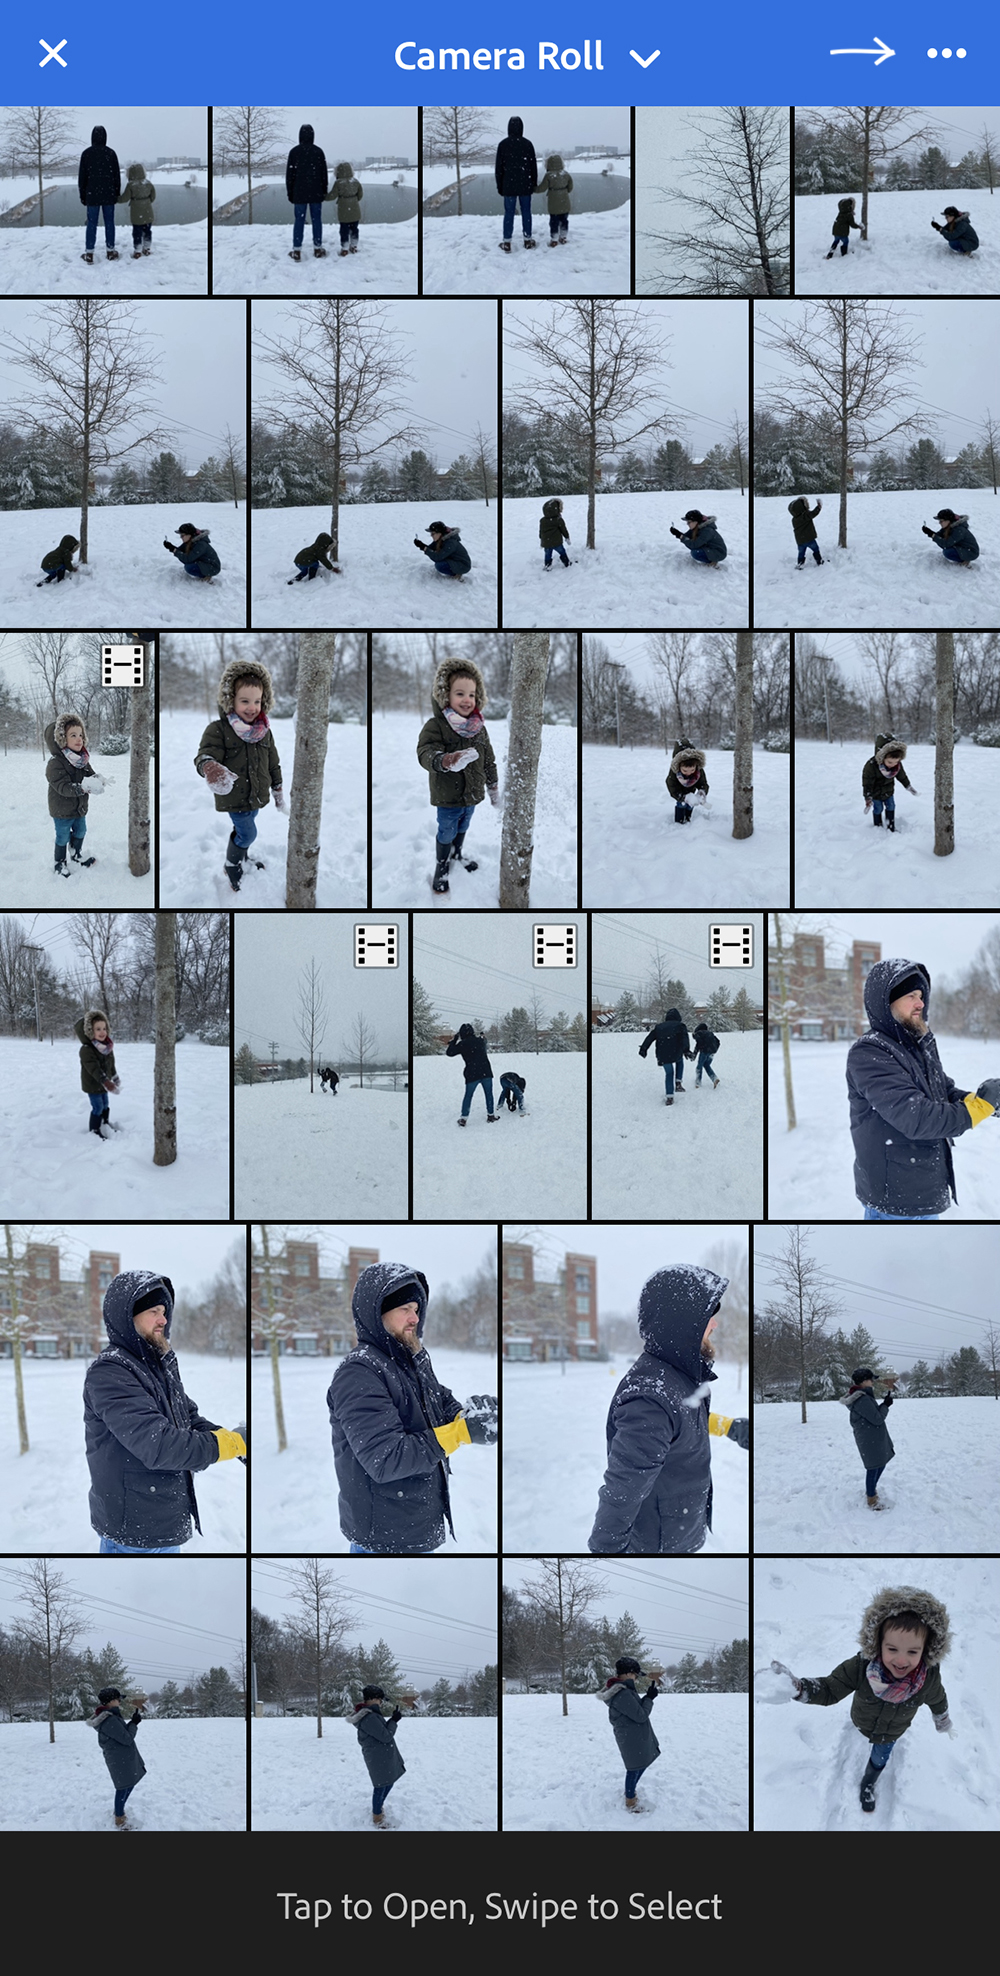
To make it easy to import a handful of photos, you will want to tap that three-dot icon in the upper right corner. Then, from the sub menu that pops up, check ‘select mode’.
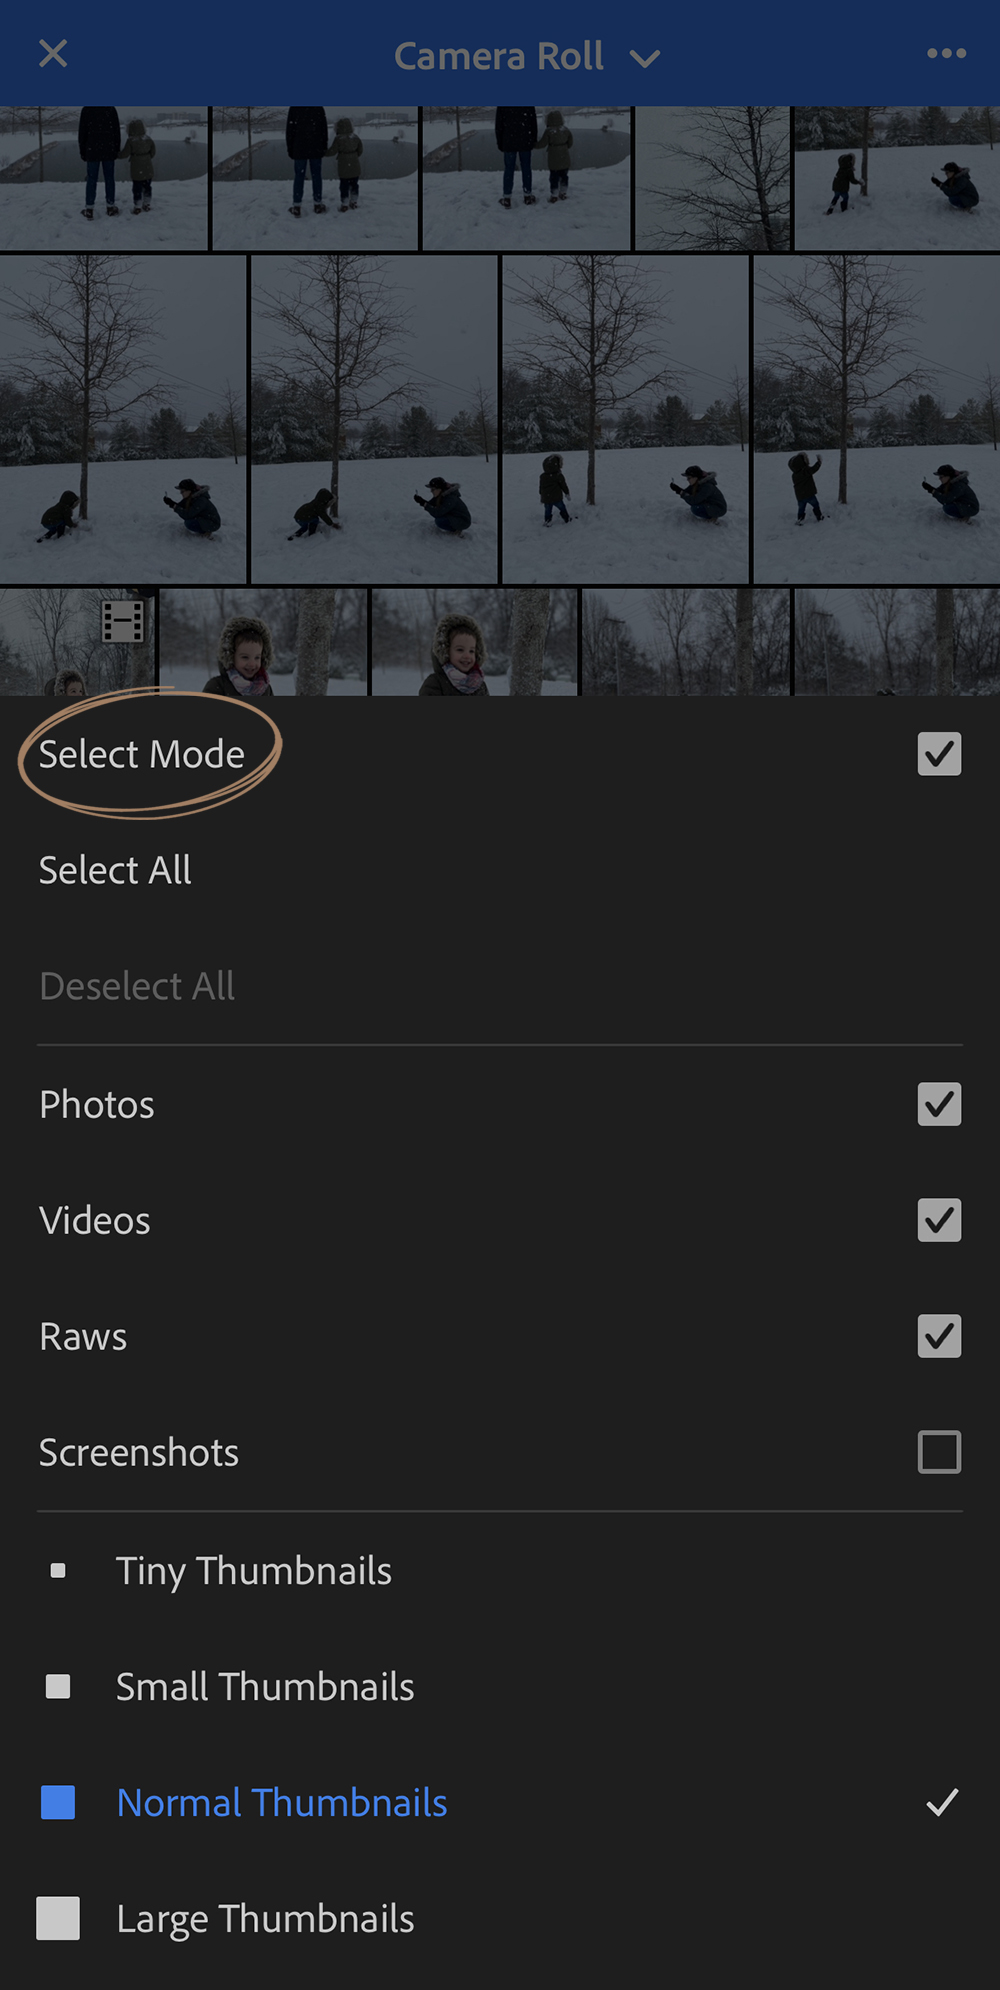
From there, you will be able to tap all of the photos you would like to import into Lightroom Mobile.
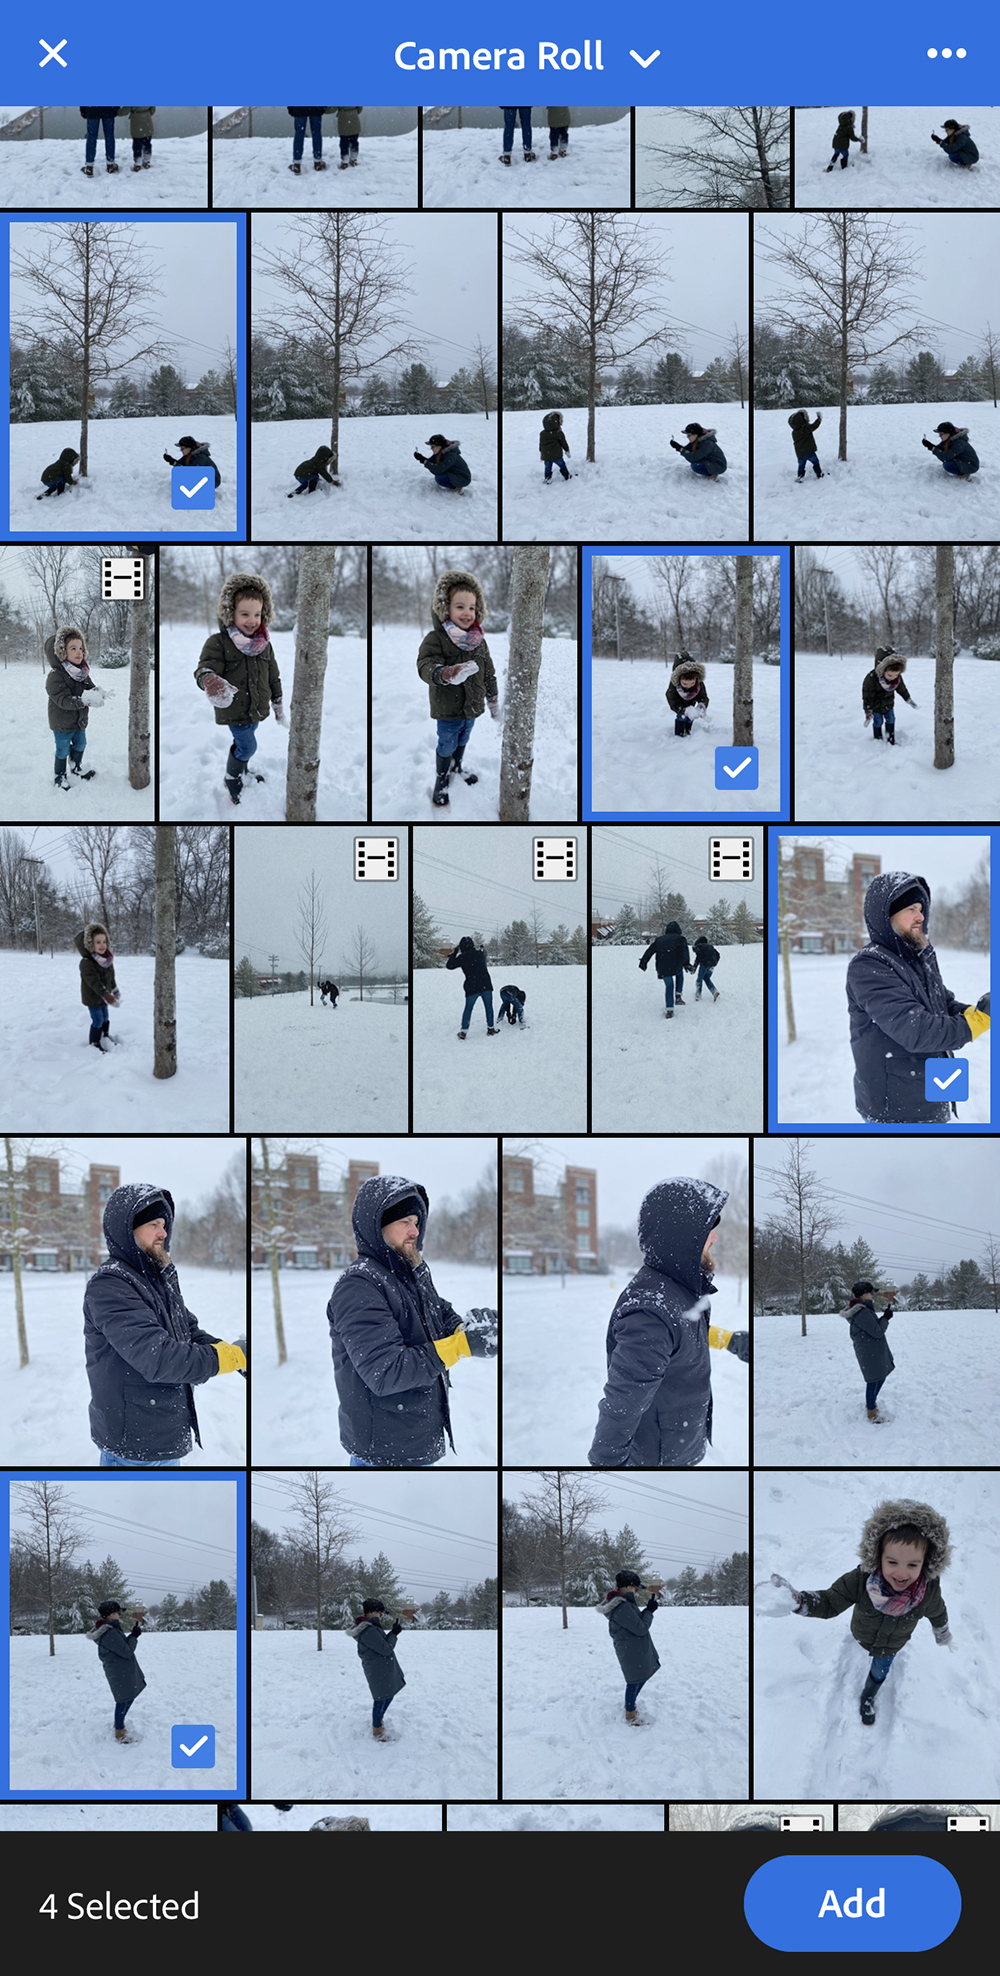
Step 02: Choosing the right preset for the photo
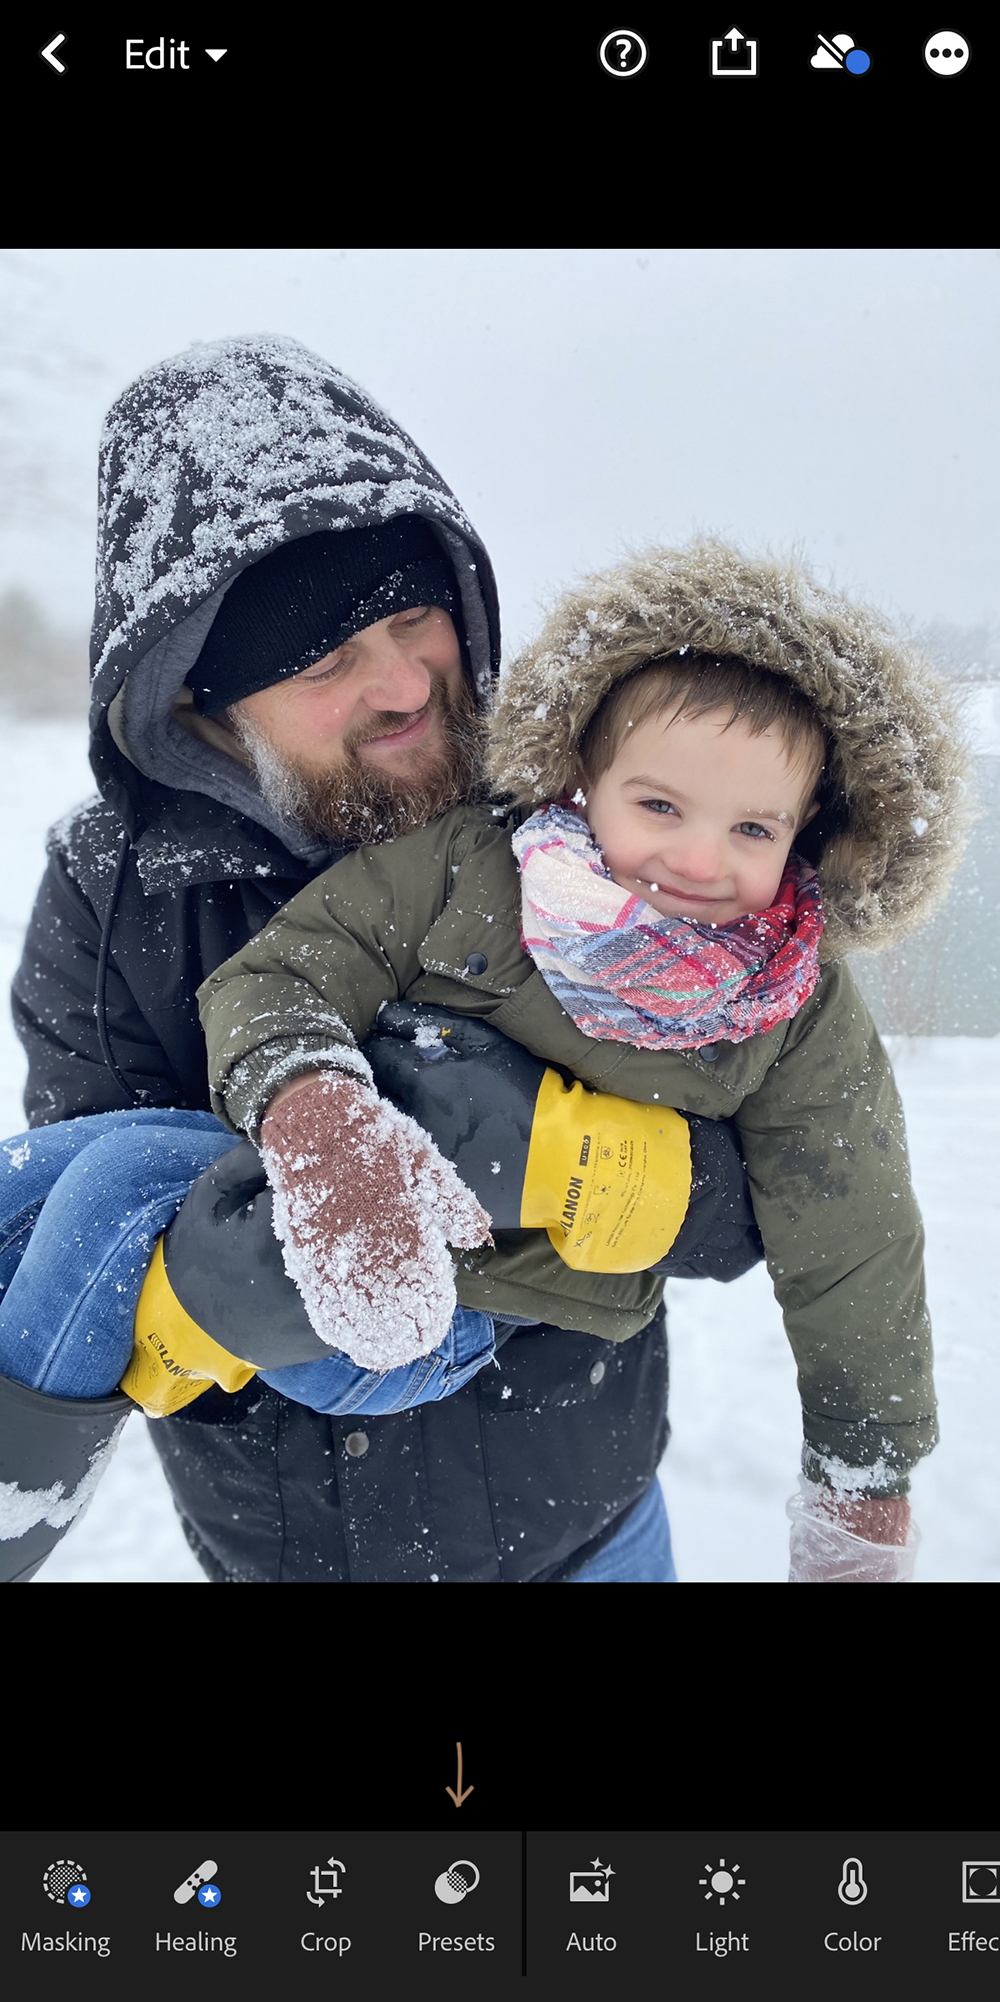
I am going to start with this photo to show you how easy I make to edit my photos on myself. Because, let’s be honest, us moms need to be busy doing other things, right? Right.
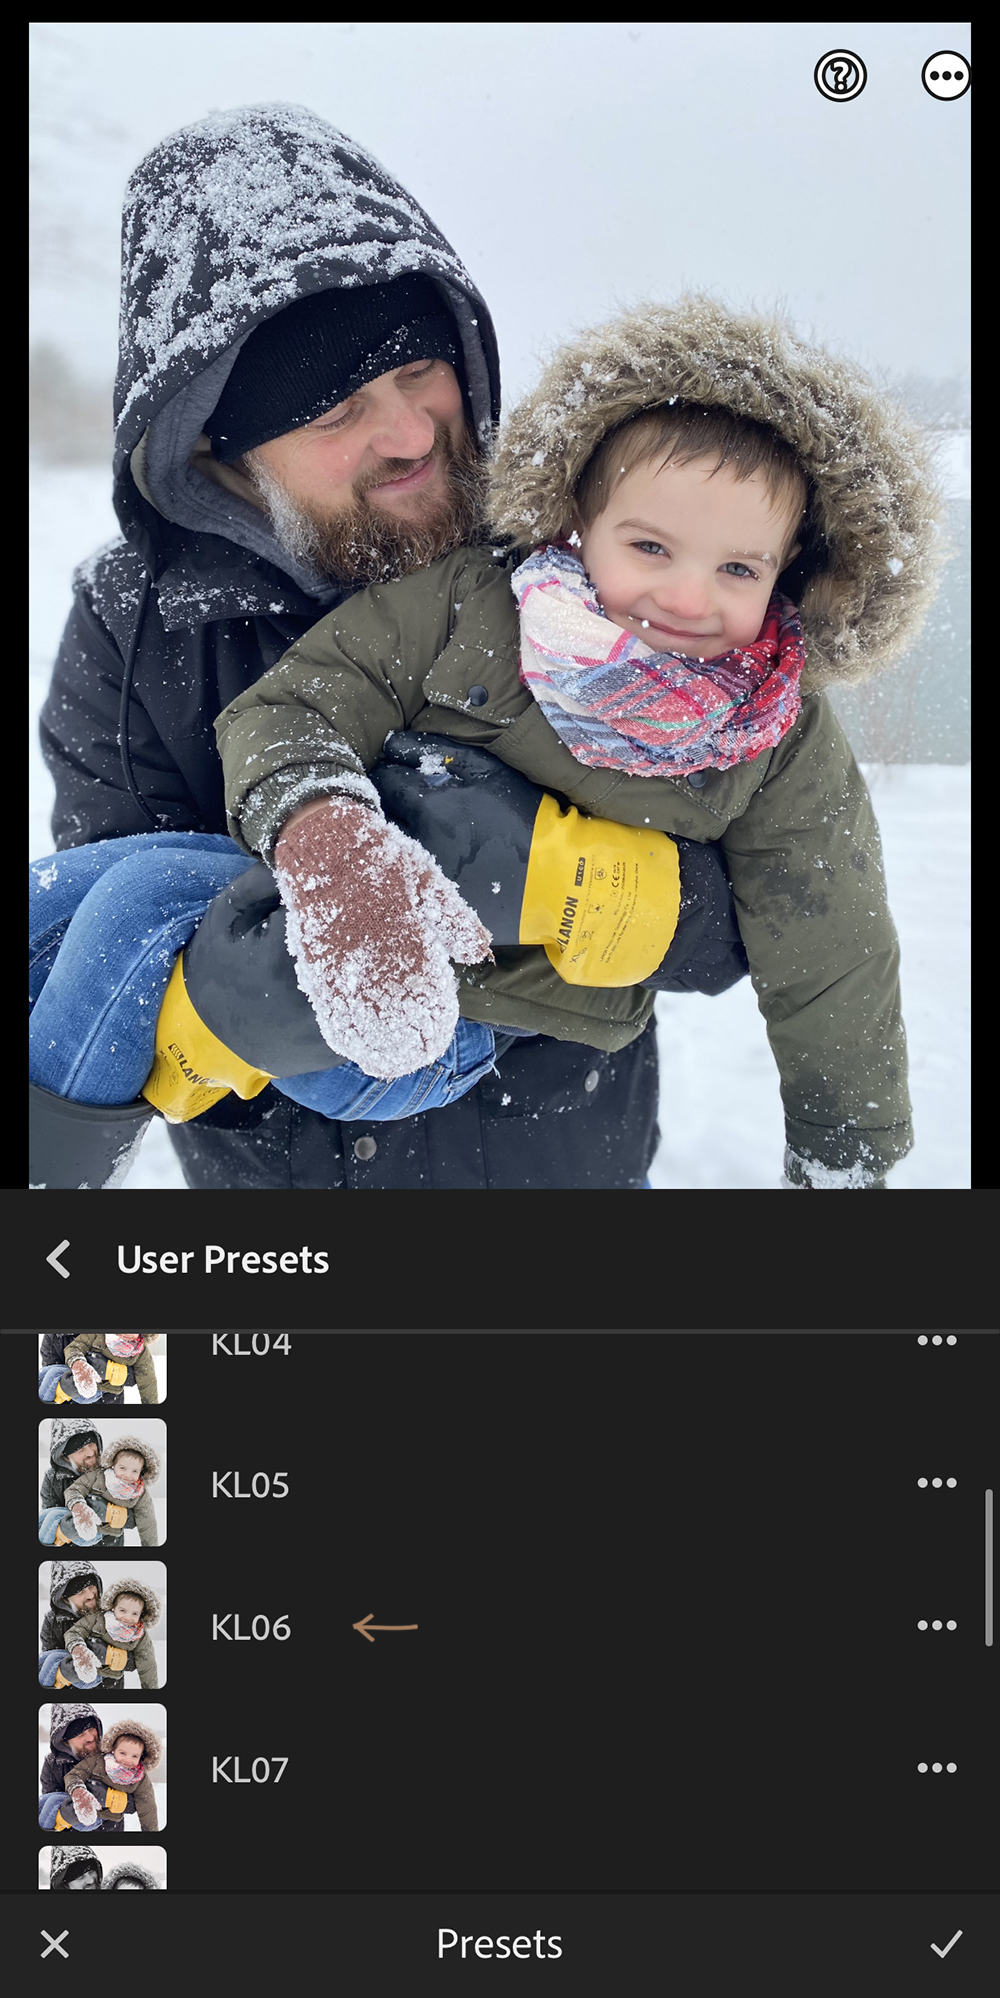
To do this, I am going to tap ‘presets’ down at the bottom of the screen. This is going to pull up the pre-loaded presets I have already installed into my Lightroom mobile app. Again, remember, when you purchase my presets I walk you through how to get these set up!
For this along with my other photos, I am going to use KL06. I love the finish of this preset! It bumps the contrast a bit while also muting colors just a touch for more of a neutral aesthetic.
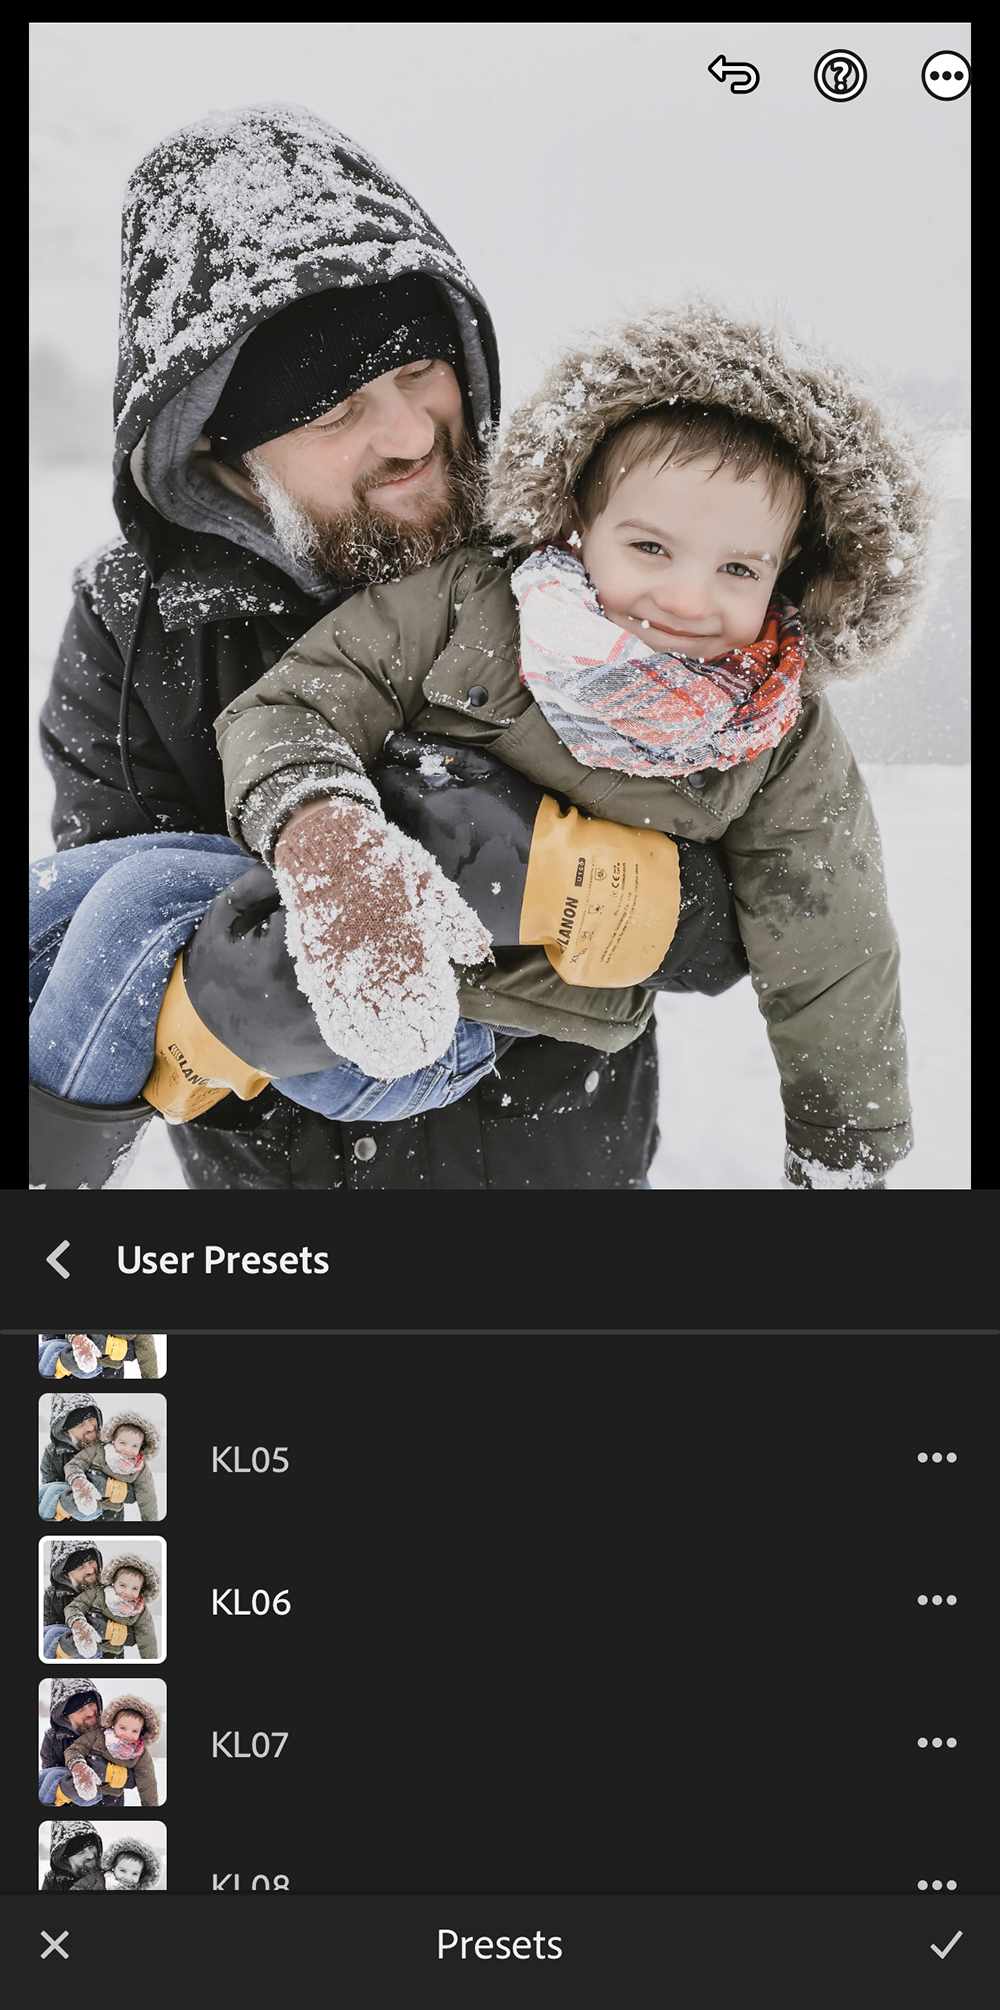
Once you are happy with the preset selection, you just want to make sure and tap the check mark in the bottom right corner to save the changes. And I kid you not, this is one-tap editing. And I kid you not, I did nothing else to this photo.
The Before and After
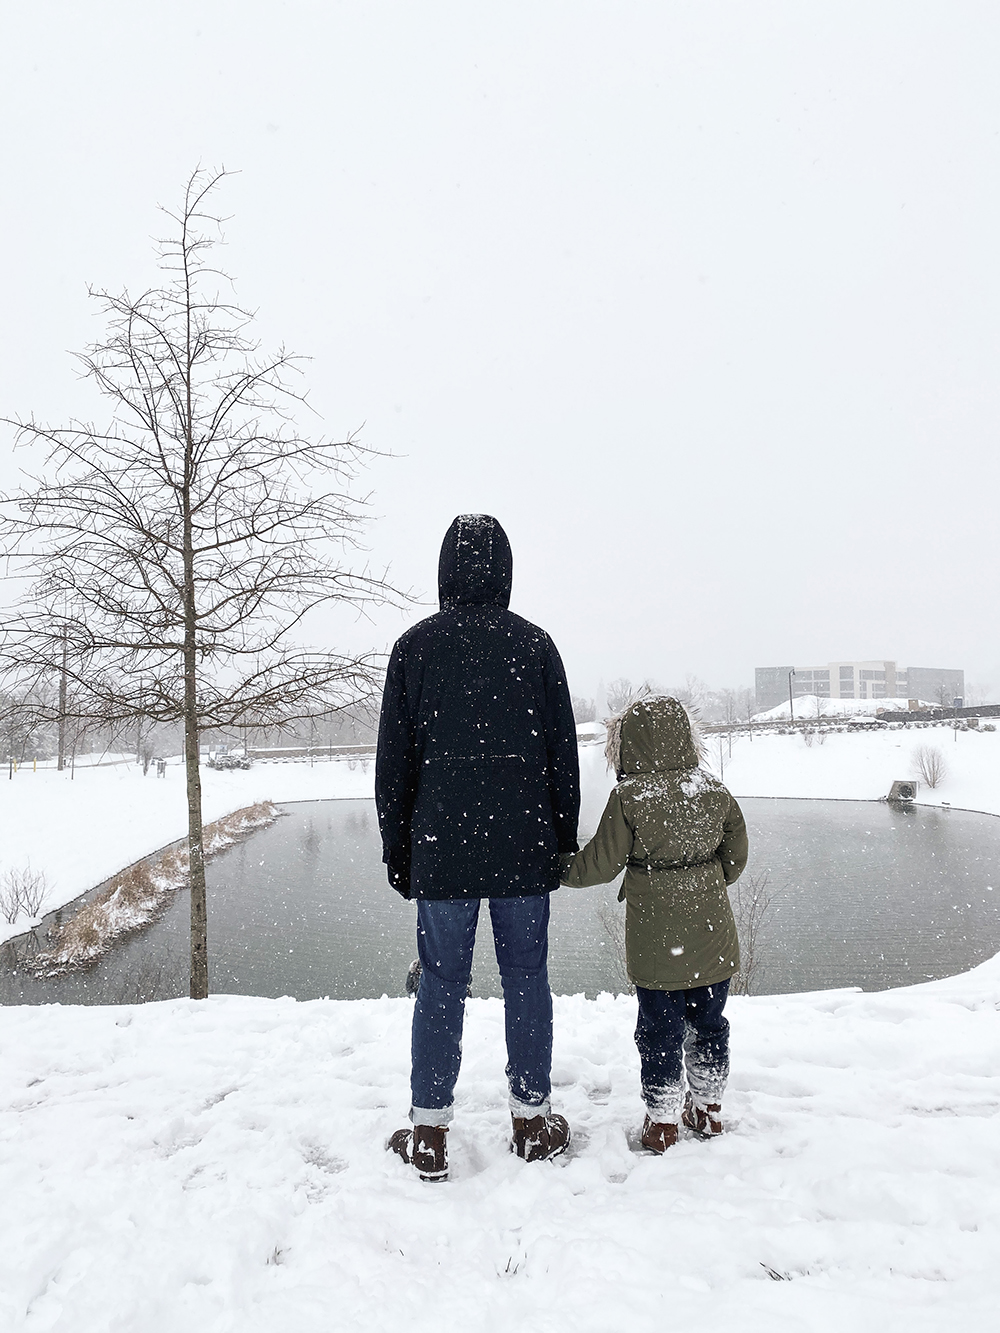
Here is the before and after for you to see the comparison from the original to after using my KL06 preset. Isn’t that awesome?! It still puts a smile on my face every time.

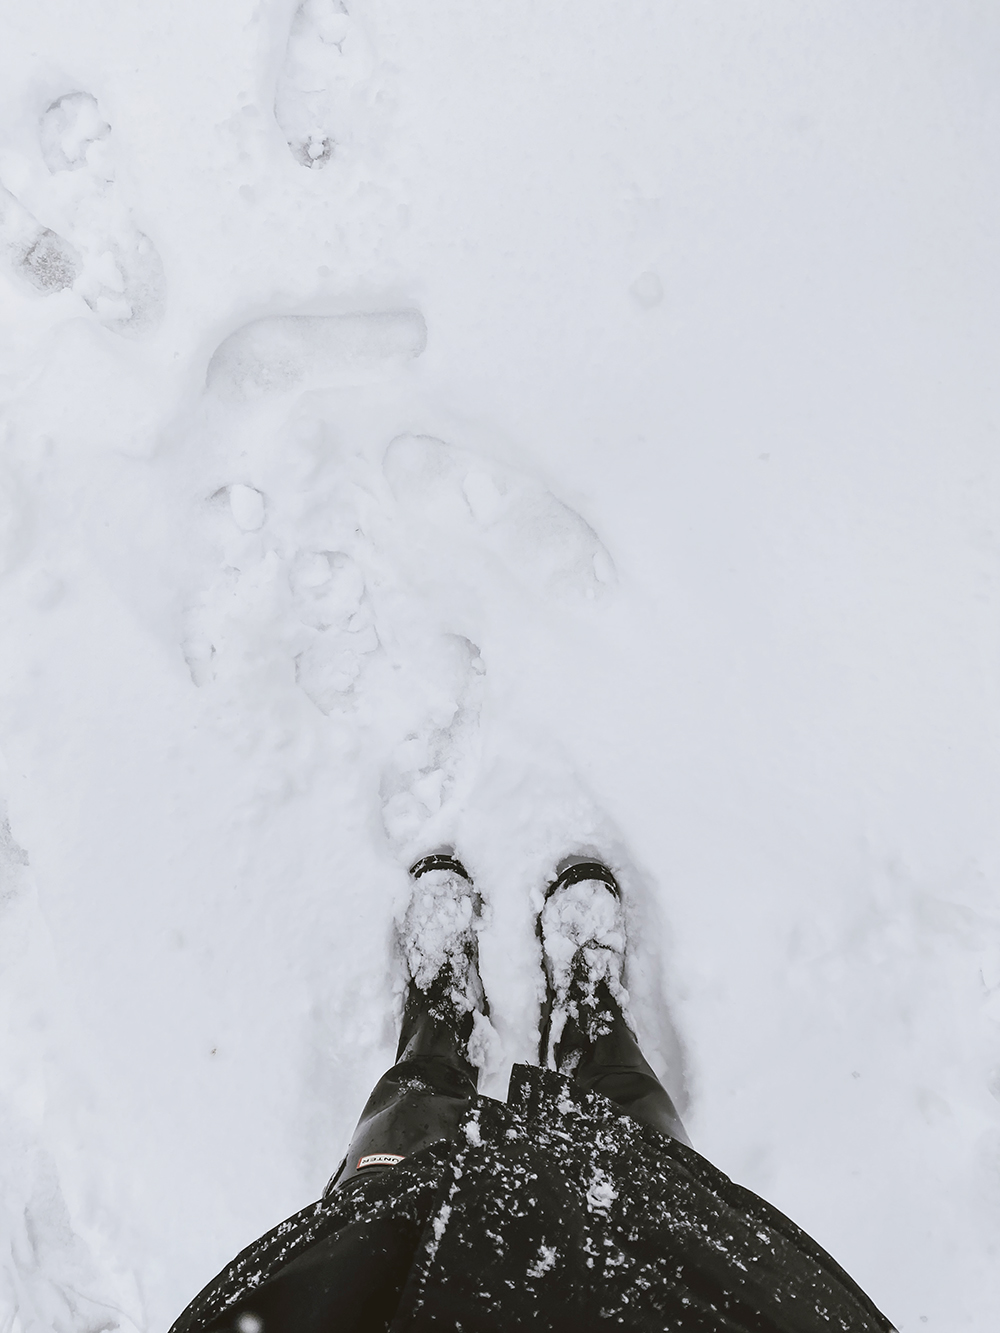
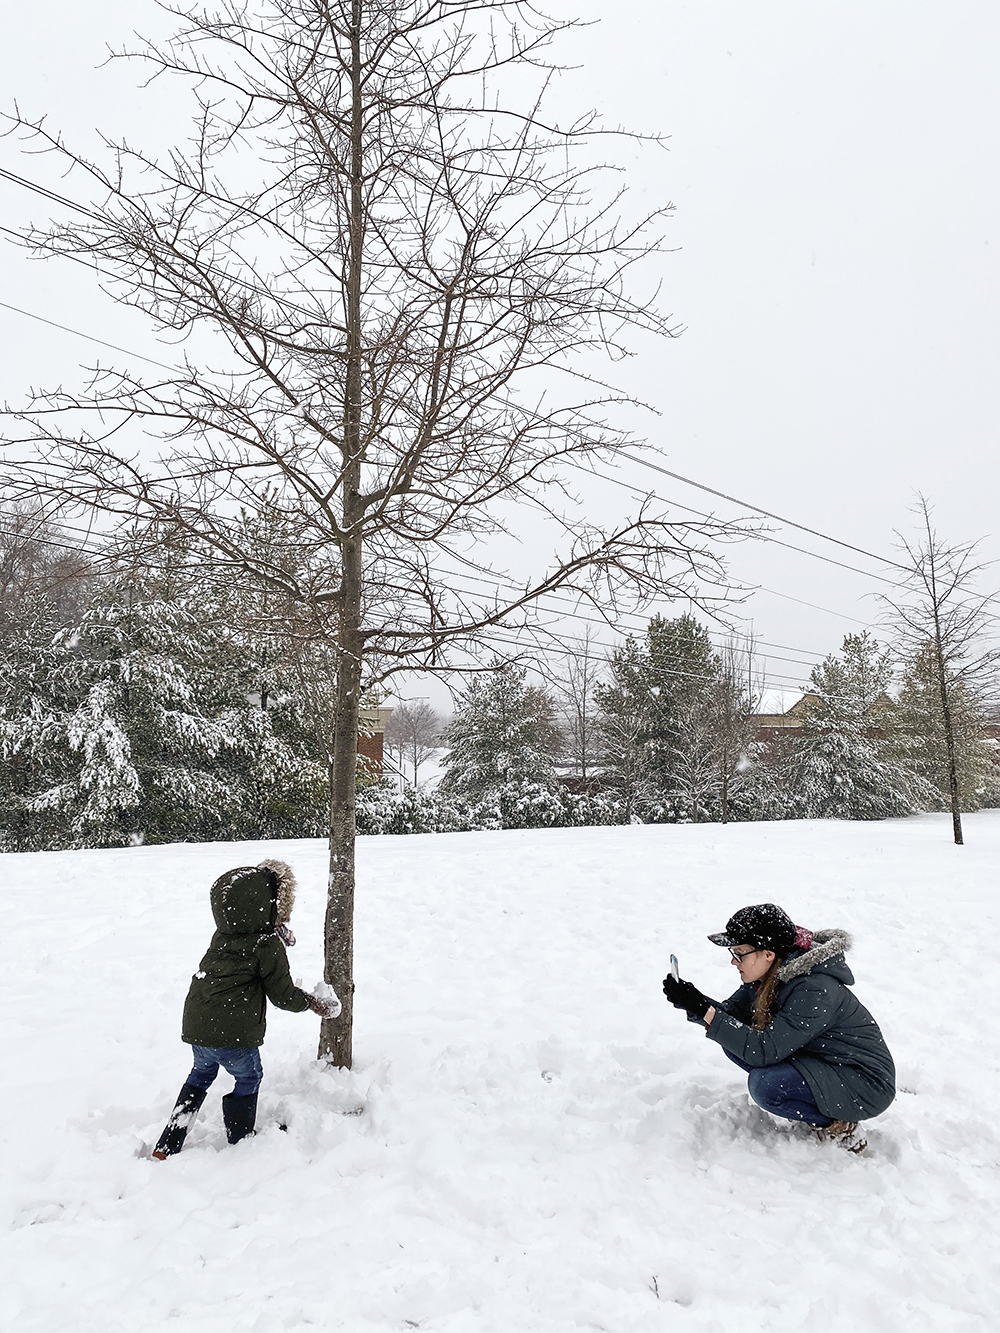
I figured I would share some more of our snow day photos after editing. I’m loving how they turned out!





For more documenting tips and previous posts, click here.
And if you haven’t yet jumped in to enjoy my mobile presets, you can grab them for yourself right here!
I also was able to grab some video and you can take a peek into all of the snow fun over on Instagram right here:
View this post on Instagram
Do you like using presets to edit your photos? Or do you prefer the complete DIY approach?





March 15, 2022