Navigate
Shop
Brand
Elevate your inbox
SUBSCRIBE NOW


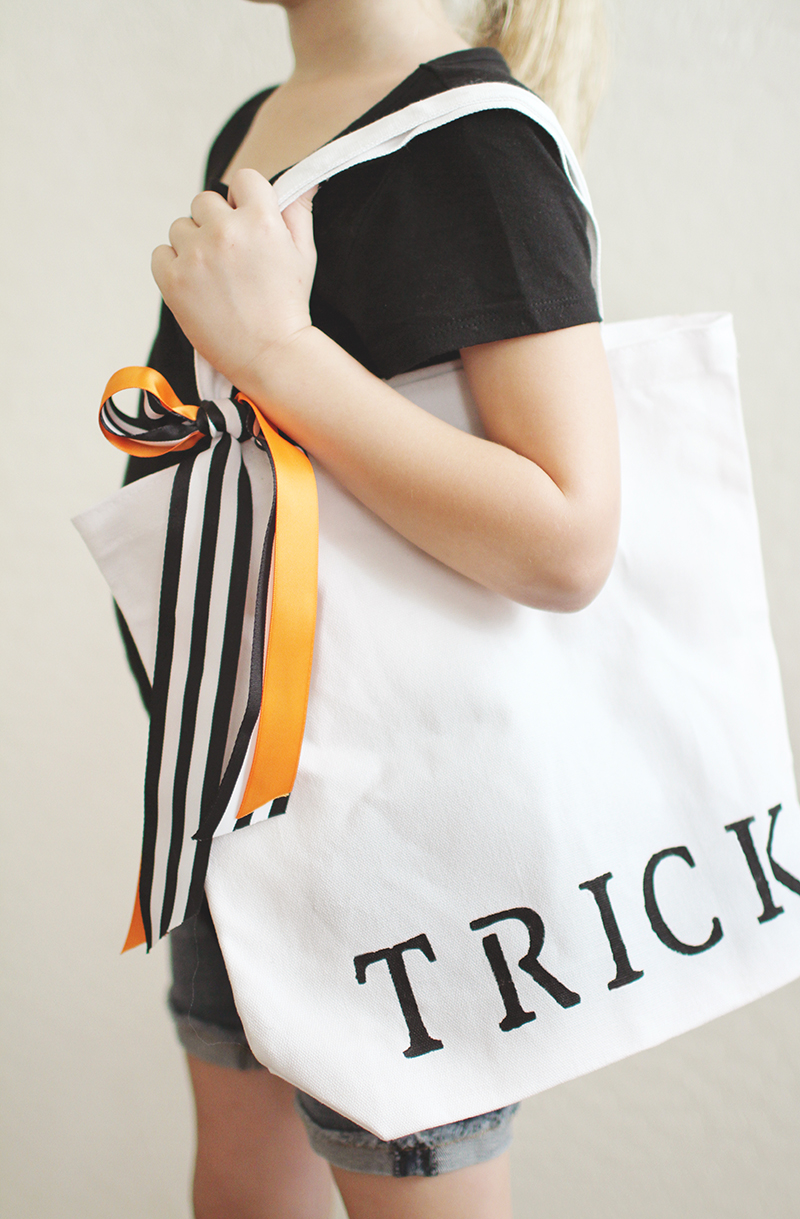
I never really cared for those orange plastic pumpkins that we have all been seeing since our childhood. Mostly because, with little ones and tripping over their costumes, if the pumpkin is dropped you find yourself in the middle of the street scrambling to gather all of their precious treats back into their pumpkin. The cheap and ever-so-classic pillow case is fabulous for keeping this from happening, but little ones have a hard time with the size of them and instead of tripping over their costume they will be tripping over their trick-or-treat bag. The solution? A DIY Halloween tote.
Smaller and collapses when accidentally dropped which keeps their treats safe and still in their bag. And they are pretty darn cute, but of course, not too cute for the older ones who need the “cool” factor. I have a munchkin clan of four and it took me no more than an hour to complete all of them. Pretty easy project if you are in a pinch and gathering things last minute for this week’s holiday.
So, let’s get started!
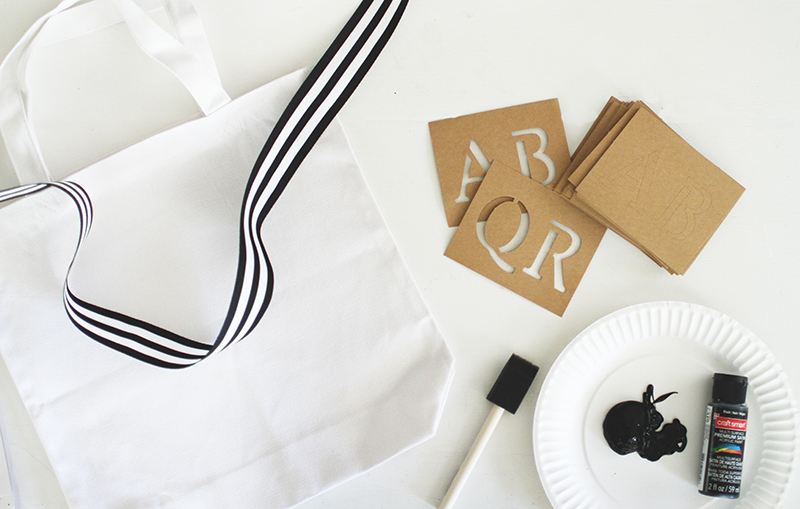
Supplies List:
– stencil set of letters (the ones I used had to be trashed after because they were made of paper, but these plastic ones are great and reusable!)
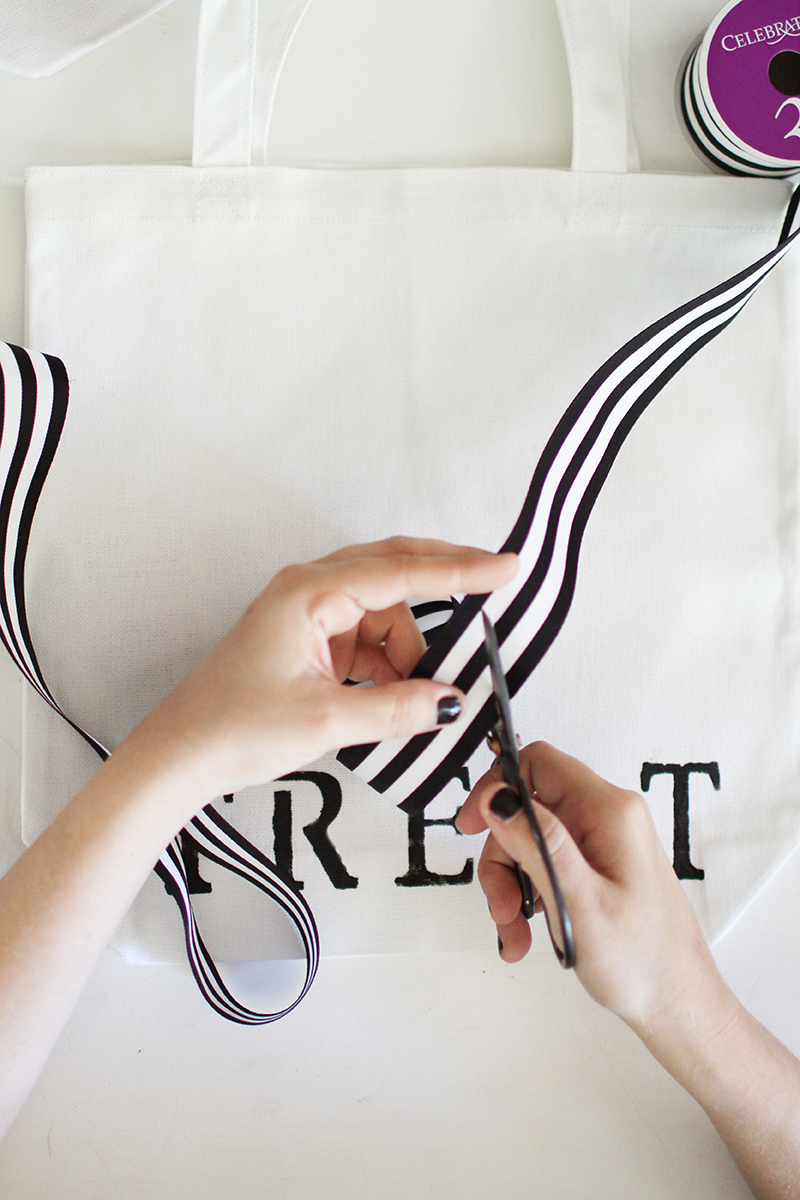
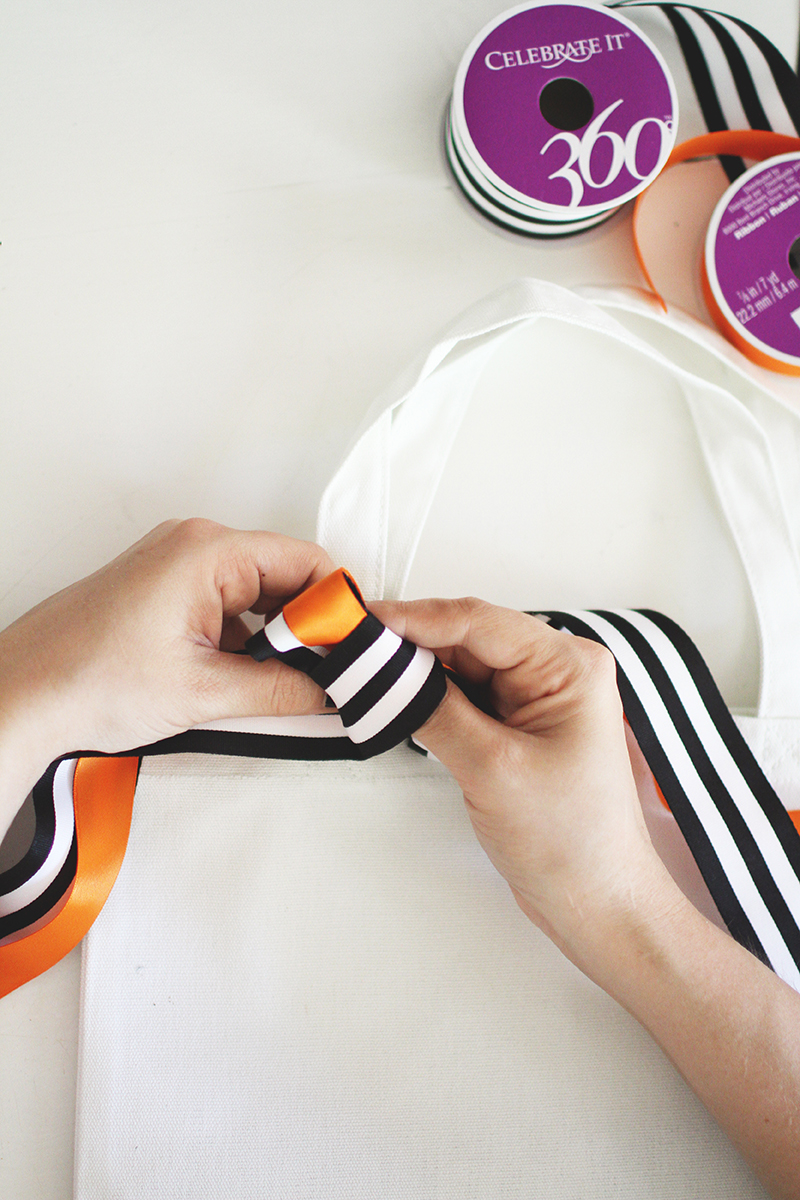
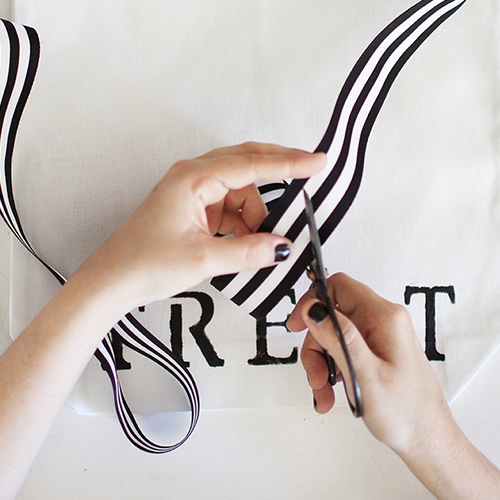
– ribbon of your choice
First, you will want to make sure and slip in a few pages of a newspaper to make sure that the paint doesn’t bleed through.

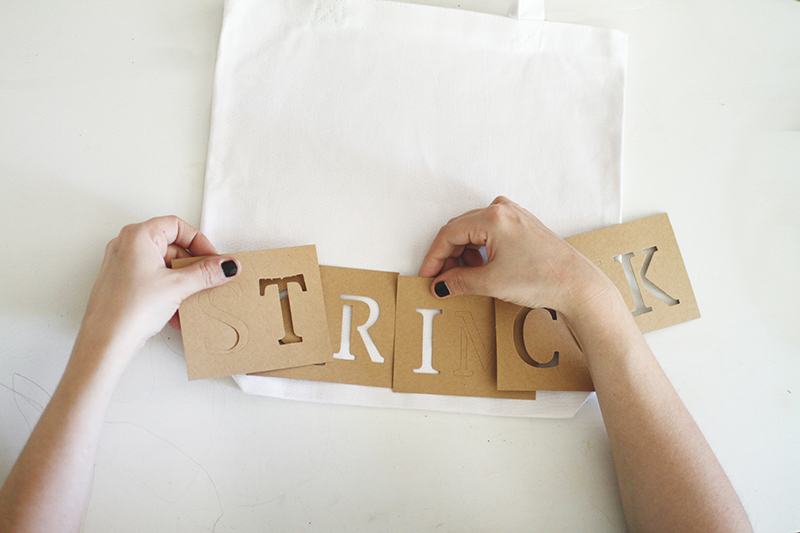
Be sure and lay out your letters first and decide on the spacing. The best way to do this is with a ruler and light pencil marks that can be erased later. Me? I don’t have enough patience. And I seem to have a freakish ability to center things and evenly space things by sight. I can’t seem to keep my clothes off of the bedroom floor at thirty years old, but hey, I can hang pictures without a level so I must be doing OK in life.
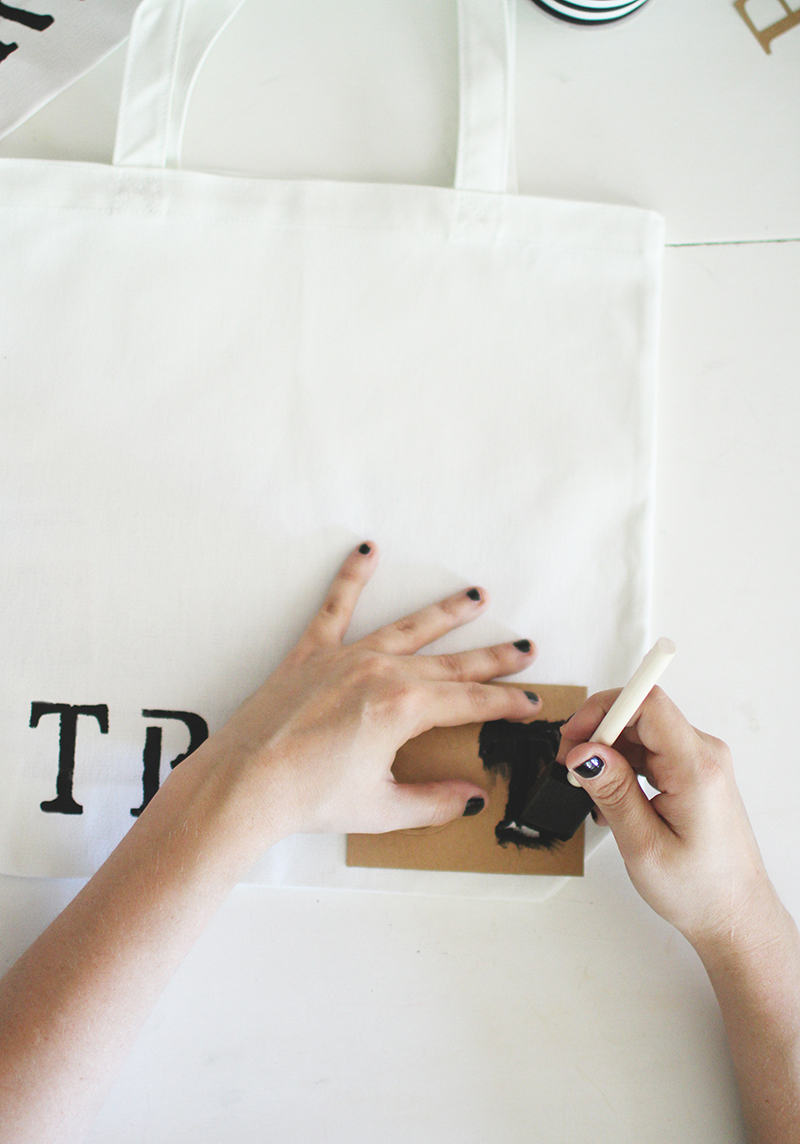
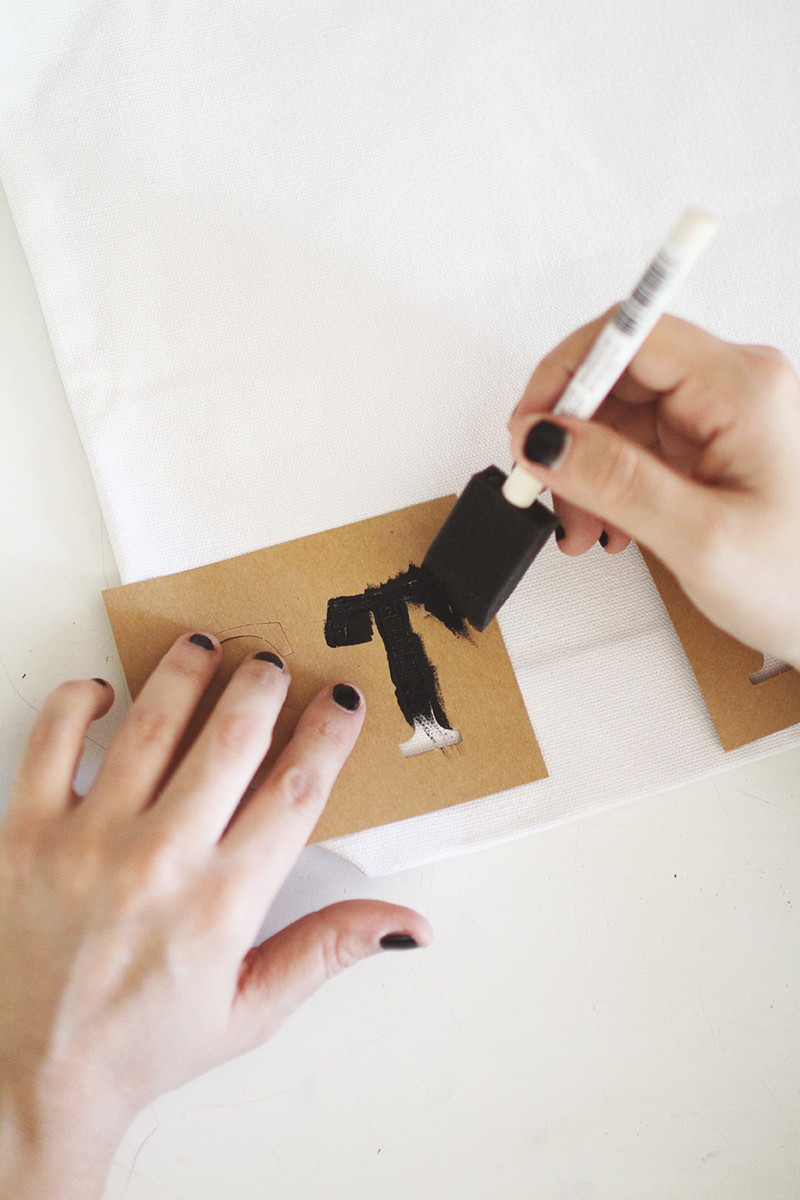
When you work with paint and stencils, you want to make sure and use the paint sparingly. If you use too much paint on your brush, the paint will bleed underneath the stencil and it will alter the letter shape.
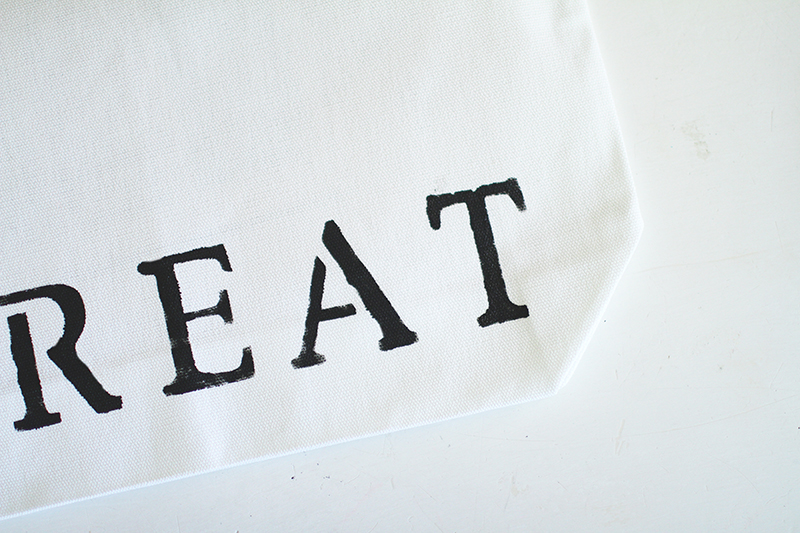
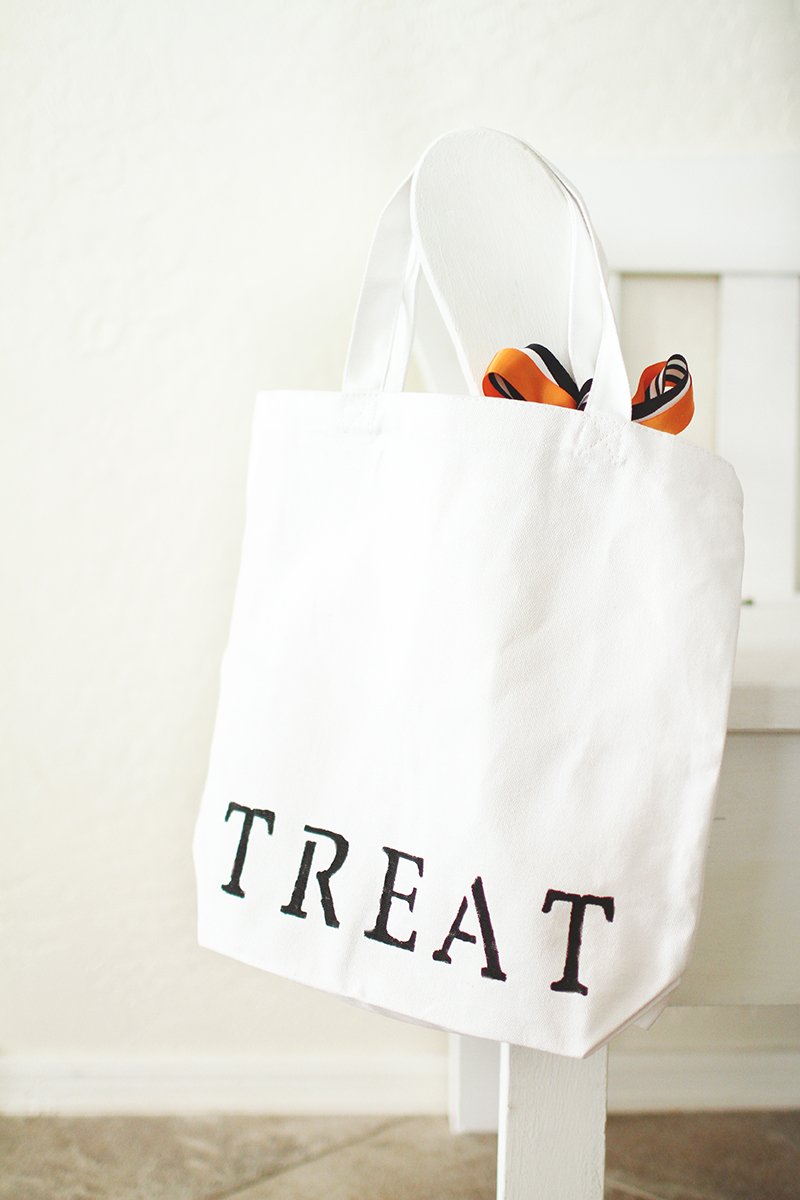
On one side I stenciled the word “Trick” and on the other I stenciled “Treat”. Once they dried, I went ahead and added some festive ribbon to the girls’ bags.
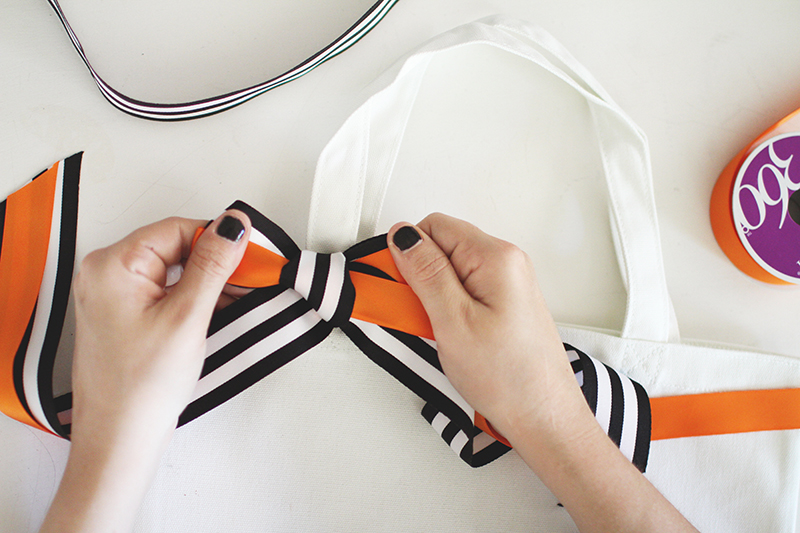
Easy right?!
Enjoy and Happy Haunting!


Binge Recent Posts:
Download The FREE Holiday Planner
Experience all of the joy
this holiday season and none of the overwhelm.


October 26, 2014