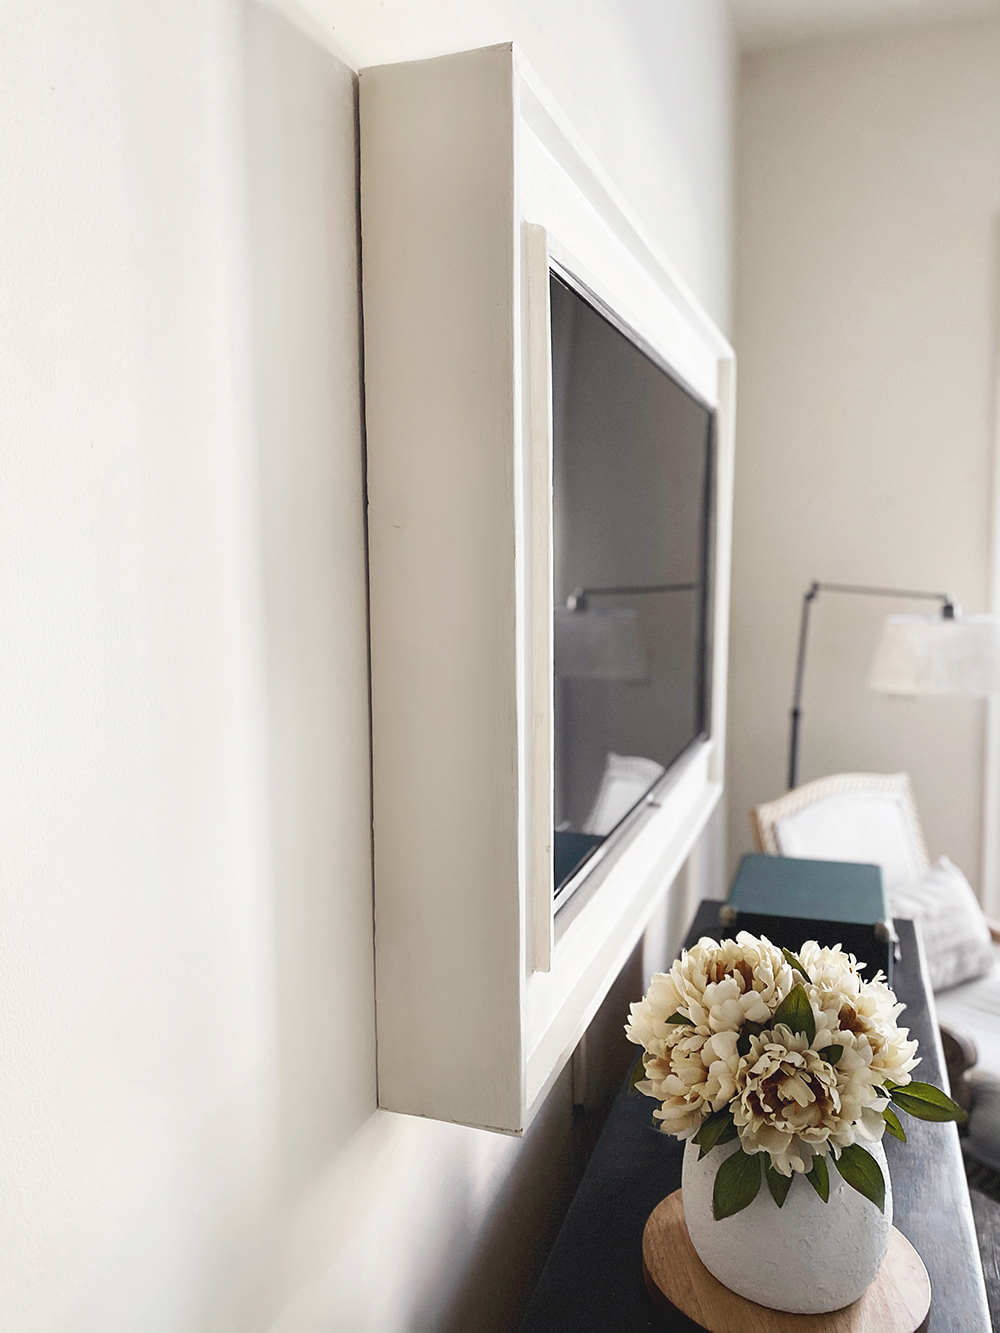
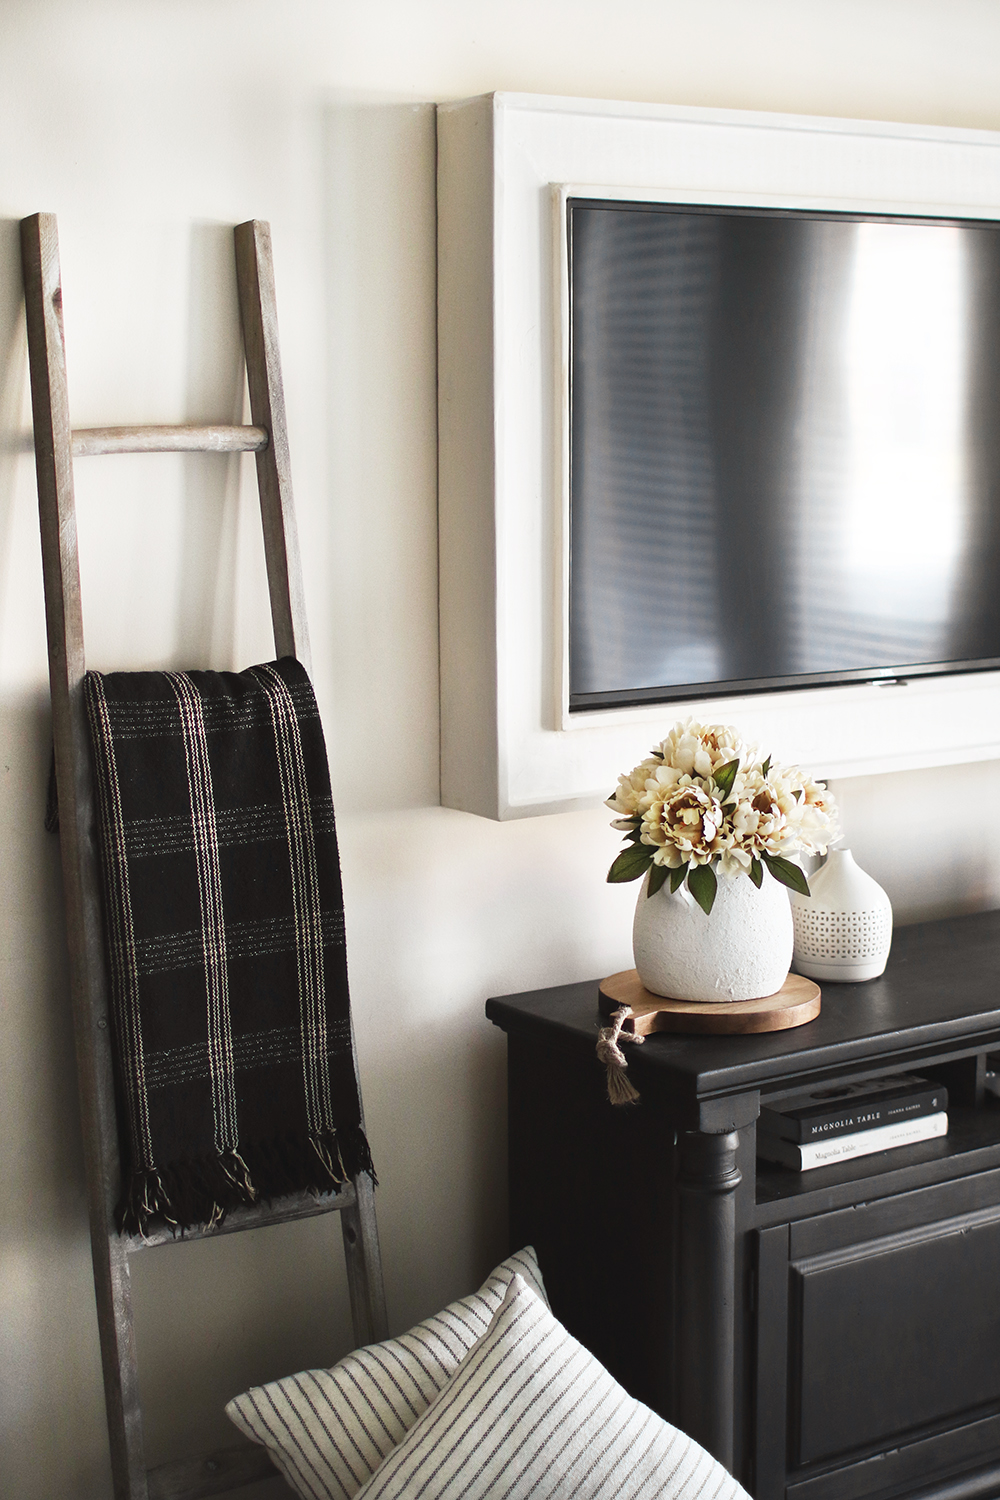
I’m so excited to finally share the DIY framed TV we made happen in September for our living room. I love the idea of framed TV’s and have seen many incorporate the Samsung one into their homes. I wanted to set out to create a little bit more of a statement and with a smaller price tag. This was a beast of a project, but only because we are still limited in the tools and workshop setup department. We left a lot behind in our move and we are currently tiny living, but we still make things happen. And this was one of them!
In wanting to dress up our living space, I thought a DIY framed TV would be a great look. And since Tanner has added wood shop to his course credits for this year, I thought it would be the perfect opportunity for a project. I would love to say that I have all of the details and blueprint plans for you to tackle this project for yourself, however, it was a lot more complicated than other projects like our DIY farmhouse headboard. There are so many different TV’s, sizes, and how they are mounted. So while I am not going to lay out every detail since they wouldn’t be universal, but what I do share I hope you find helpful in making your own!
Measuring our TV and designing the frame
Our TV is a 55″ inch installed with a stationary wall mount. We took down the length, the height, as well as the depth of our TV.
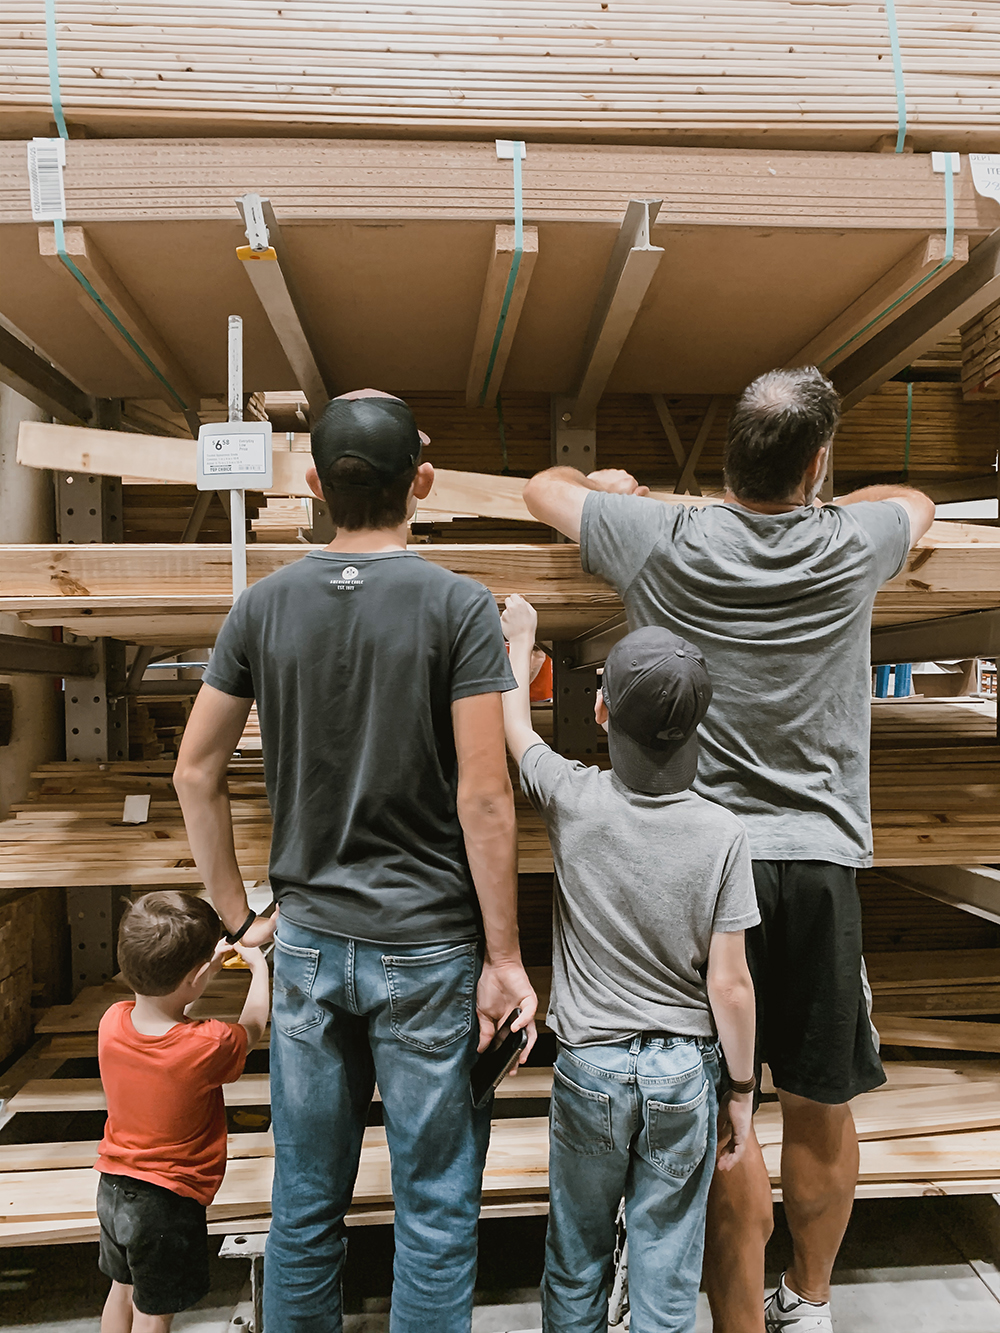
Next, we planned out exactly what we needed. For our design and to accommodate the size of our TV, we ended up using:
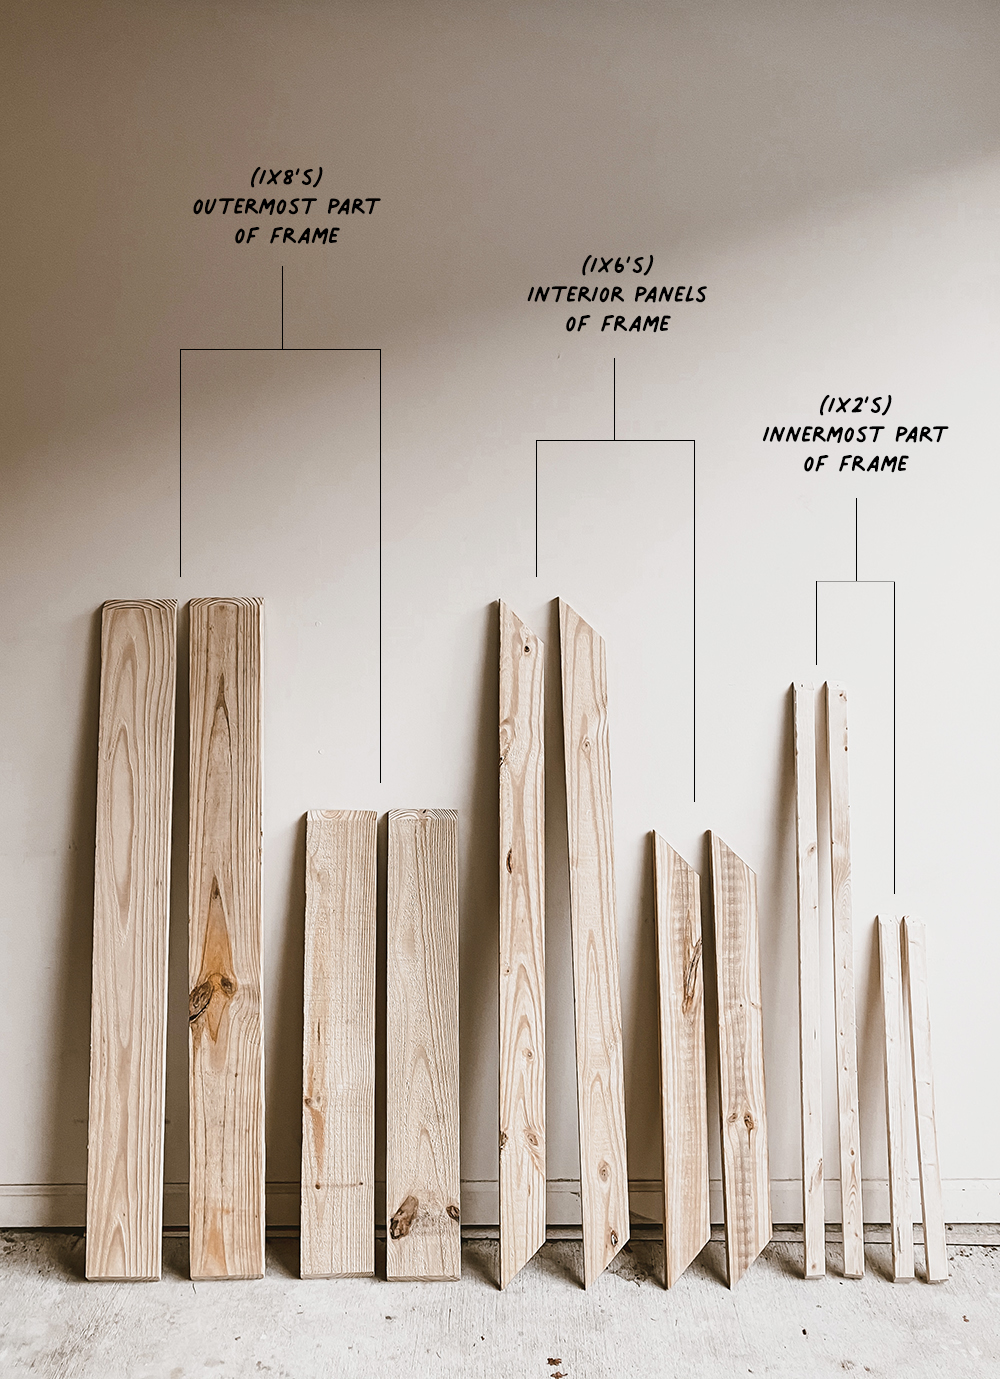
- 1×8’s for the outermost part of the frame
- 1×6’s for the large center front panels
- 1×2’s for the innermost part of the frame
And with that, we also made sure to pick up additional supplies such as wood glue and finishing nails.
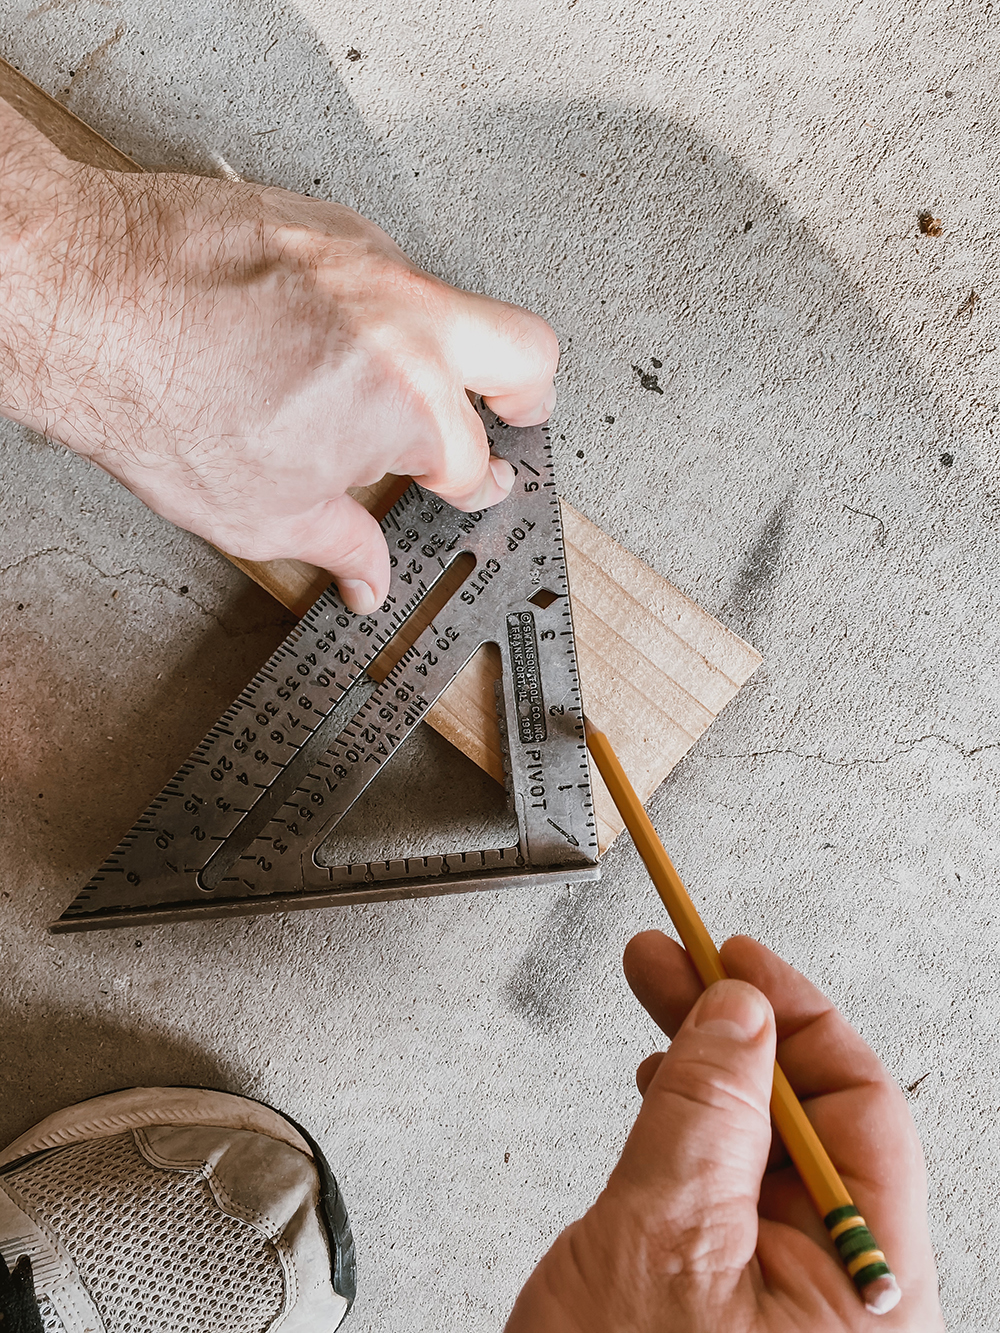
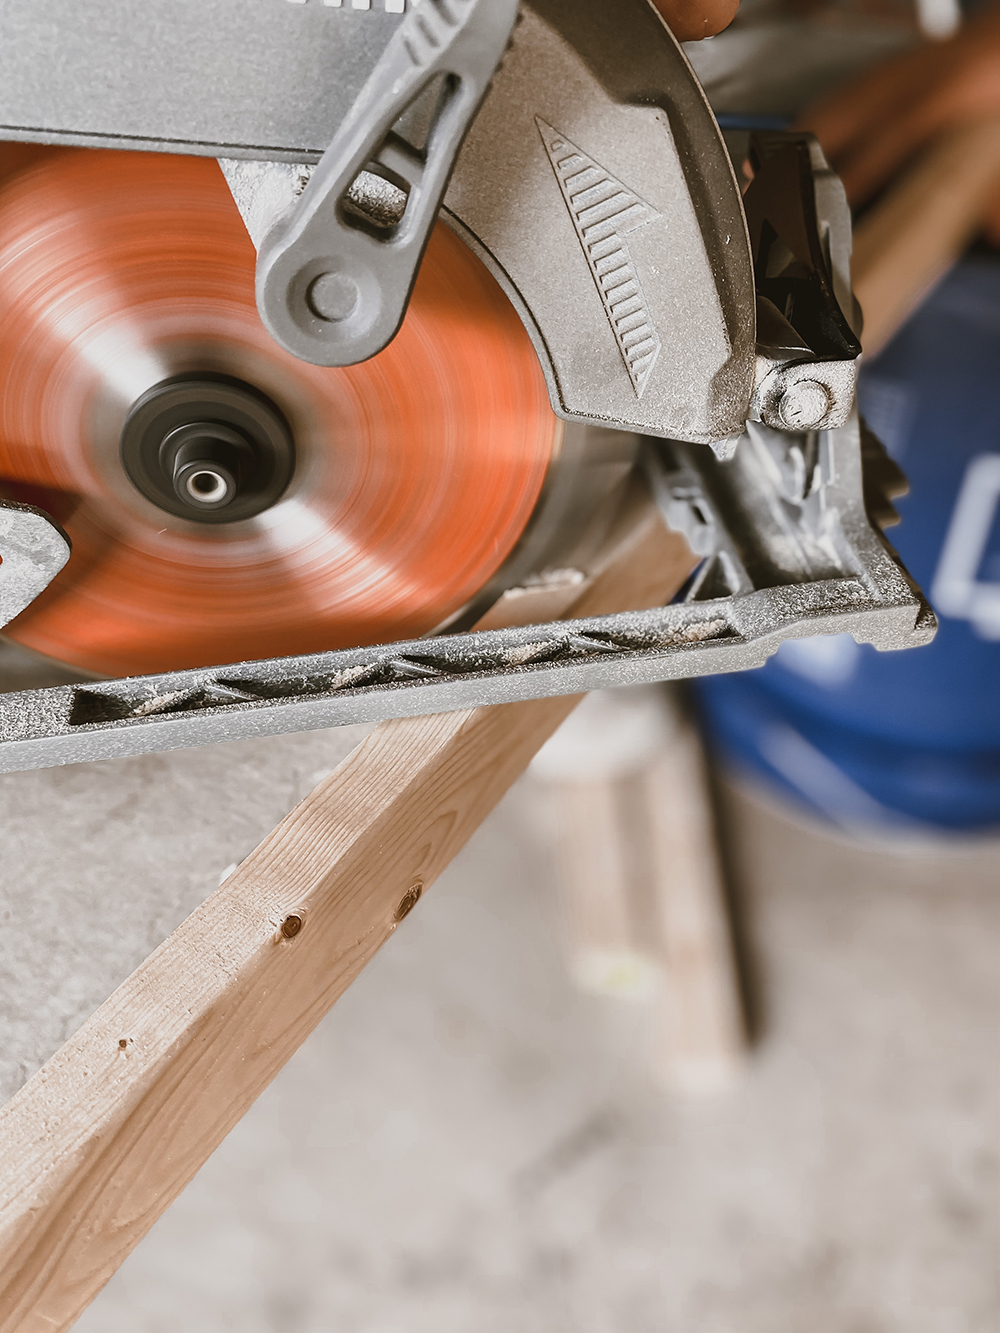
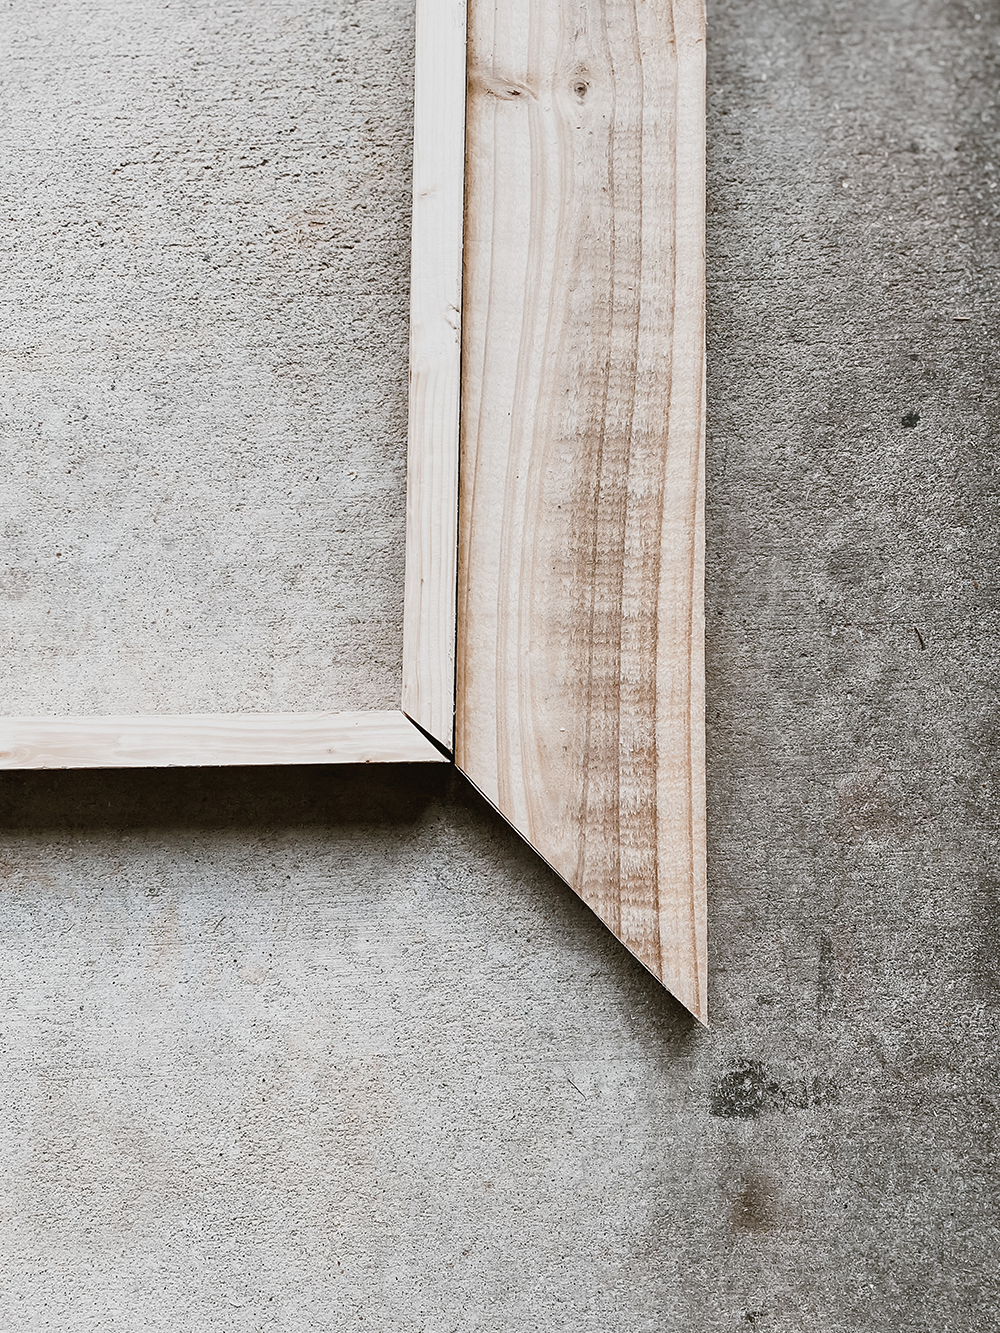
The next step was to figure out the cuts for each piece.
A piece of advice for this part of the project
To ensure a proper and snug fit, I would suggest sanding your boards before cutting them. We sanded after cutting not thinking it would make much of a difference. However, when we had our frame assembled it wasn’t a good fit. So, sand first and then cut!
Here is what we ended up with to build our DIY framed TV…
Assembling our DIY Frame TV
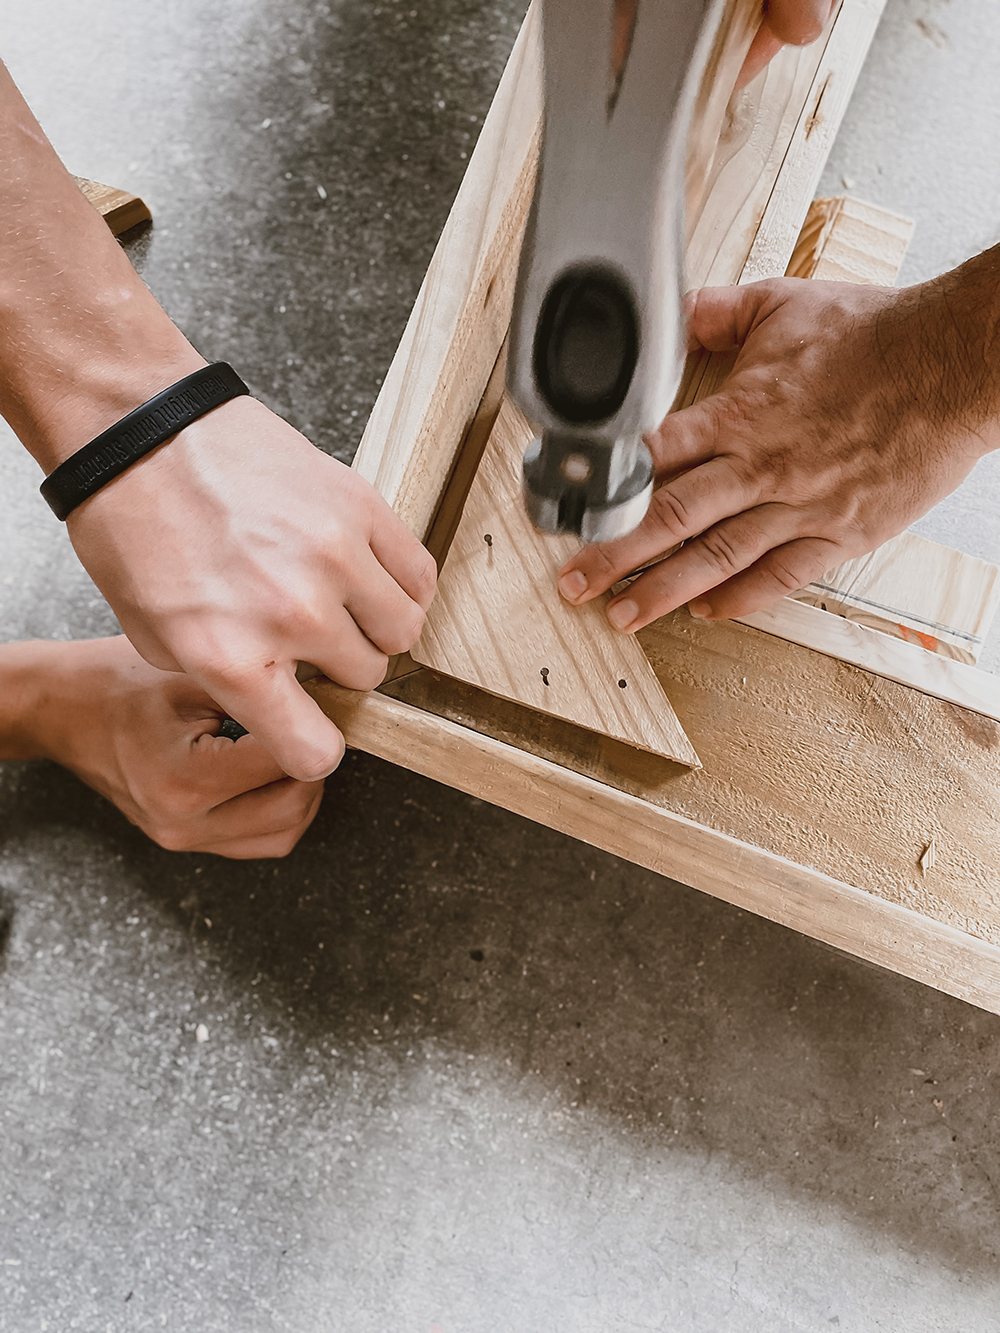
To assemble all of our pieces once cut, we used wood glue to secure and then finishing nails. We also added an additional triangle brace to each corner on the back for additional support.
Once we had it all assembled, we then hung it on our TV to mark where we need to notch out areas for the speakers and “on light” at the bottom. We did this part by hand and all I have to say is, slow and steady wins the race!
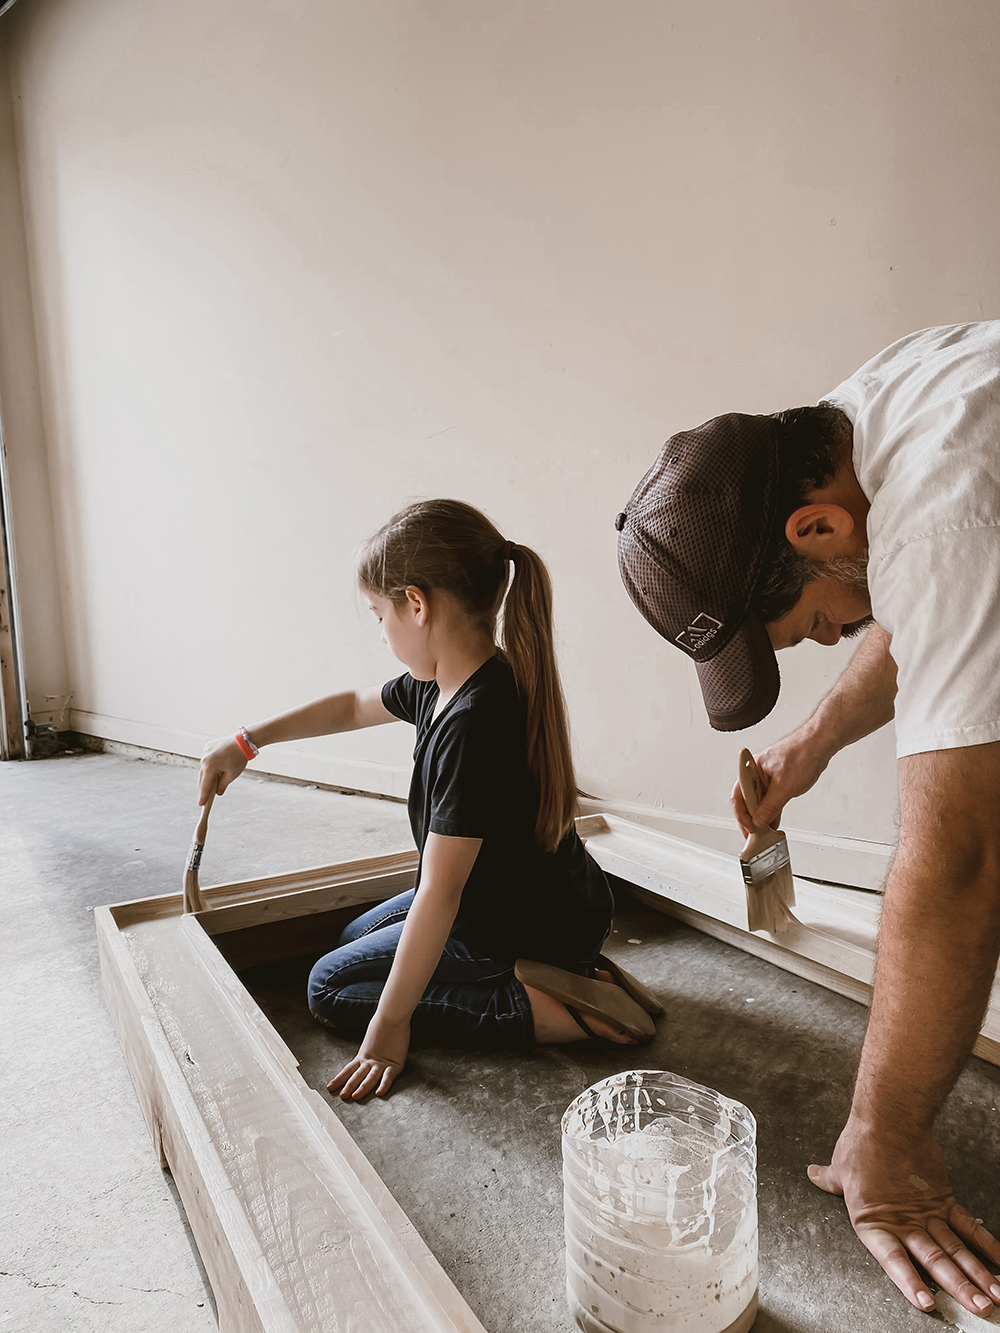
We then finished it off using Old-Fashioned Milk Paint in Oyster White.
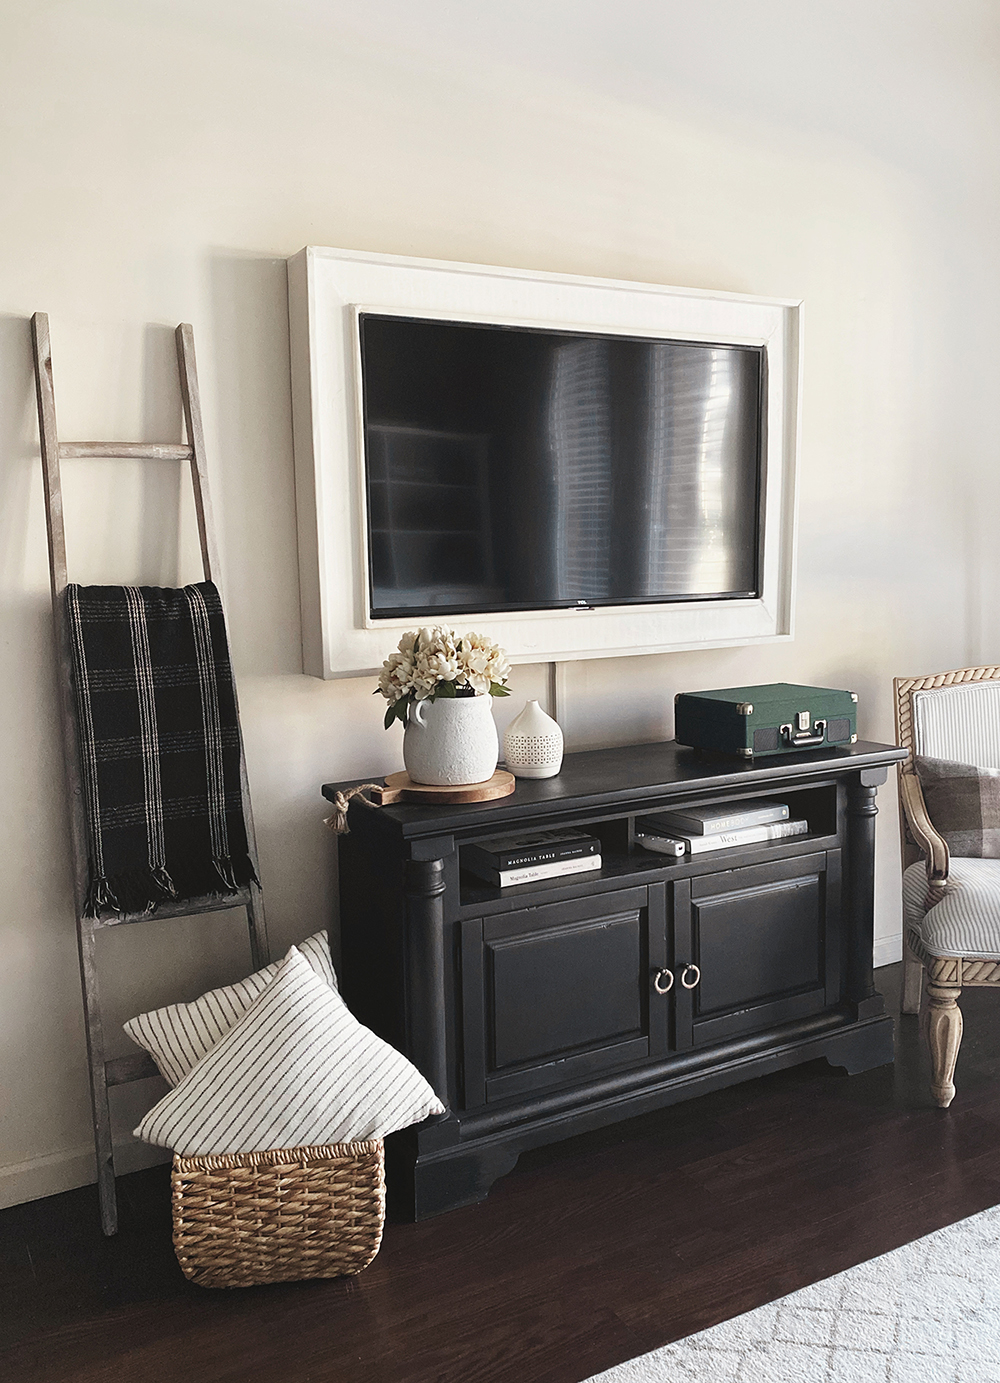
The finished project
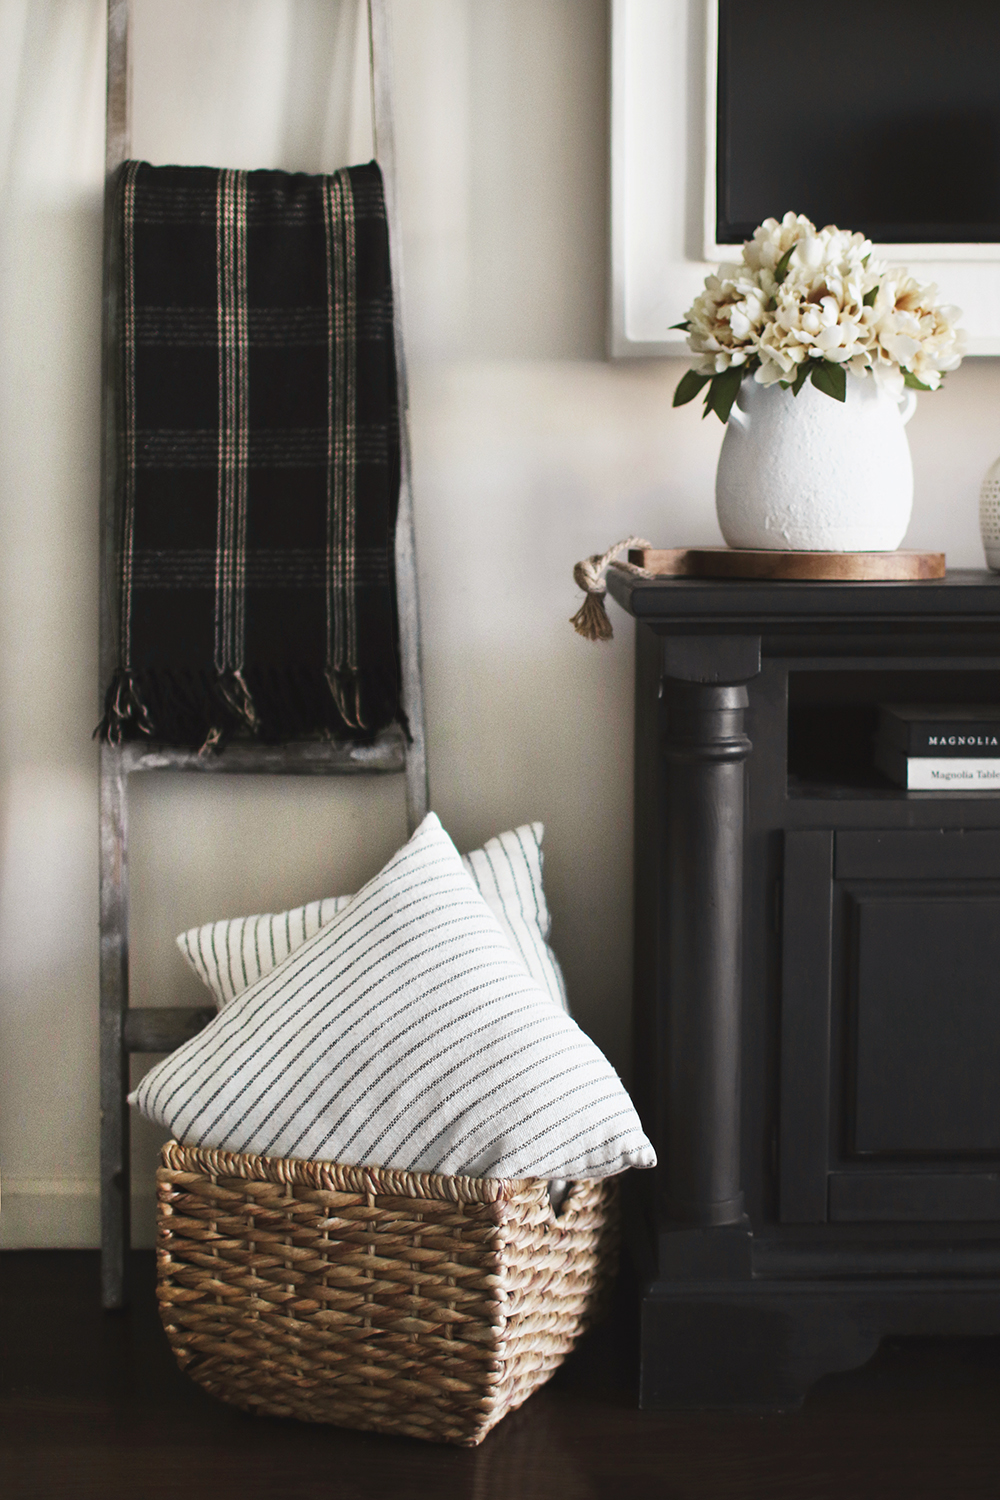
We love the way this DIY framed TV turned out. It has added such a statement to our temporary living space and was possible to make happen even in a rental. Not the easiest project, but well worth the effort!
You can browse other home DIY projects we have done right here.
You can also shop this post just below.

And let me know if you re-create this DIY framed TV project for yourself! I would love to root you on and see your finished project!
View this post on Instagram






January 24, 2022