DIY Glitter Easter Eggs
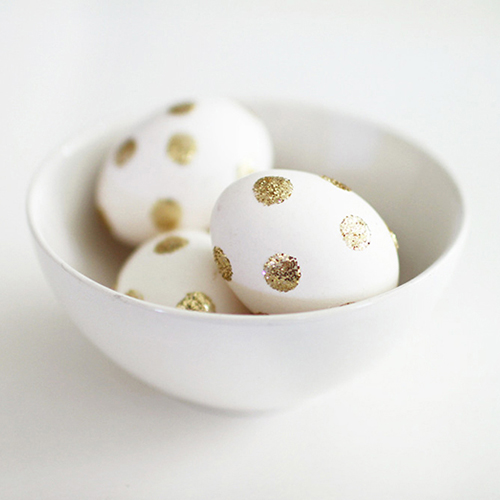
I am always looking for different ways to dress up our Easter eggs every year. I grew up dying them like I’m sure a lot of us did, but to tell you the truth, I can’t stand it. I can never get it to come out even and how many times does the egg fall off that ridiculously flimsy wire holder and then crack at the bottom of the water cup? Brings back fond memories for sure.
This year, I thought I might try adding a little bit of glam to them. Here is an easy DIY Glitter Easter Egg how-to for you!
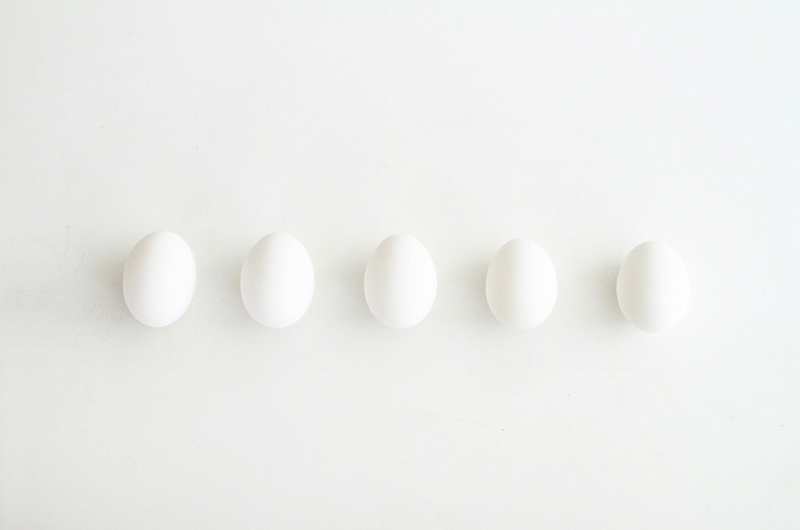
Begin by hard boiling the number of eggs you will be making over.
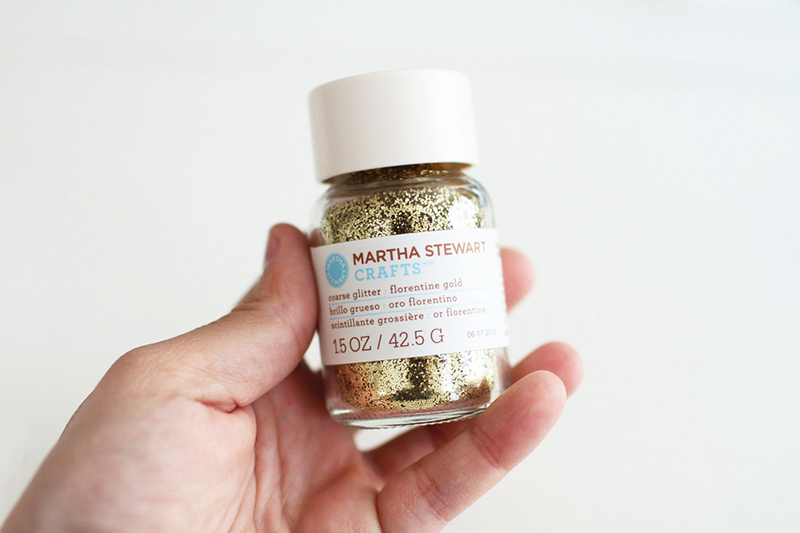
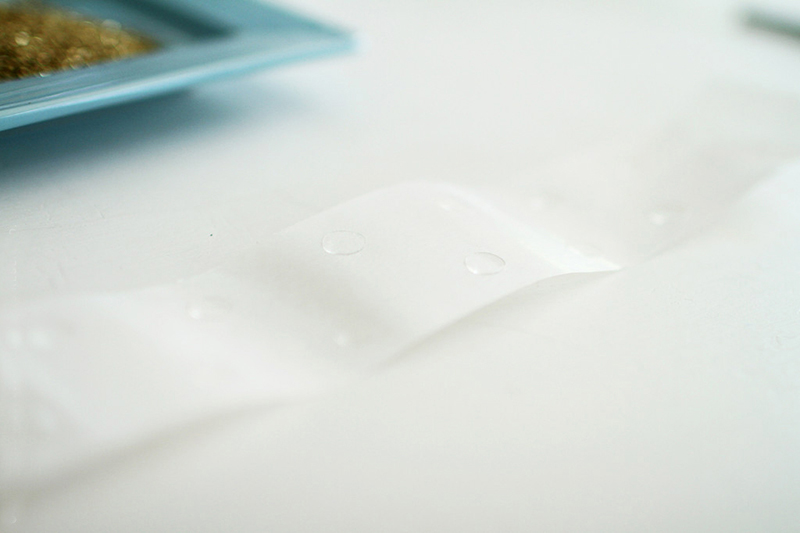
For this project, I chose to use Florentine Gold in Martha Stewart’s line of glitter and also picked up a pack of Zots, circular glue dots, in a medium size.
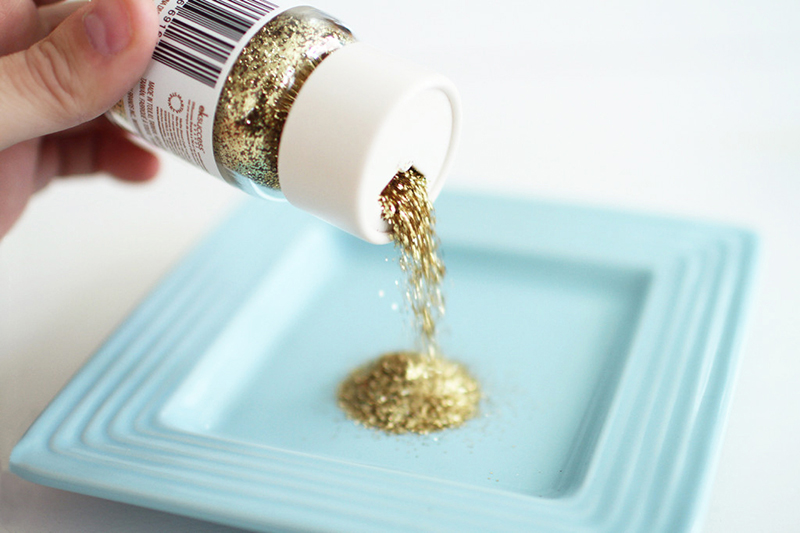
First, pour a large amount of glitter into a separate bowl or dish.
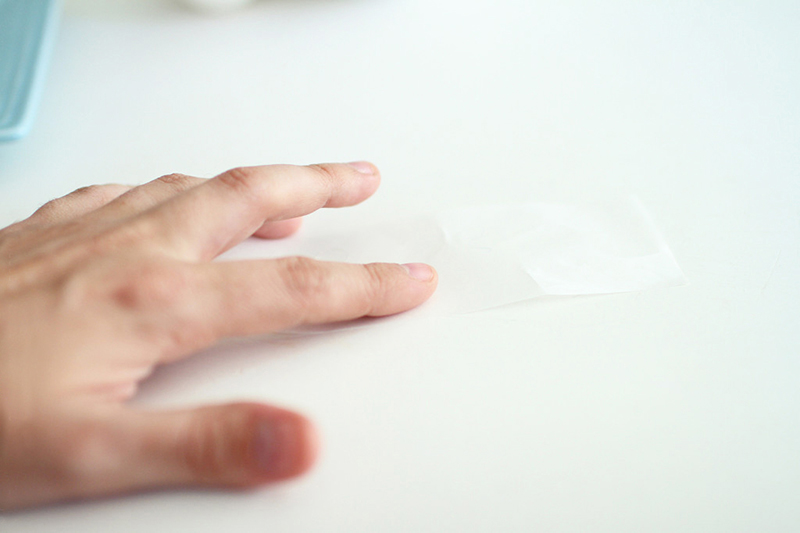
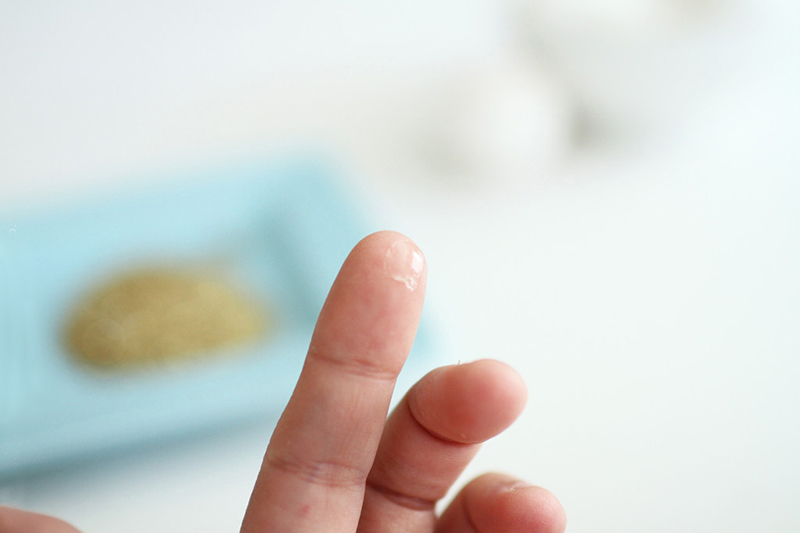
The Zots can be a bit difficult to work with and keep their shape as you transfer from the backing to the egg. I found it easiest to use my finger and quickly tap the glue dot and pull up. It seemed to keep the dot as perfectly circular as it could be.
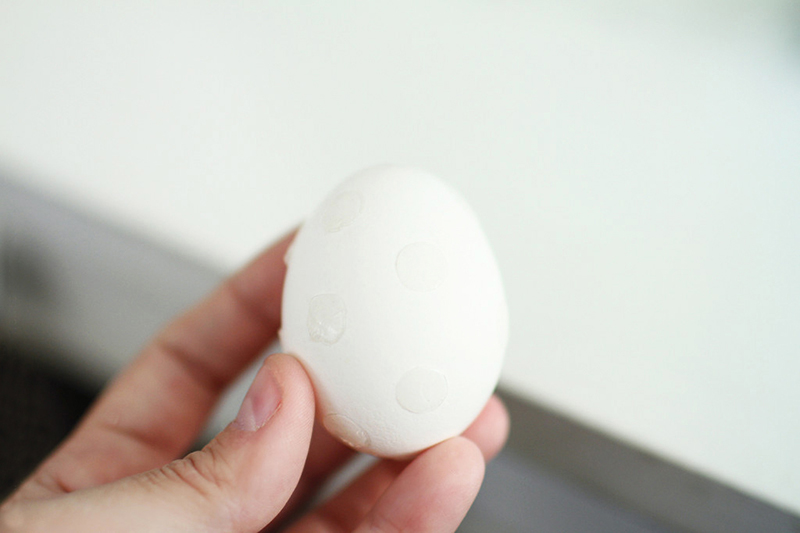
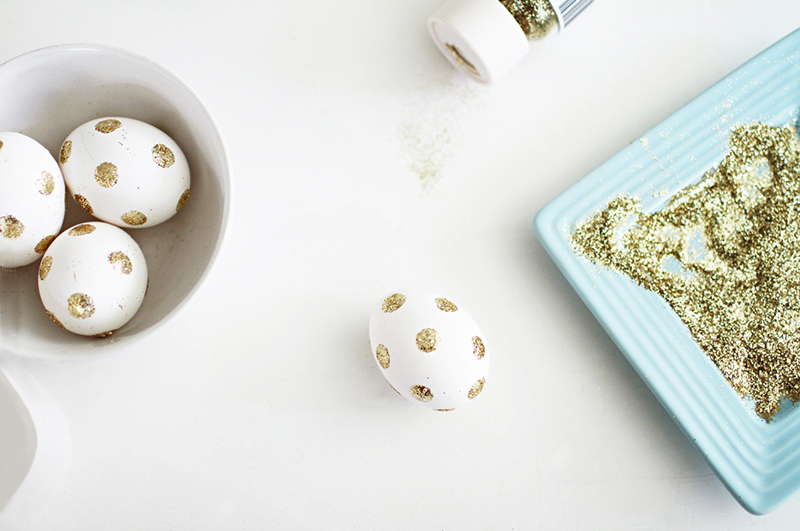
I then placed them on the egg in whatever pattern I felt appropriate. I know it’s difficult to see in the image, but you’ll get the idea in a minute.
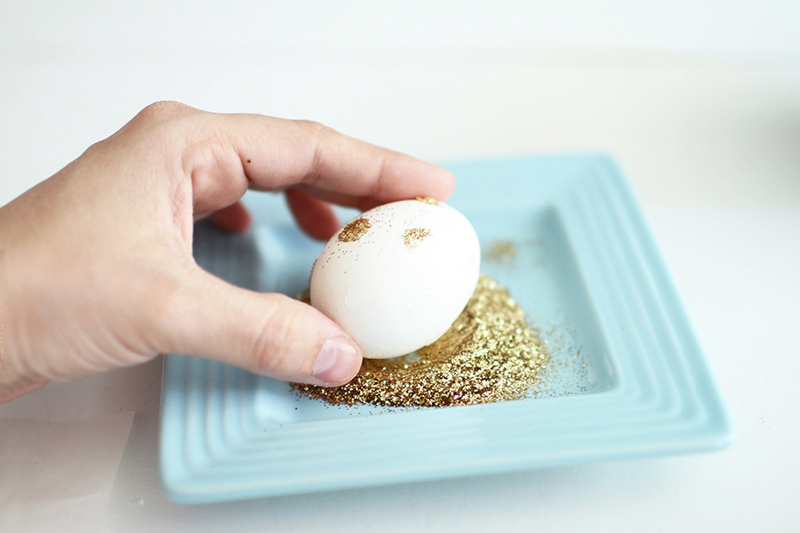
From there, you want to roll your egg in the glitter to begin covering each glue dot. After a few rotations, you will see that the dots may not be completely coated and you will want to make and sure and press the egg into the glitter where each glue dot was placed. It will ensure there will be plenty of shimmer for each dot.
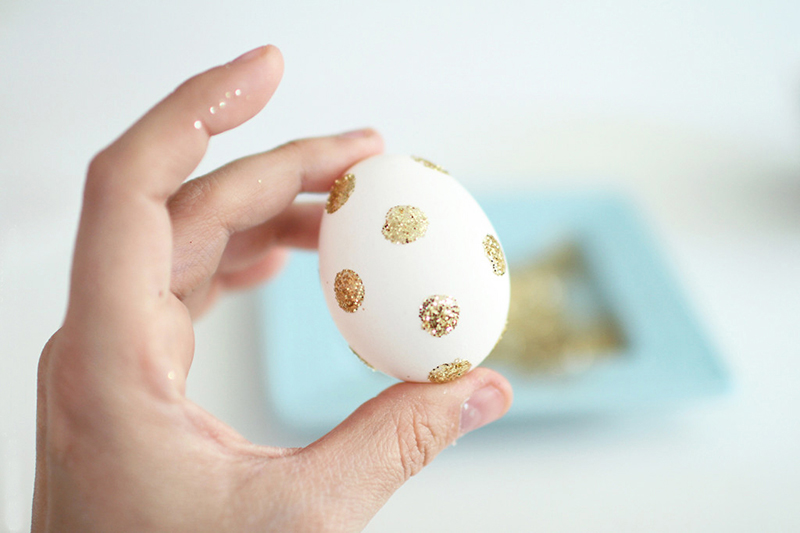
After that, go ahead and just gently blow off any excess glitter that might be on your egg after being rolled around.
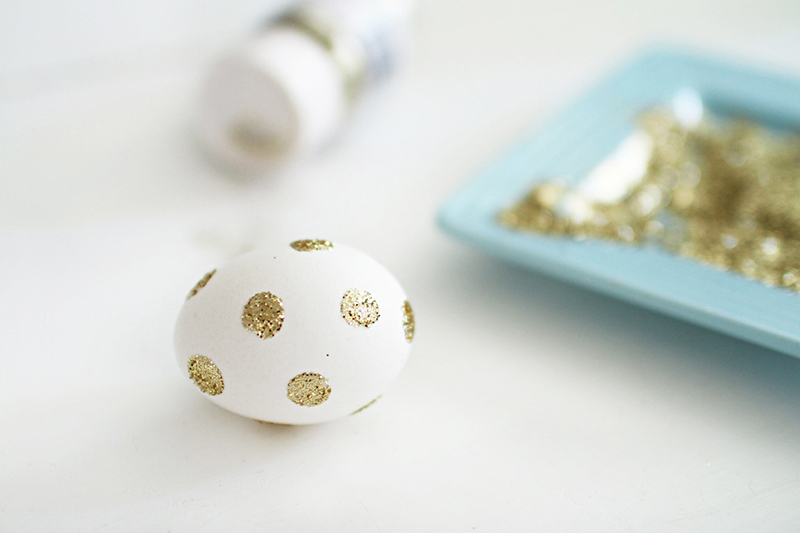
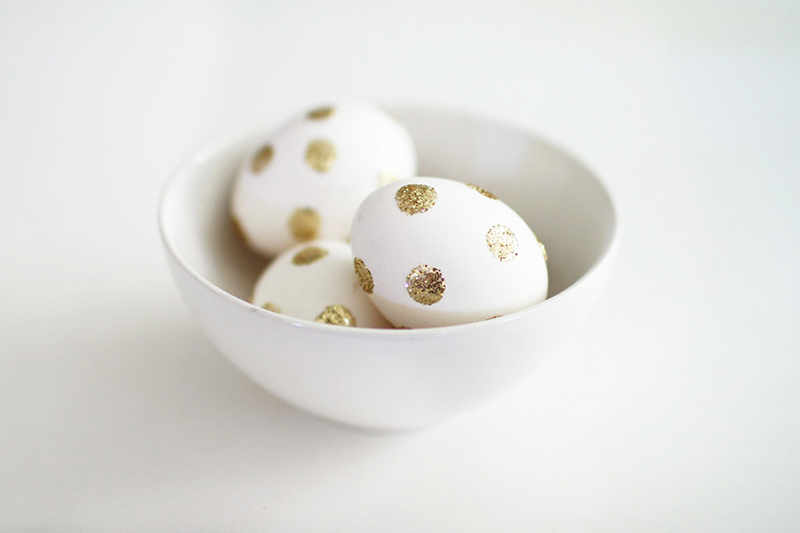
Voila! Perfectly glam eggs in time for the festivities.
I picked up all of my supplies at Michael’s, but they are listed below for your convenience and depending on where you live. Hope you enjoy!
– Martha Stewart Florentine Gold glitter
– Zots




April 11, 2014