Whether it be because of artistic decision or if that “perfect photo opp” happens to take place in front of a window, I am sharing five tips for shooting back-lit images so you can get great results. And yes, these tips translate to outdoors as well so keep reading.
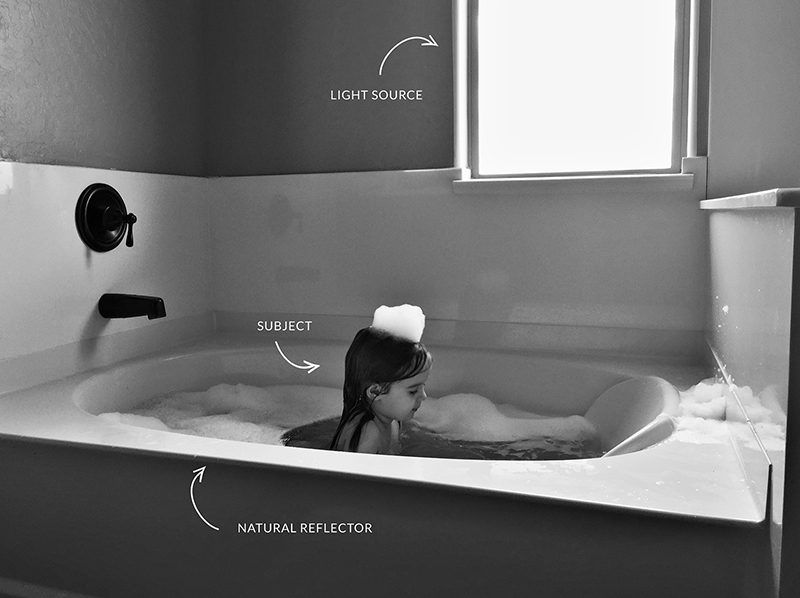
I wanted put myself in the lowest light possible with a small amount of back light in order to illustrate that you can get high quality imagery using the right techniques. Before I began, I snapped a quick shot of the entire scene. As you can see the lighting source is one window behind my daughter and the light is extremely low. So let’s break down the steps to achieve a great portrait in this situation.

Tip #1: Shoot in Manual Mode
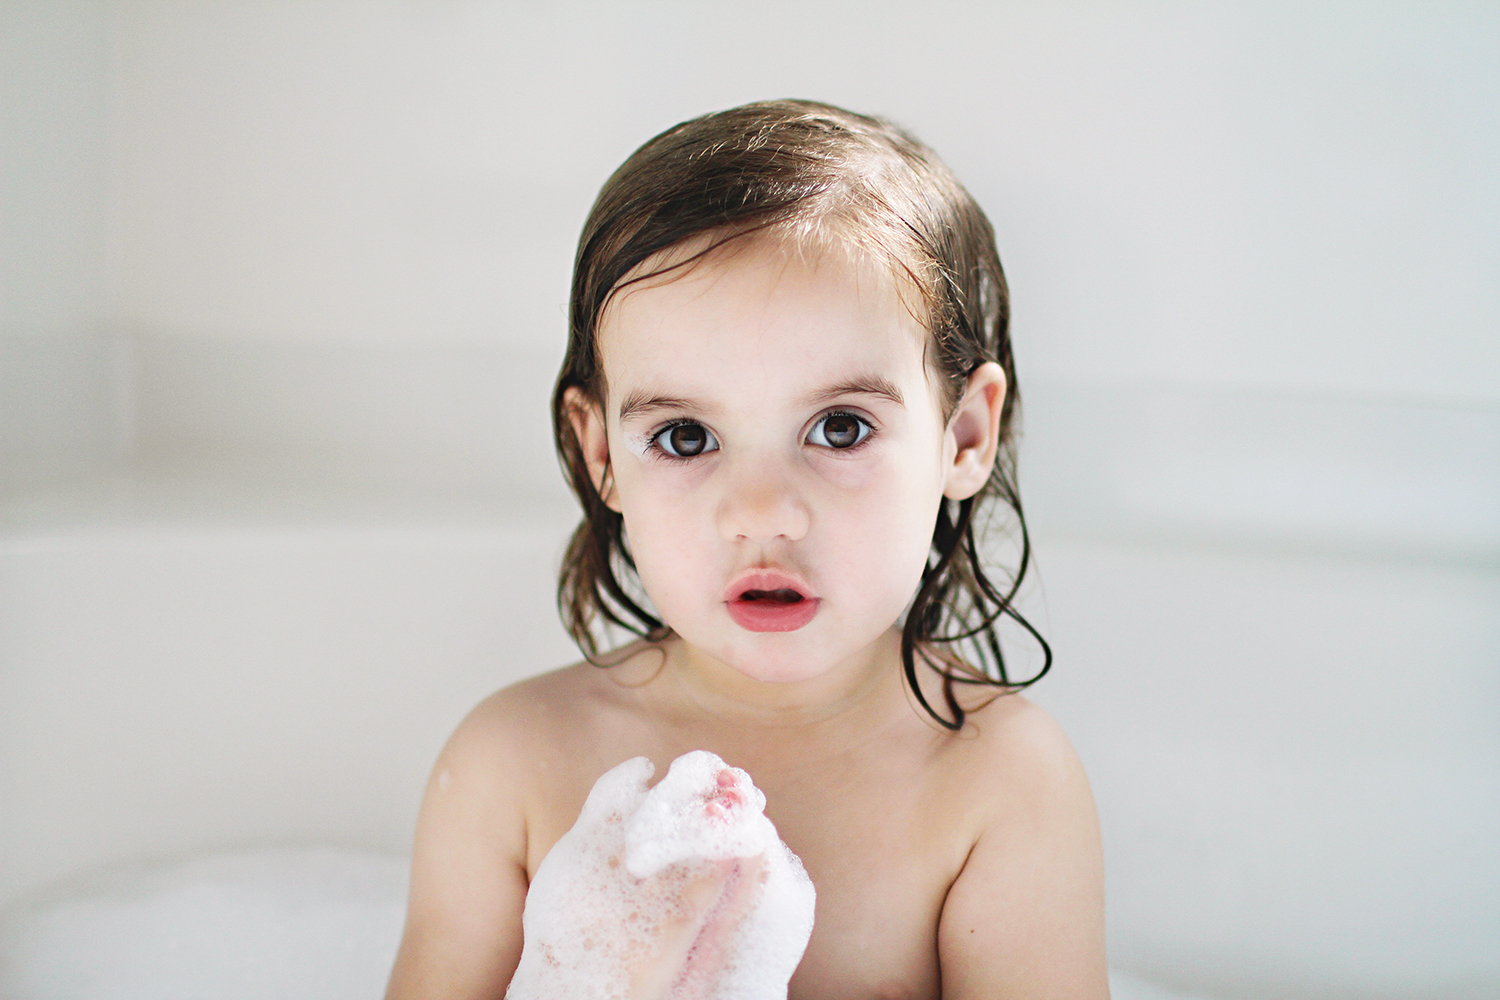
You want total control when shooting back-lit images so switch your camera to manual mode. Depending on your lens, you might have to rely on bumping up your ISO to handle the lack of light or use a tripod so you can keep your shutter speed low and avoid blur. For these images, I was shooting with my 35mm 1.4 lens and my camera was set to an aperture of 1.6, at a shutter speed of 1/250 and my ISO was set to 250.
Every lighting situation will differ so if you are new to shooting in manual or perhaps you are not all that confident yet, simply play around with different settings and practice, practice, practice.
Tip #2: Use a Lens Hood
Shooting towards a light source can get frustrating at times because you will be fighting against your camera not wanting to focus as quickly and as easily as you may be used to. The reason for this is the amount of light bouncing back into your camera which causes a lack of contrast and contrast is exactly what you need for your camera to read it and lock in focus.
Using your lends hood will help to combat this problem and reduce the chances of your images having a haze on them. Another option is using your hand to block the sun or light source. Then, once your camera has focused, you can move your hand and take advantage of the sun flare effect that will happen.
Tip #3: Spot Metering
With your subject being in front of the light source, you want to make sure the exposure is working for your subject and not the entire scene as a whole. Set your metering to spot and simply hover your metering point over your subject. The result of this will most likely blow out areas of your images, but as long as your subject is properly exposed don’t stress about the lesser details of the photograph.
Tip #4: Adjust Your Position
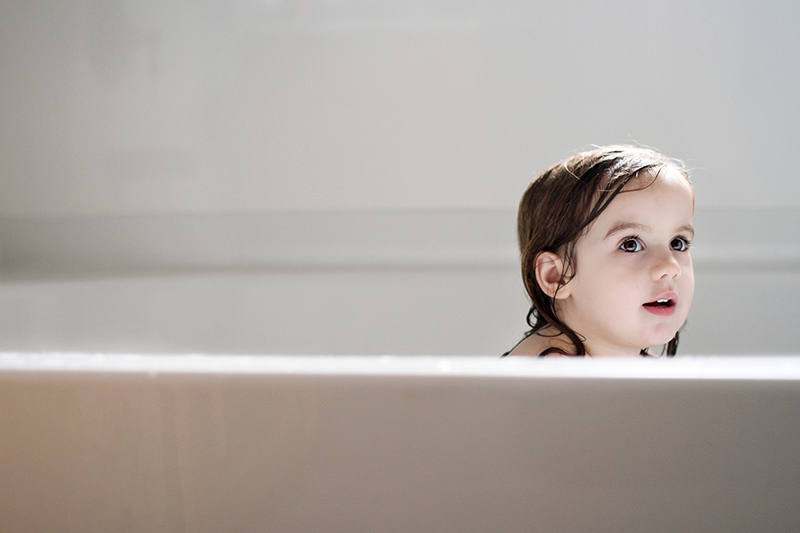
Based on where your light source is in relation to your subject, you will most likely want to experiment with where you are in relation to your subject. If I had stood up and tried to photograph my daughter from above, I wouldn’t have gotten the same results. Because I knelt down level with her, the light source “fell” over on top of her and my exposure was properly set up for that angle and I was able to properly expose the photograph.
Tip #5: Use a Reflector
Depending on the situation it’s possible that your lighting results are still darker than you would like on your subject’s face. This is when you would want to use a reflector placed in front of you and angled towards your subject. This will bounce the available light back onto your subject. My go-to reflector is the Impact 5-in-1. Easy to use and the size works for all situations. If you don’t have a reflector try using a white poster board or something similar.
Because of the position of my daughter in the bath tub, the window light is actually bouncing off of the side of the tub she is facing and is acting as a natural reflector for me which results in soft and beautiful light on her face. If you cannot find a natural reflector in your shooting situation, then give a poster board or actual reflector a try.
As with all photography, the best thing to do is practice. It takes time to get comfortable with your camera and you want to invest that time so that you can feel confident each time you pick it up to document a photo opportunity or to create a beautiful portrait.




May 24, 2016