Let’s just say that homemade bread has become such a comfort in our home these last few months. Time in the kitchen with the family, teaching cubs how to cook is good for the soul. Today I am sharing my honey whole wheat bread recipe. A delicious and easy approach that has allowed us to replace store-bought sandwich bread – another goal on the list. If you have been following along with my family and I on Instagram, I have shared the changes we have made in our home and continue to make in living cleaner and healthier – both in products we use and the food we eat.
This process really began with our move to Nashville and having access to the farm to table lifestyle. Grateful for our local farms and the individuals who support our dinner table, we hope to have our food coming from our own homestead in the near future. It was also then that we dove into essential oils and all of the clean products available to our family and for our home through Young Living. And now we are working to learn how to make what we can from scratch so we can not only benefit from cleaner food but know where what we eat is coming from. It’s been such an incredible change and I have loved doing it as a family.
So with that, this bread recipe is extremely easy. No big appliances necessary and only a few minutes of hands-on time making it a possibility for even the busiest of families.
Here is what you will need:
- whole wheat flour
- regular or active yeast
- honey
- salt
- shortening
- water
- bread flour or all-purpose flour
To mix everything, I simply use a large stainless steel pot so that I can also use the same one for the bread to rise. Because this loaf of bread gets pretty large, you will want to use one of your largest bowls.
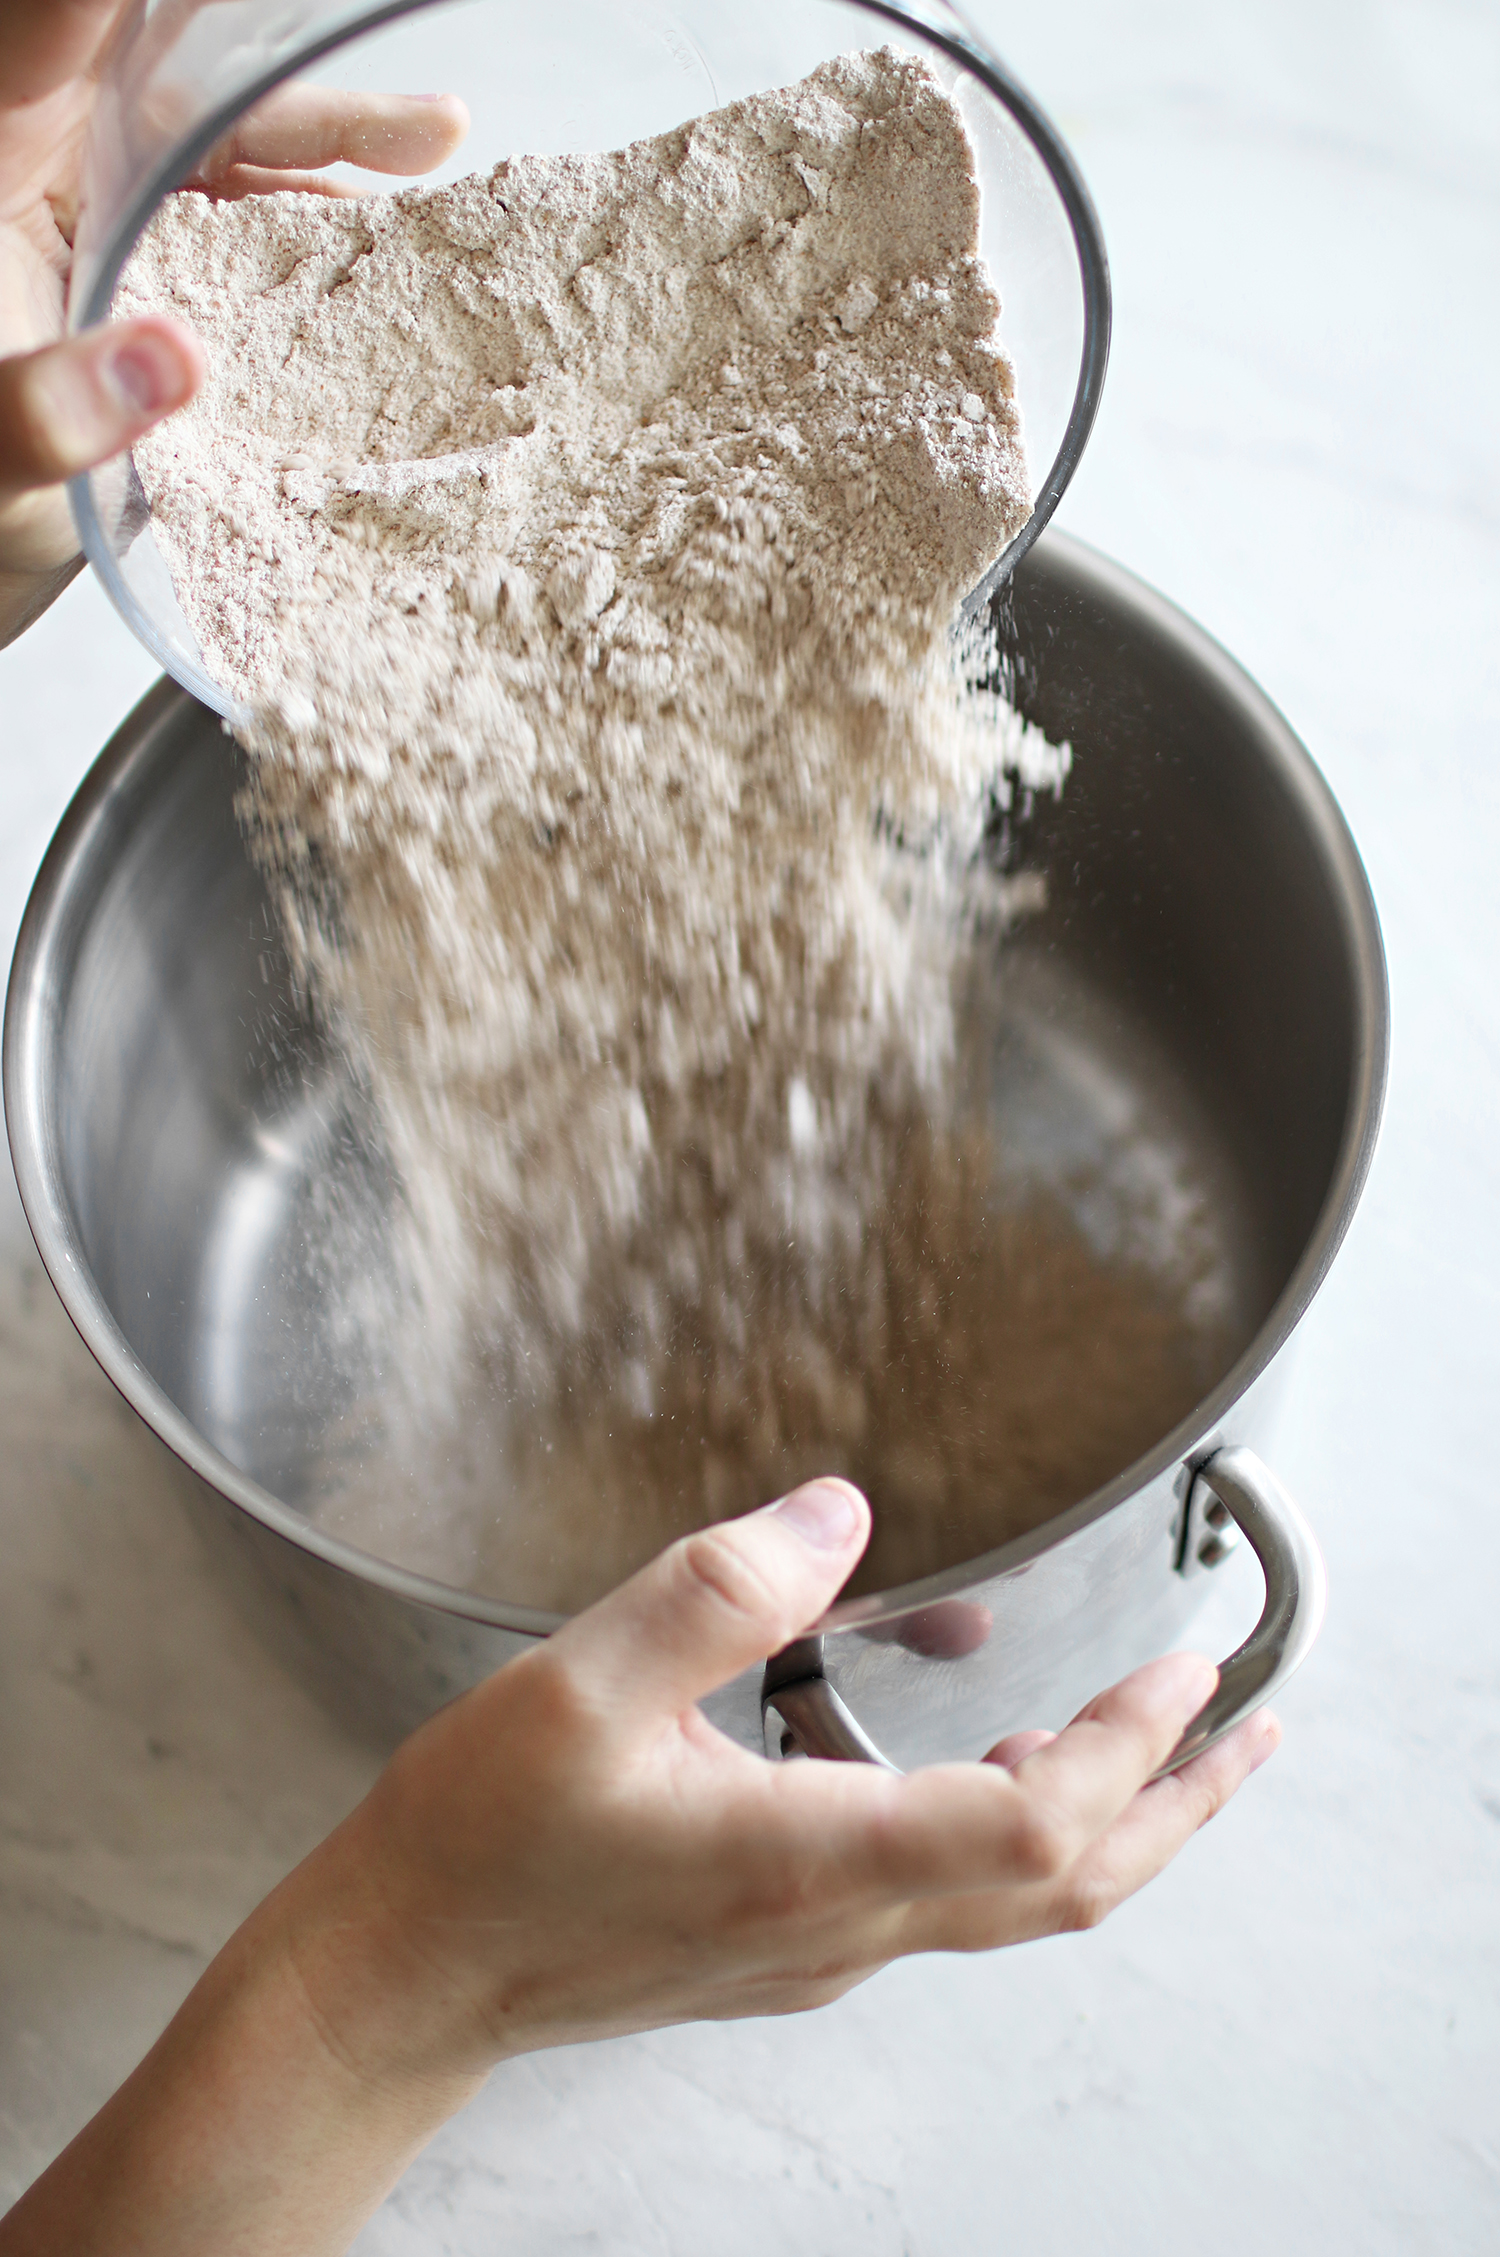
First, we are going to add together our whole wheat flour, salt, yeast, and shortening.
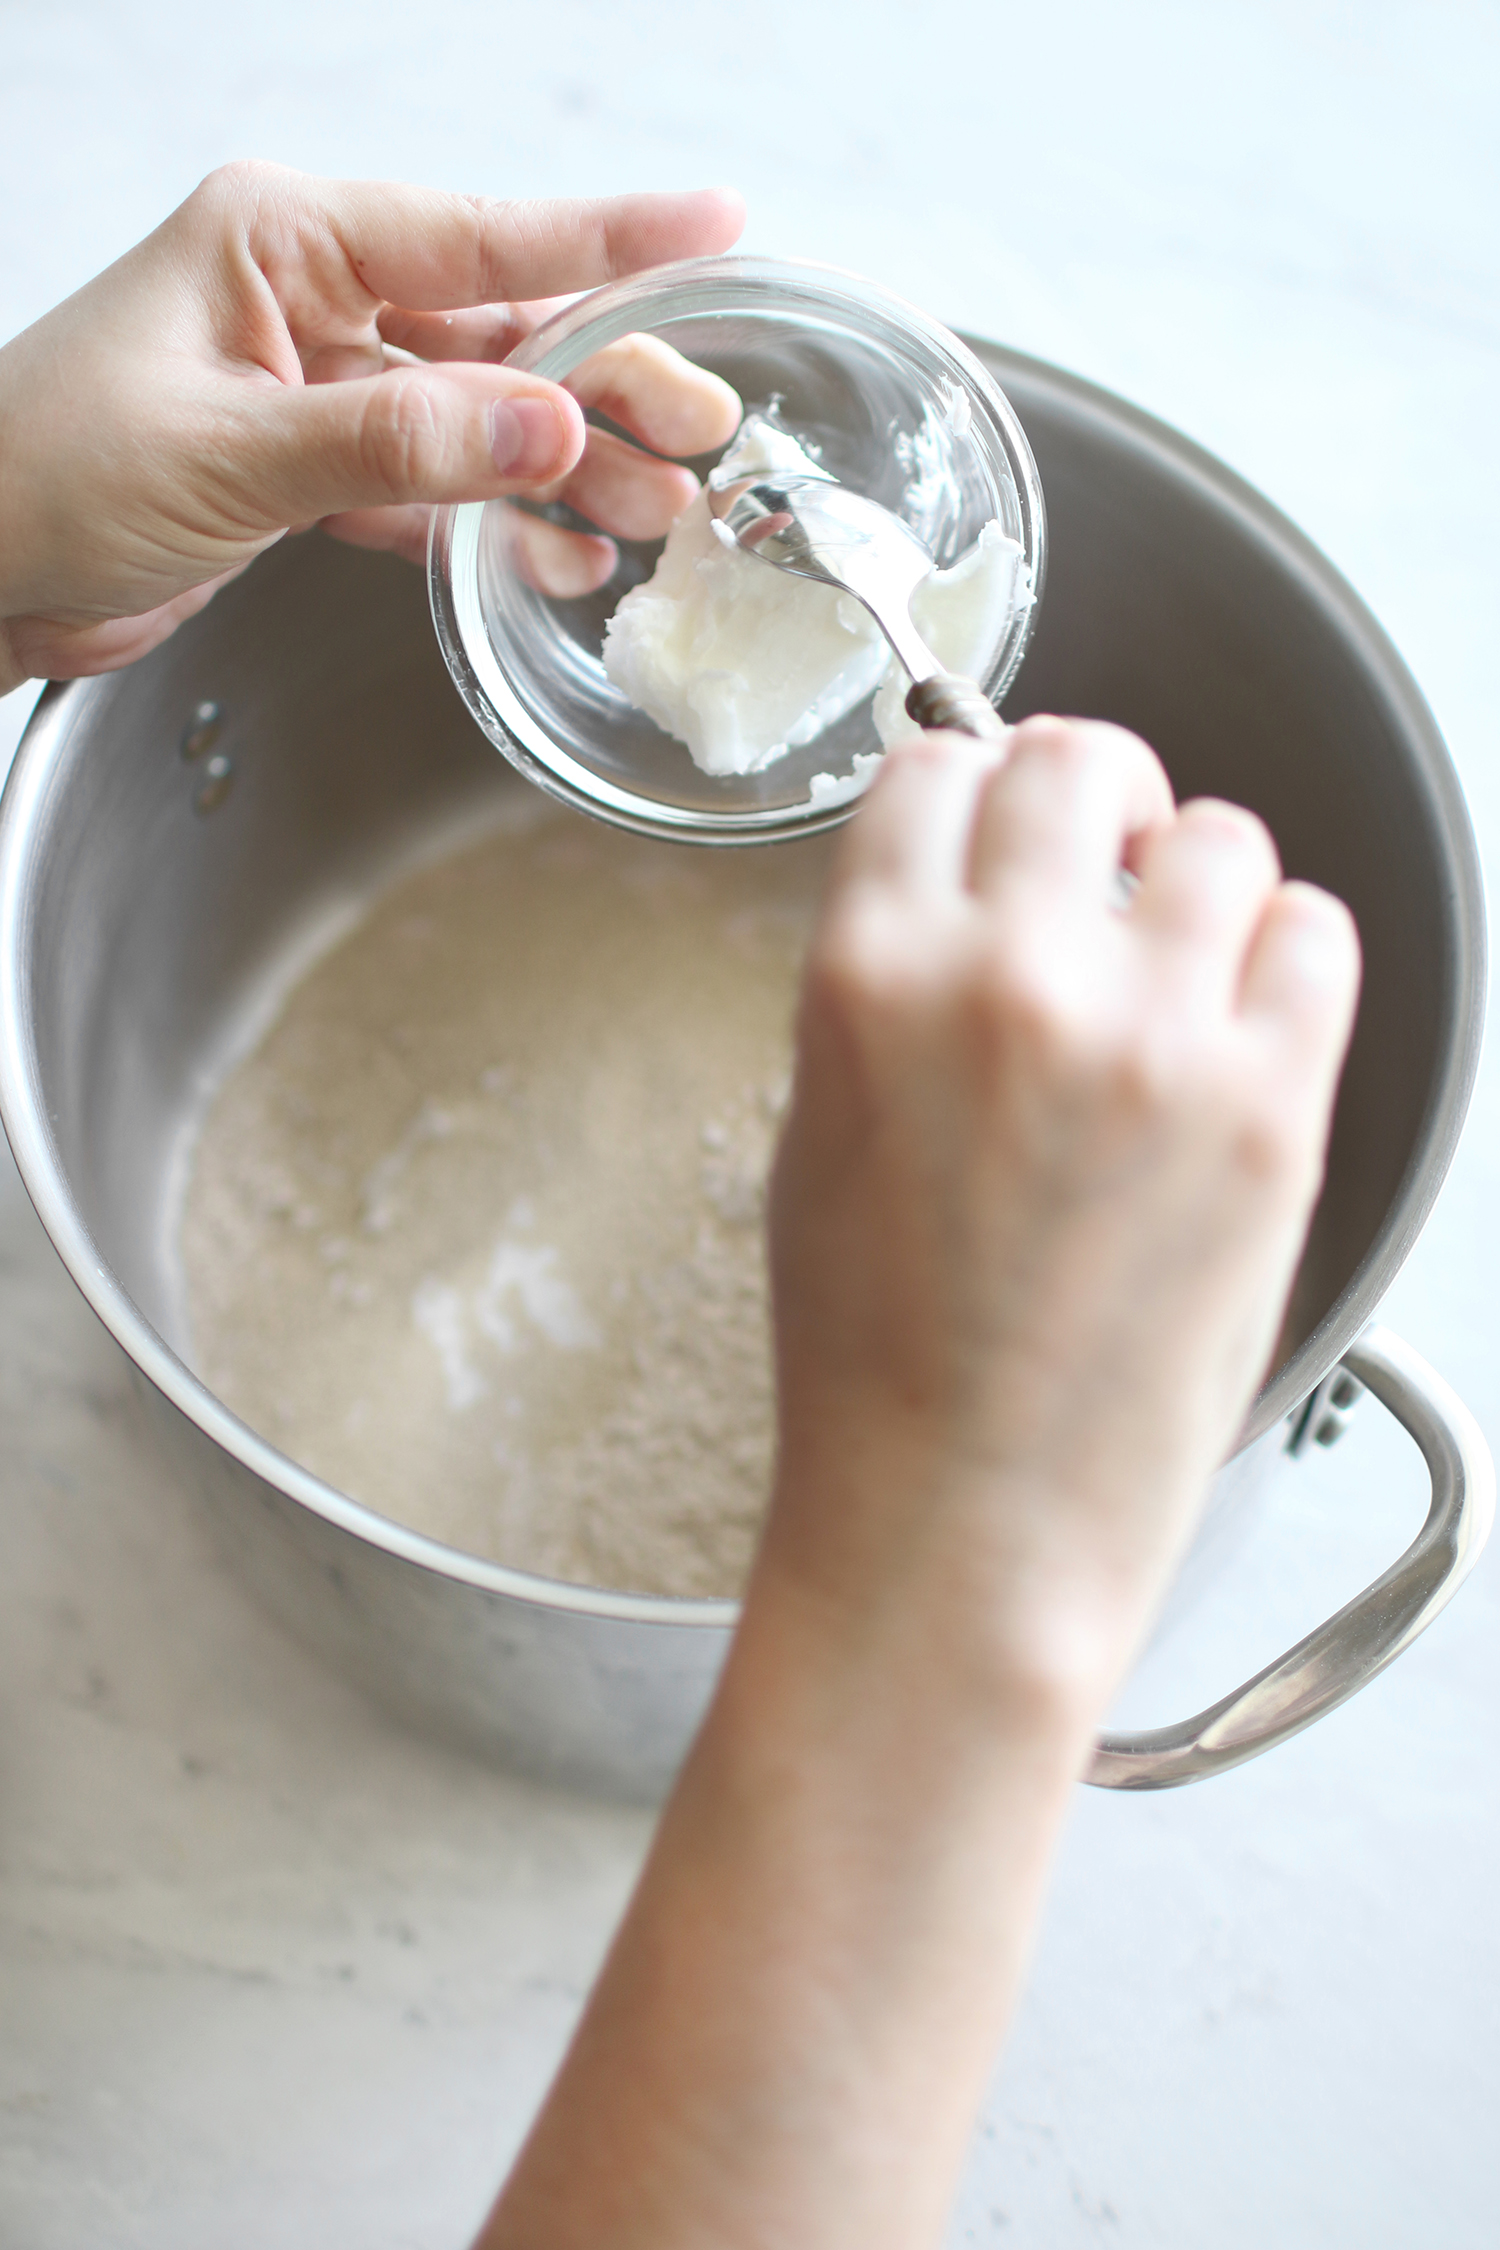
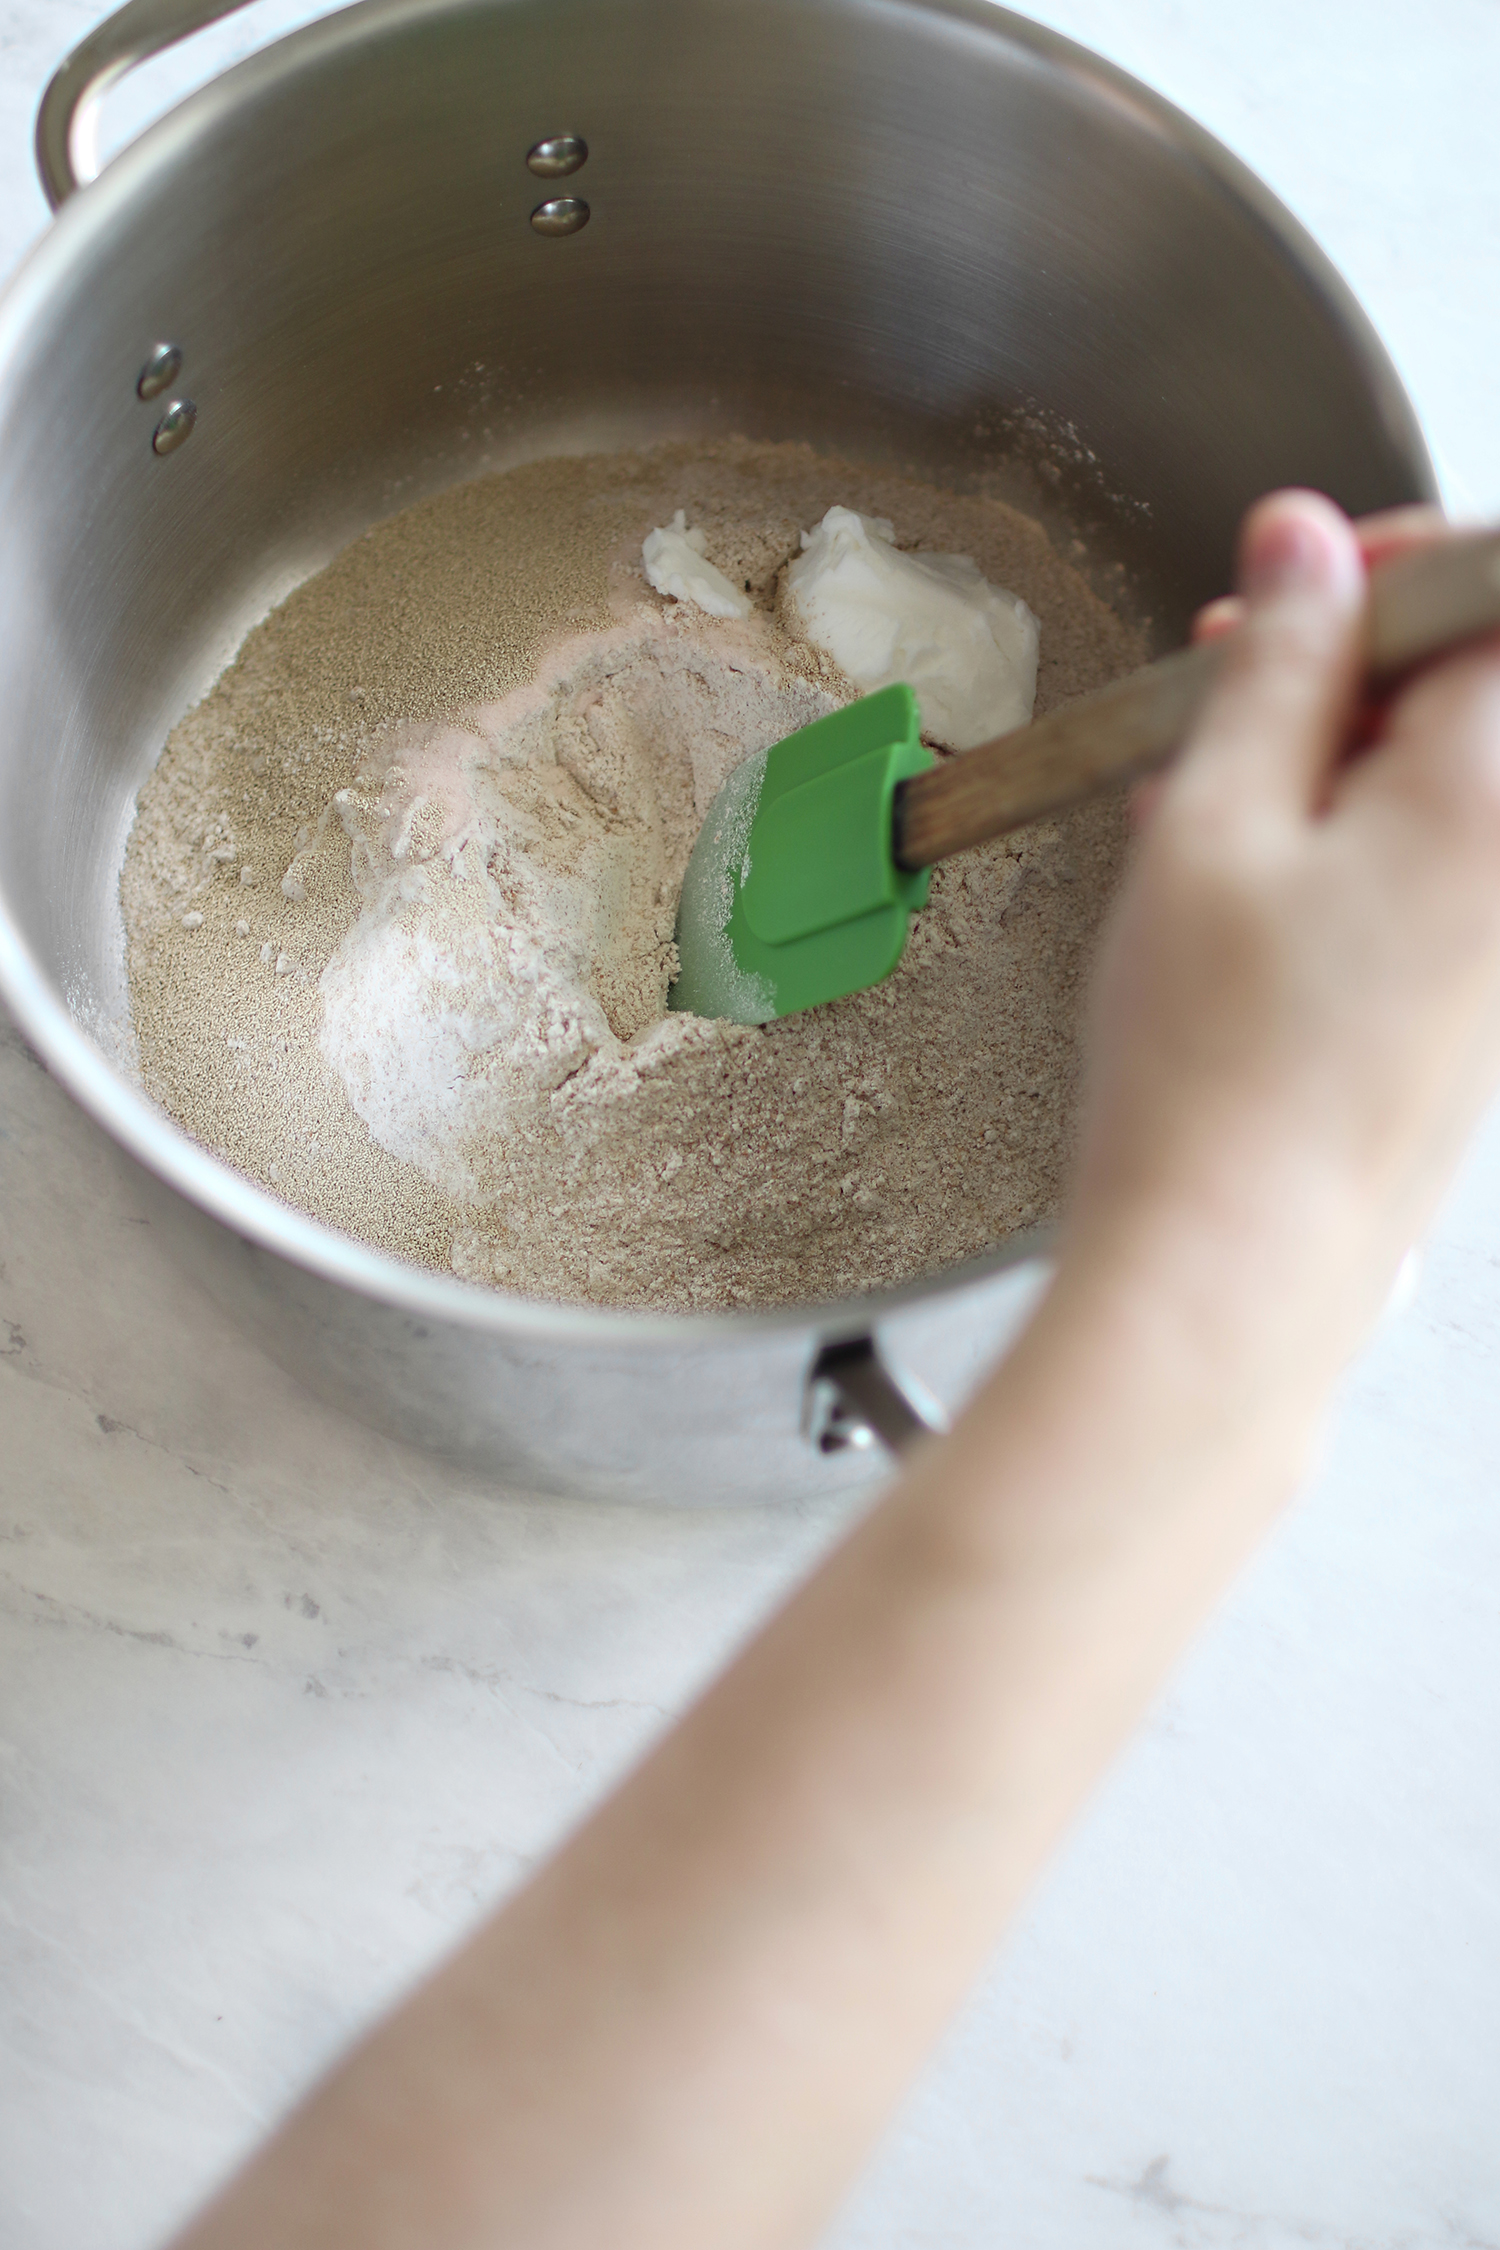
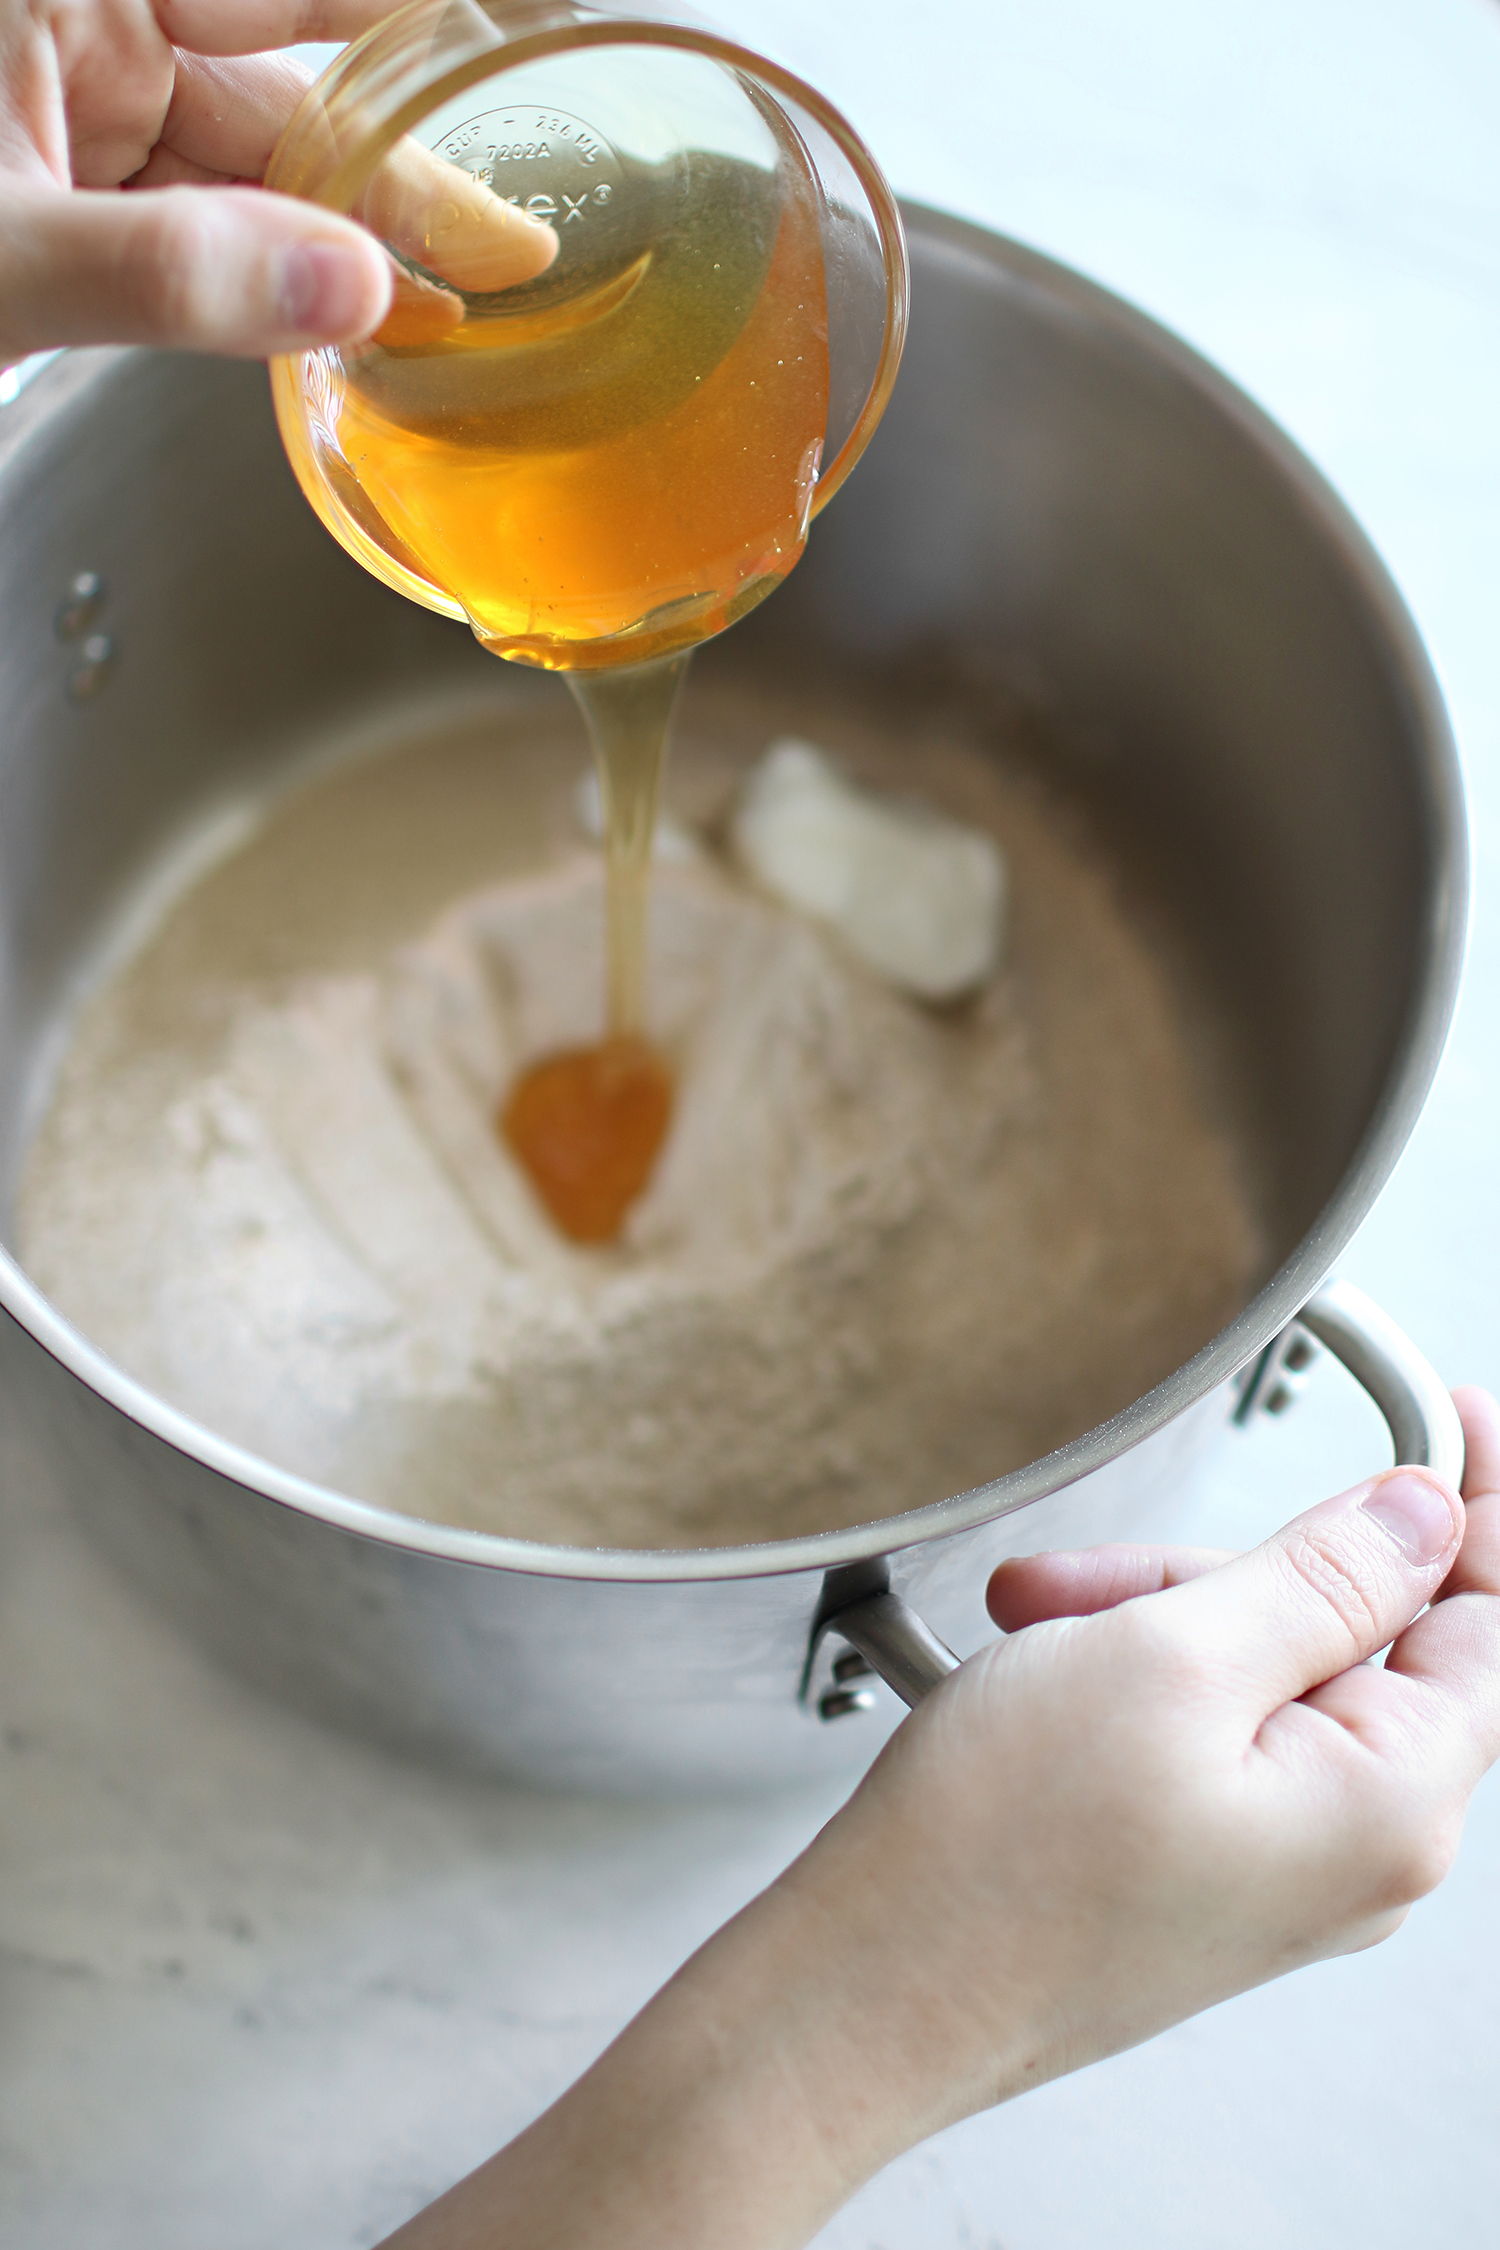
What I like to do is make a sort of divot in the center before I add the honey. This way it helps for the honey not to get stuck on the sides while mixing.
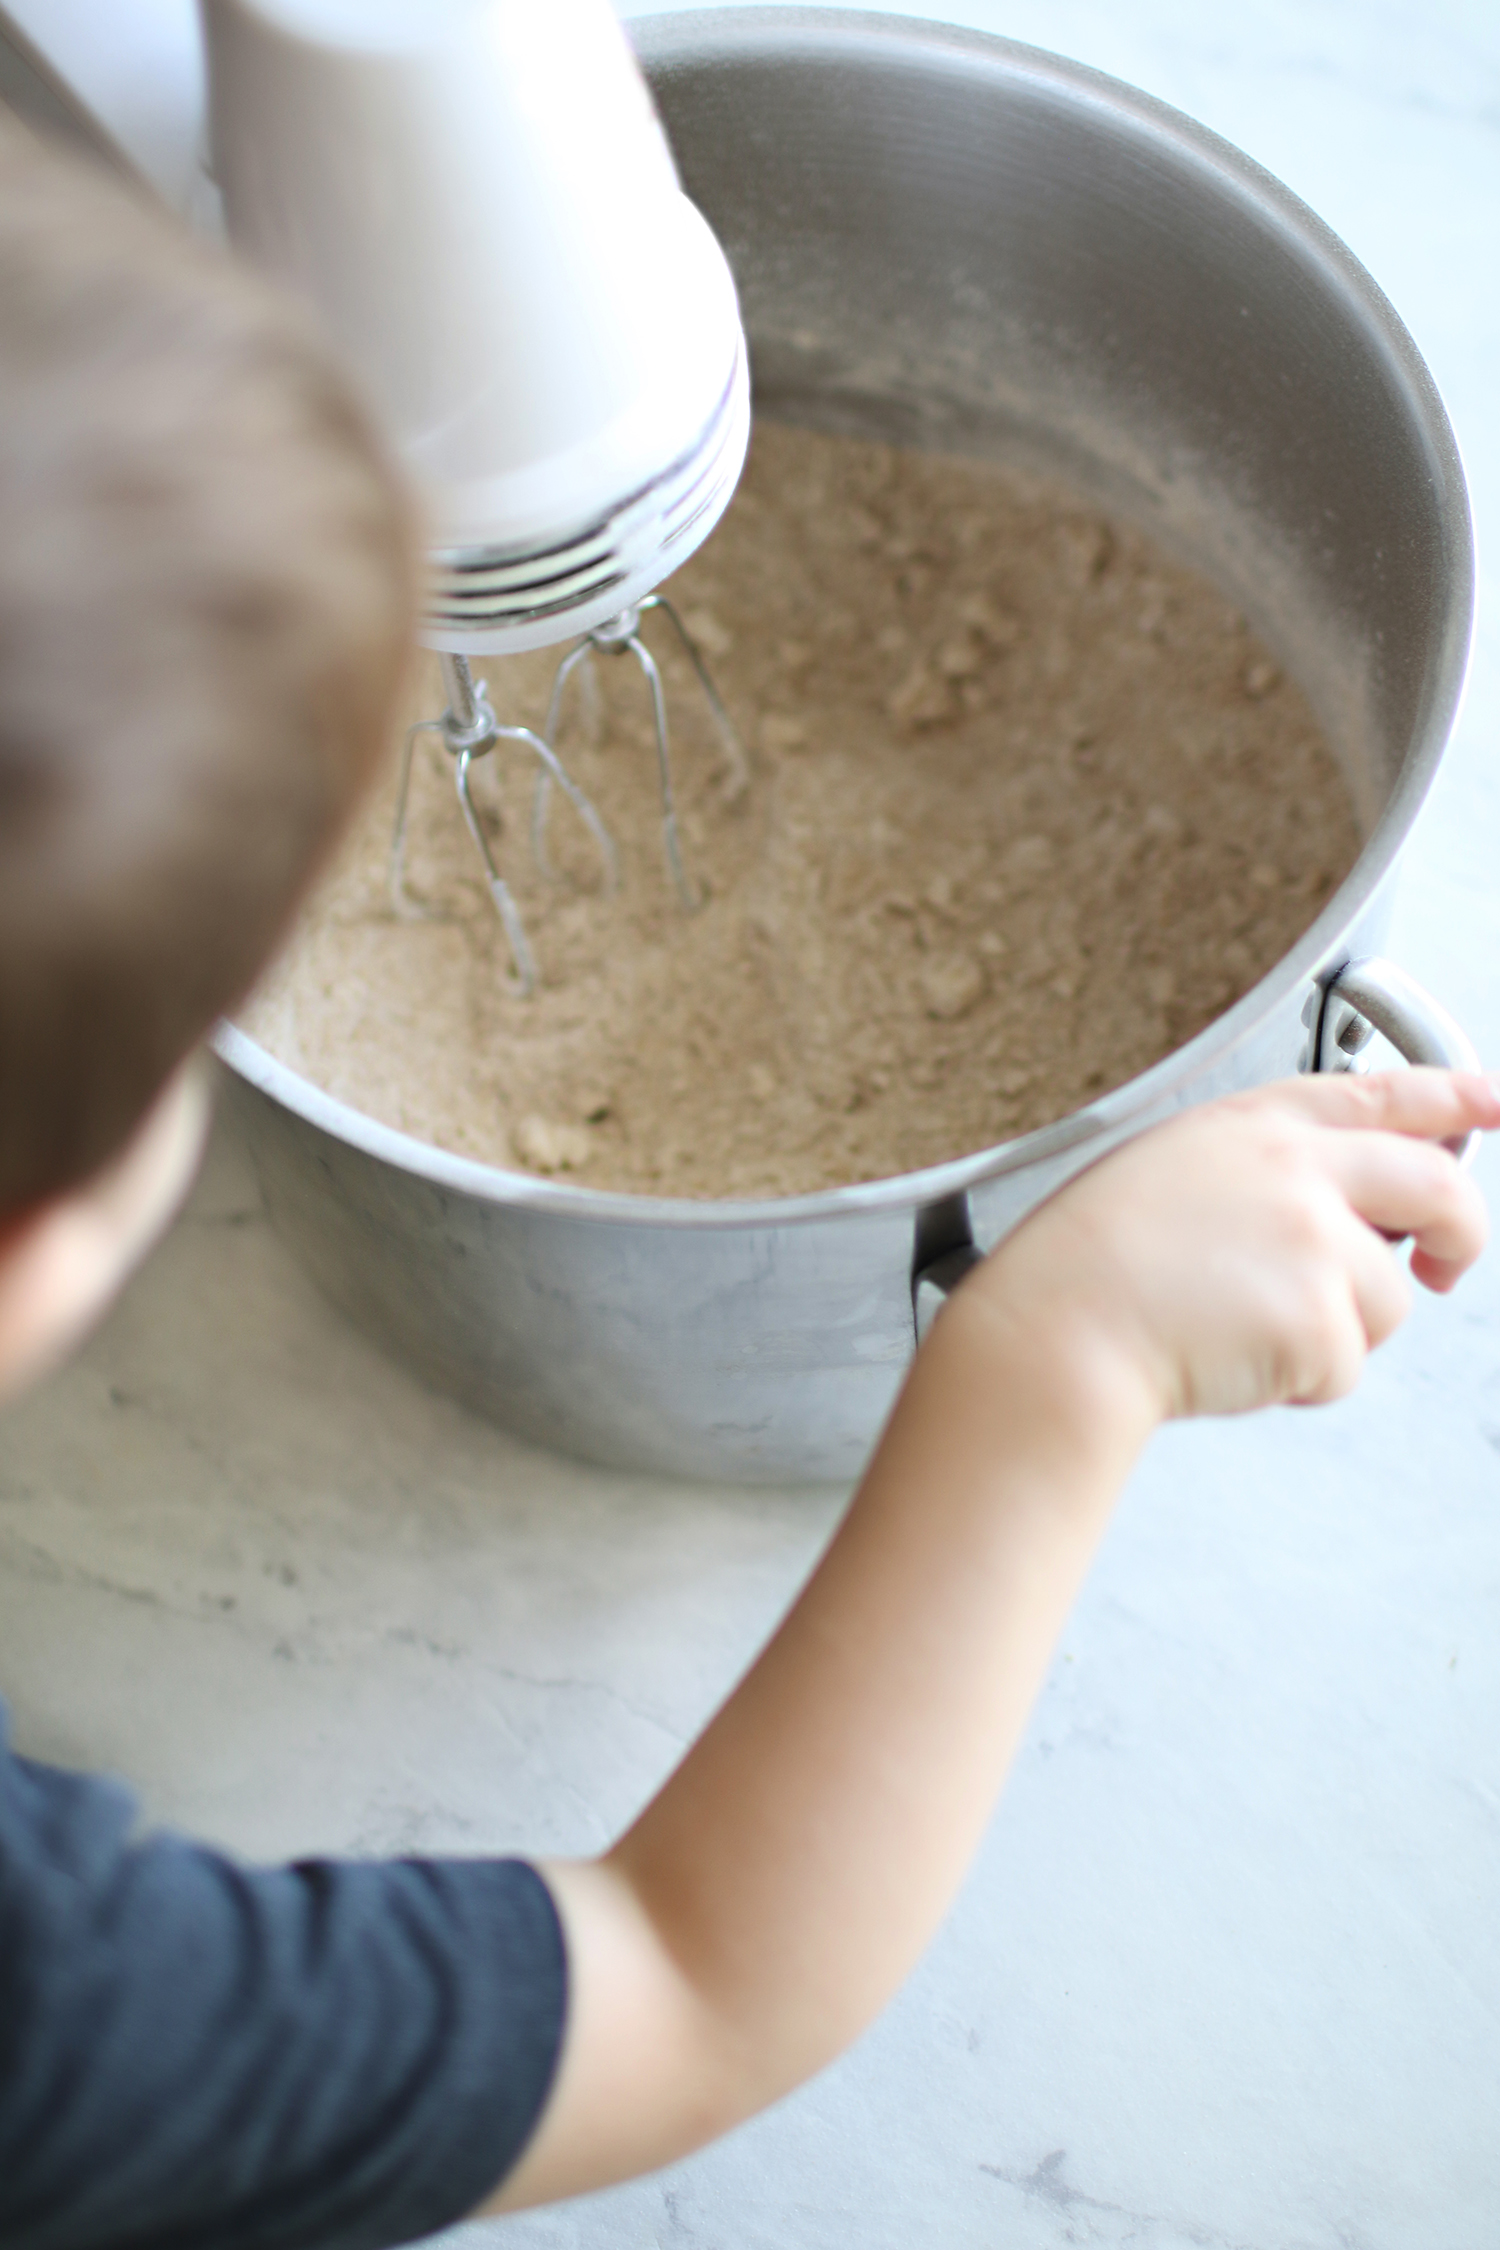
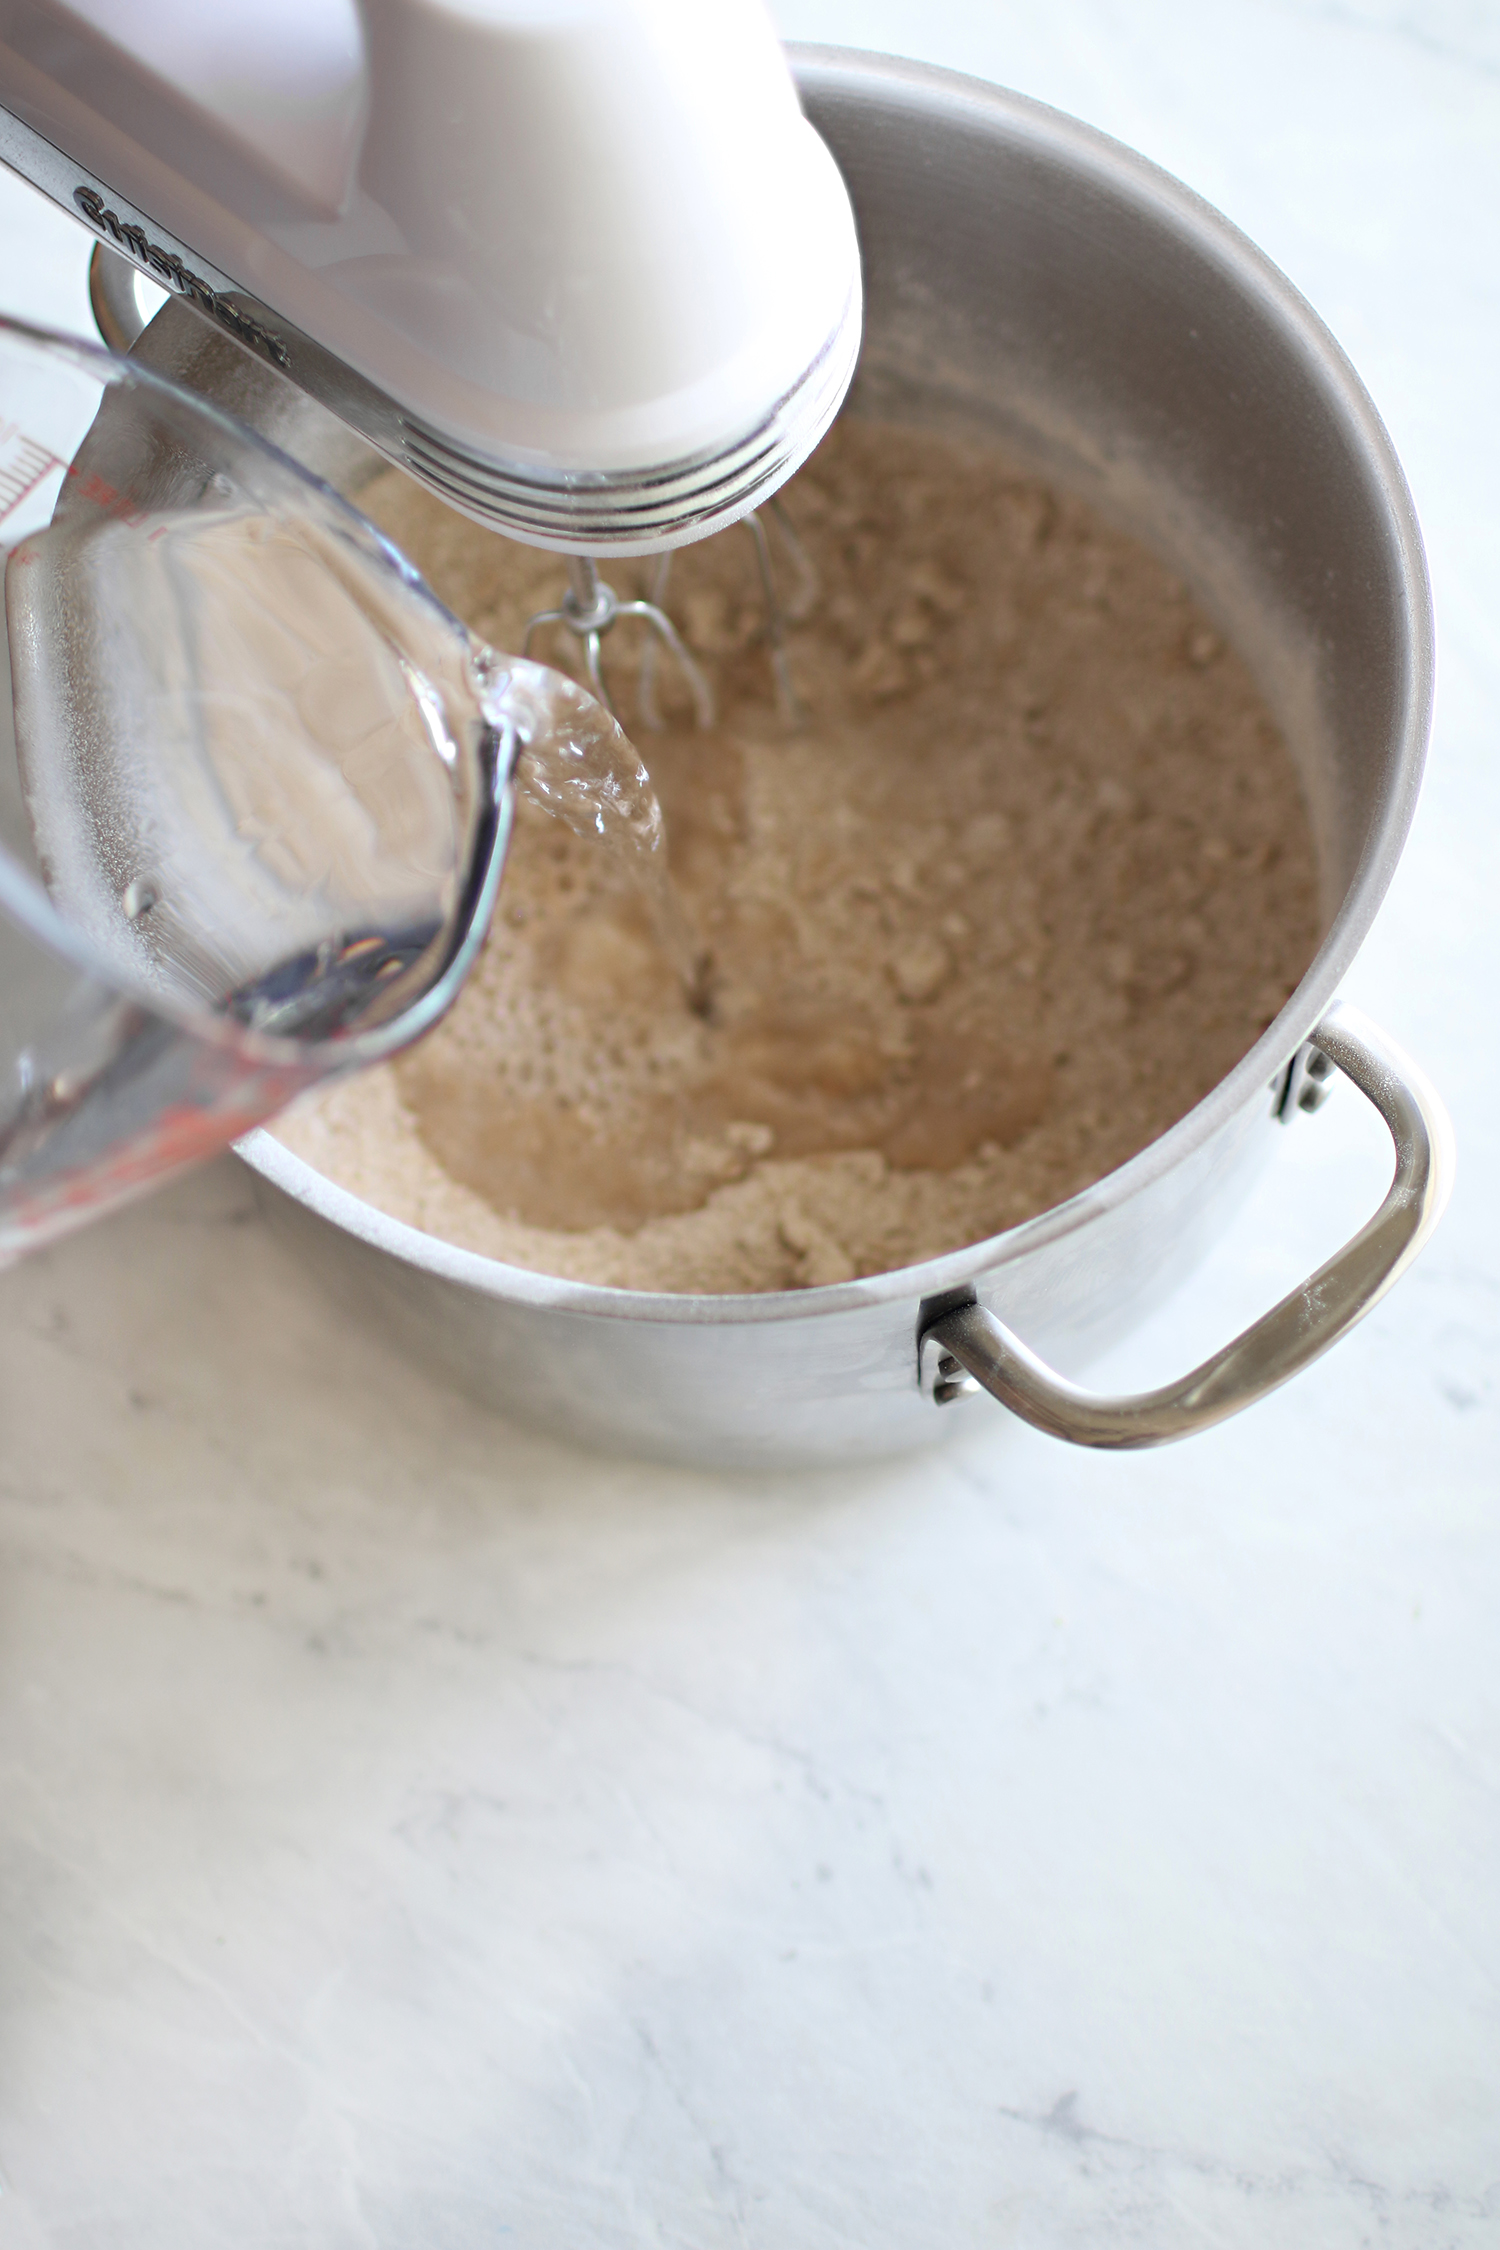
I then use my hand mixer to combine the ingredients while also mixing in the warm water.
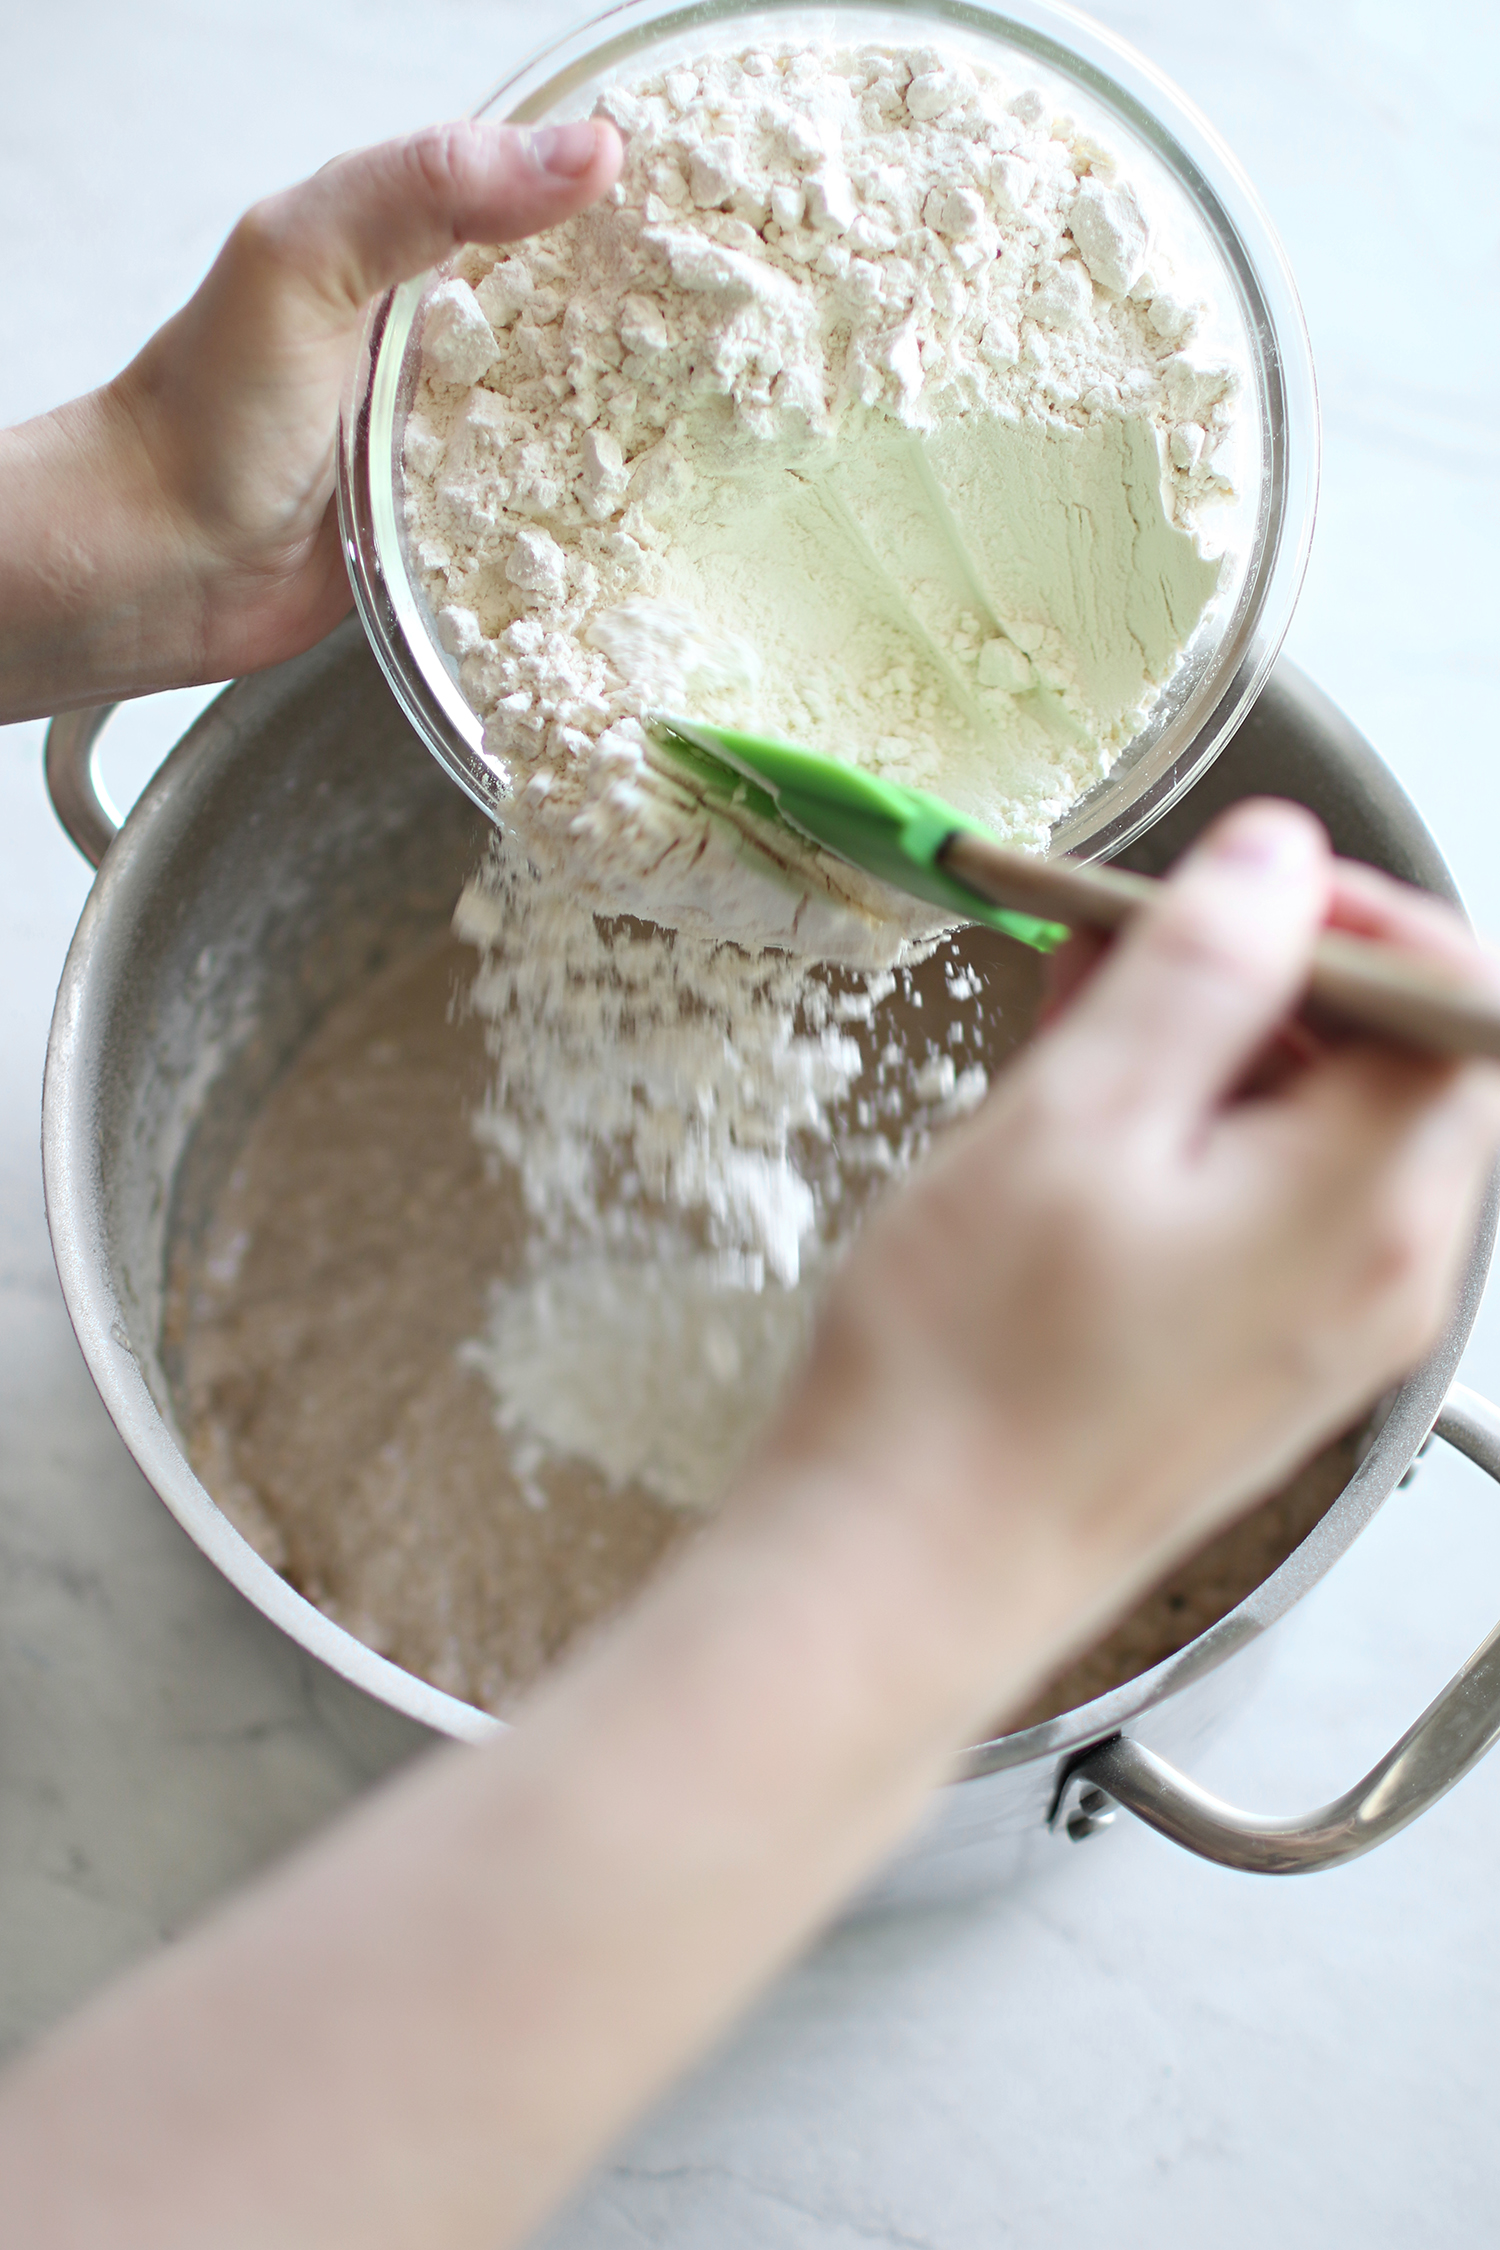
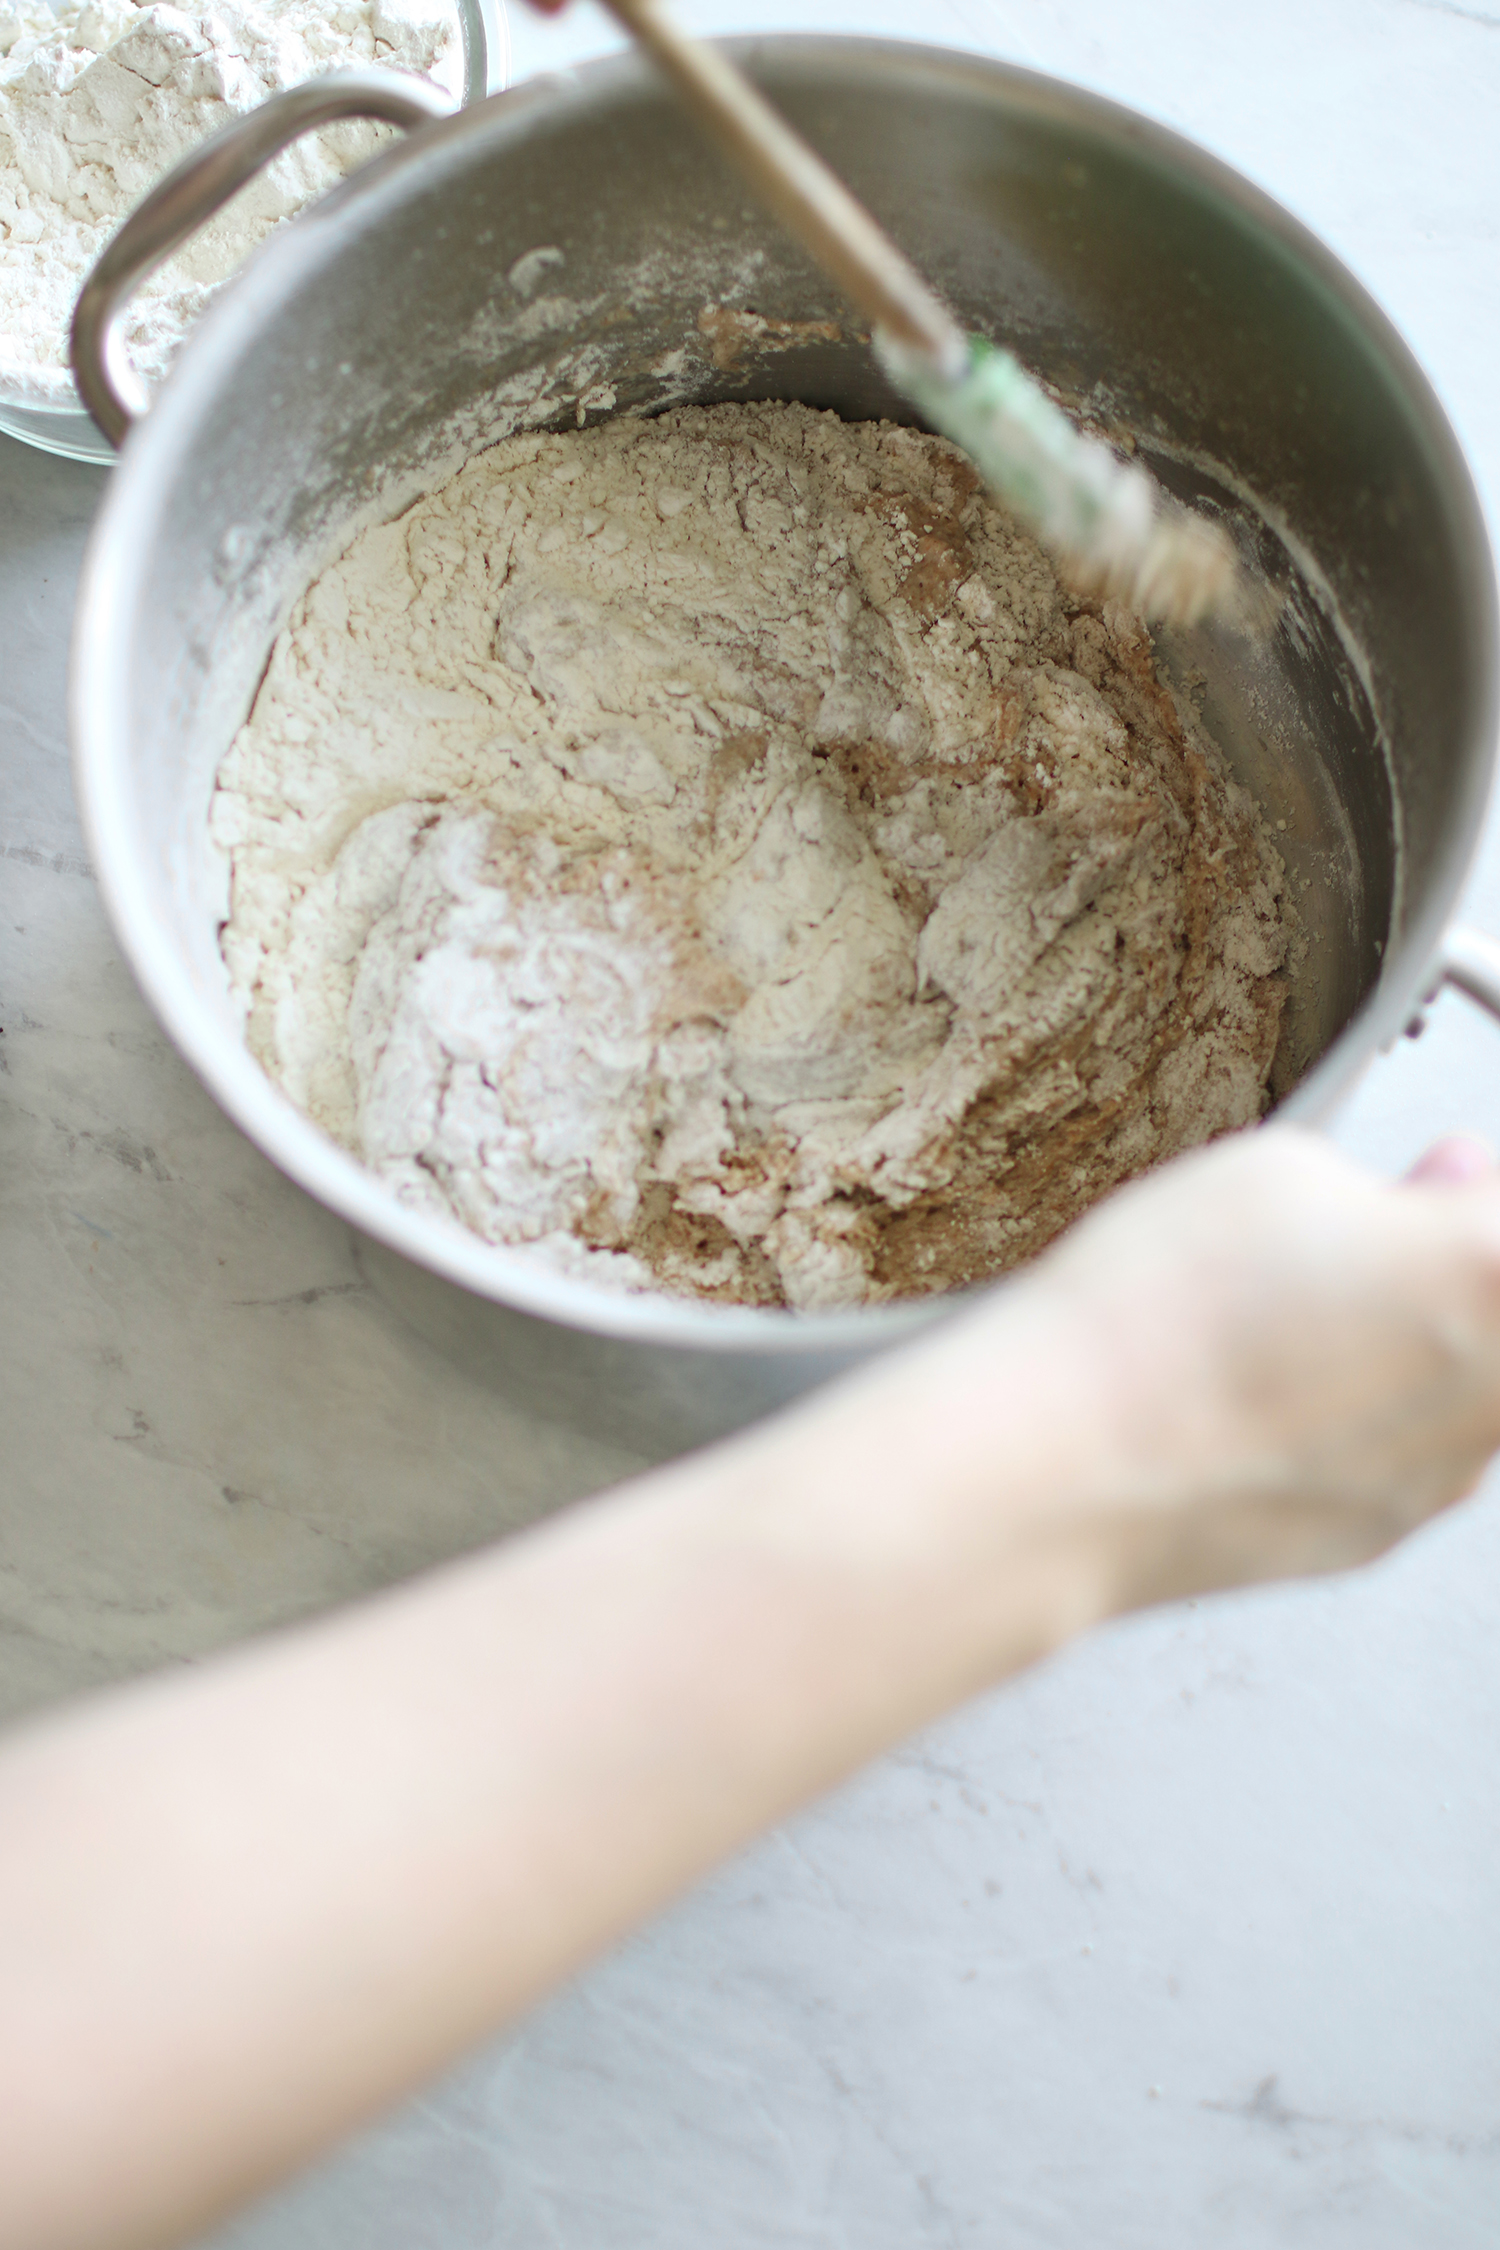
Then we are going to stir in our 3 cups of bread or all-purpose flour, but only one cup at a time. You’ll want to make sure and mix well in between adding each cup so all of the flour can be incorporated slowly. This helps us create a really great texture.
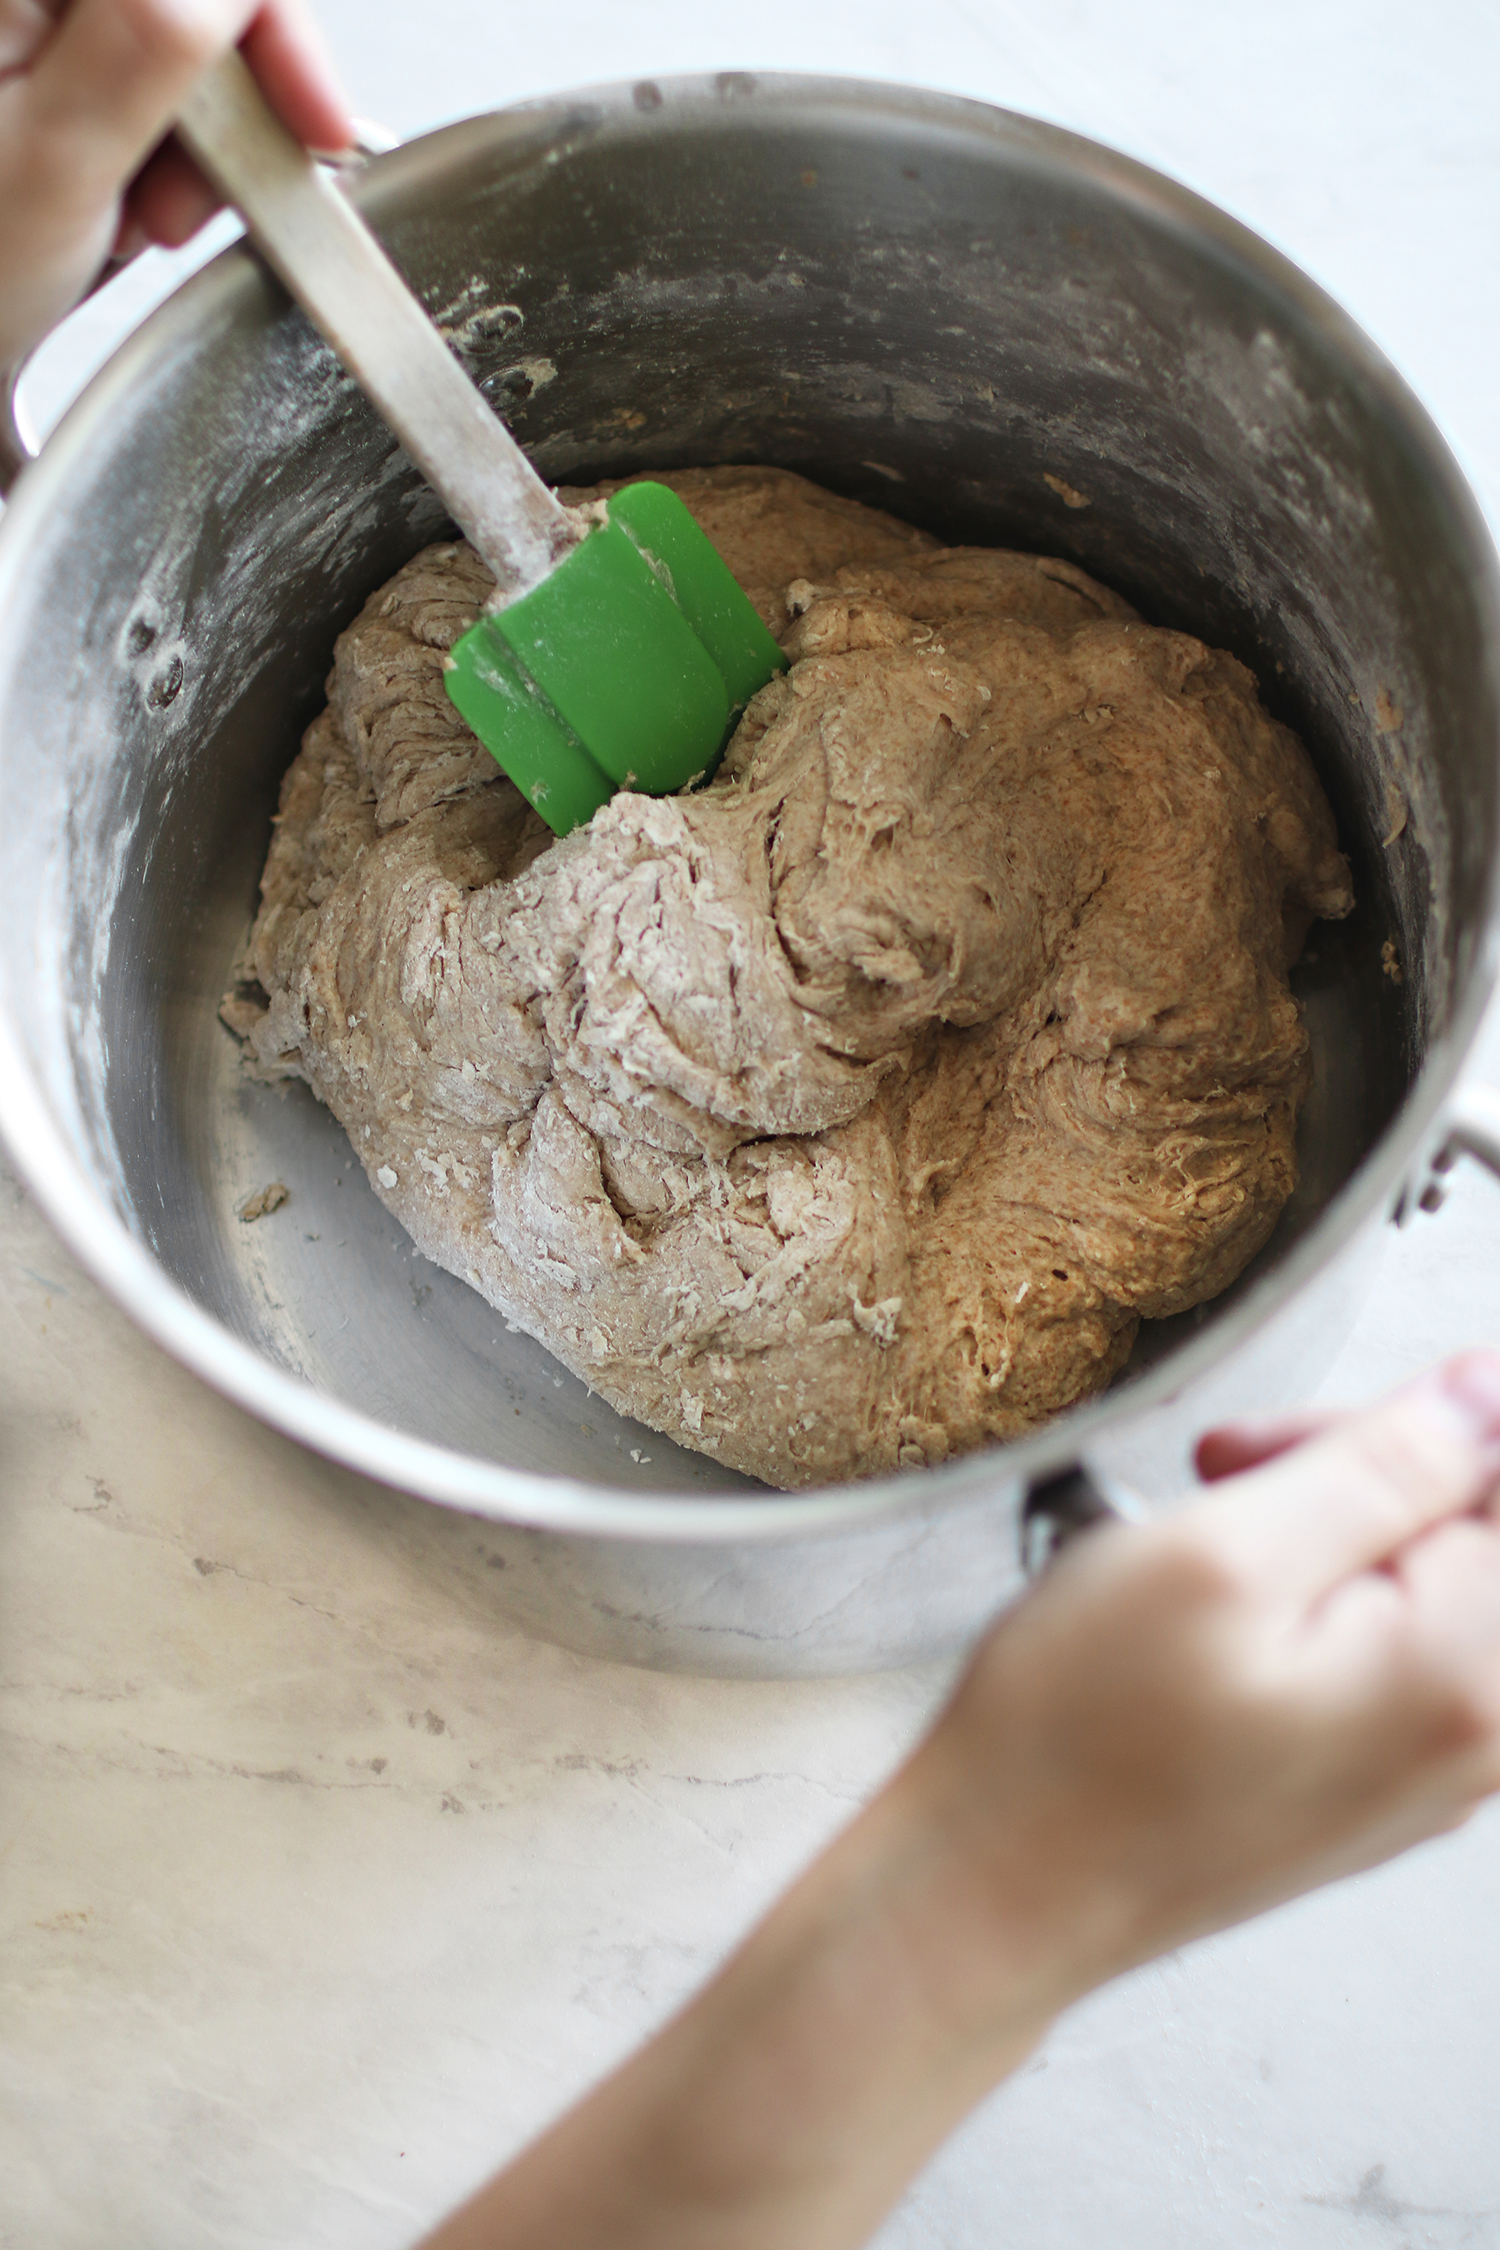
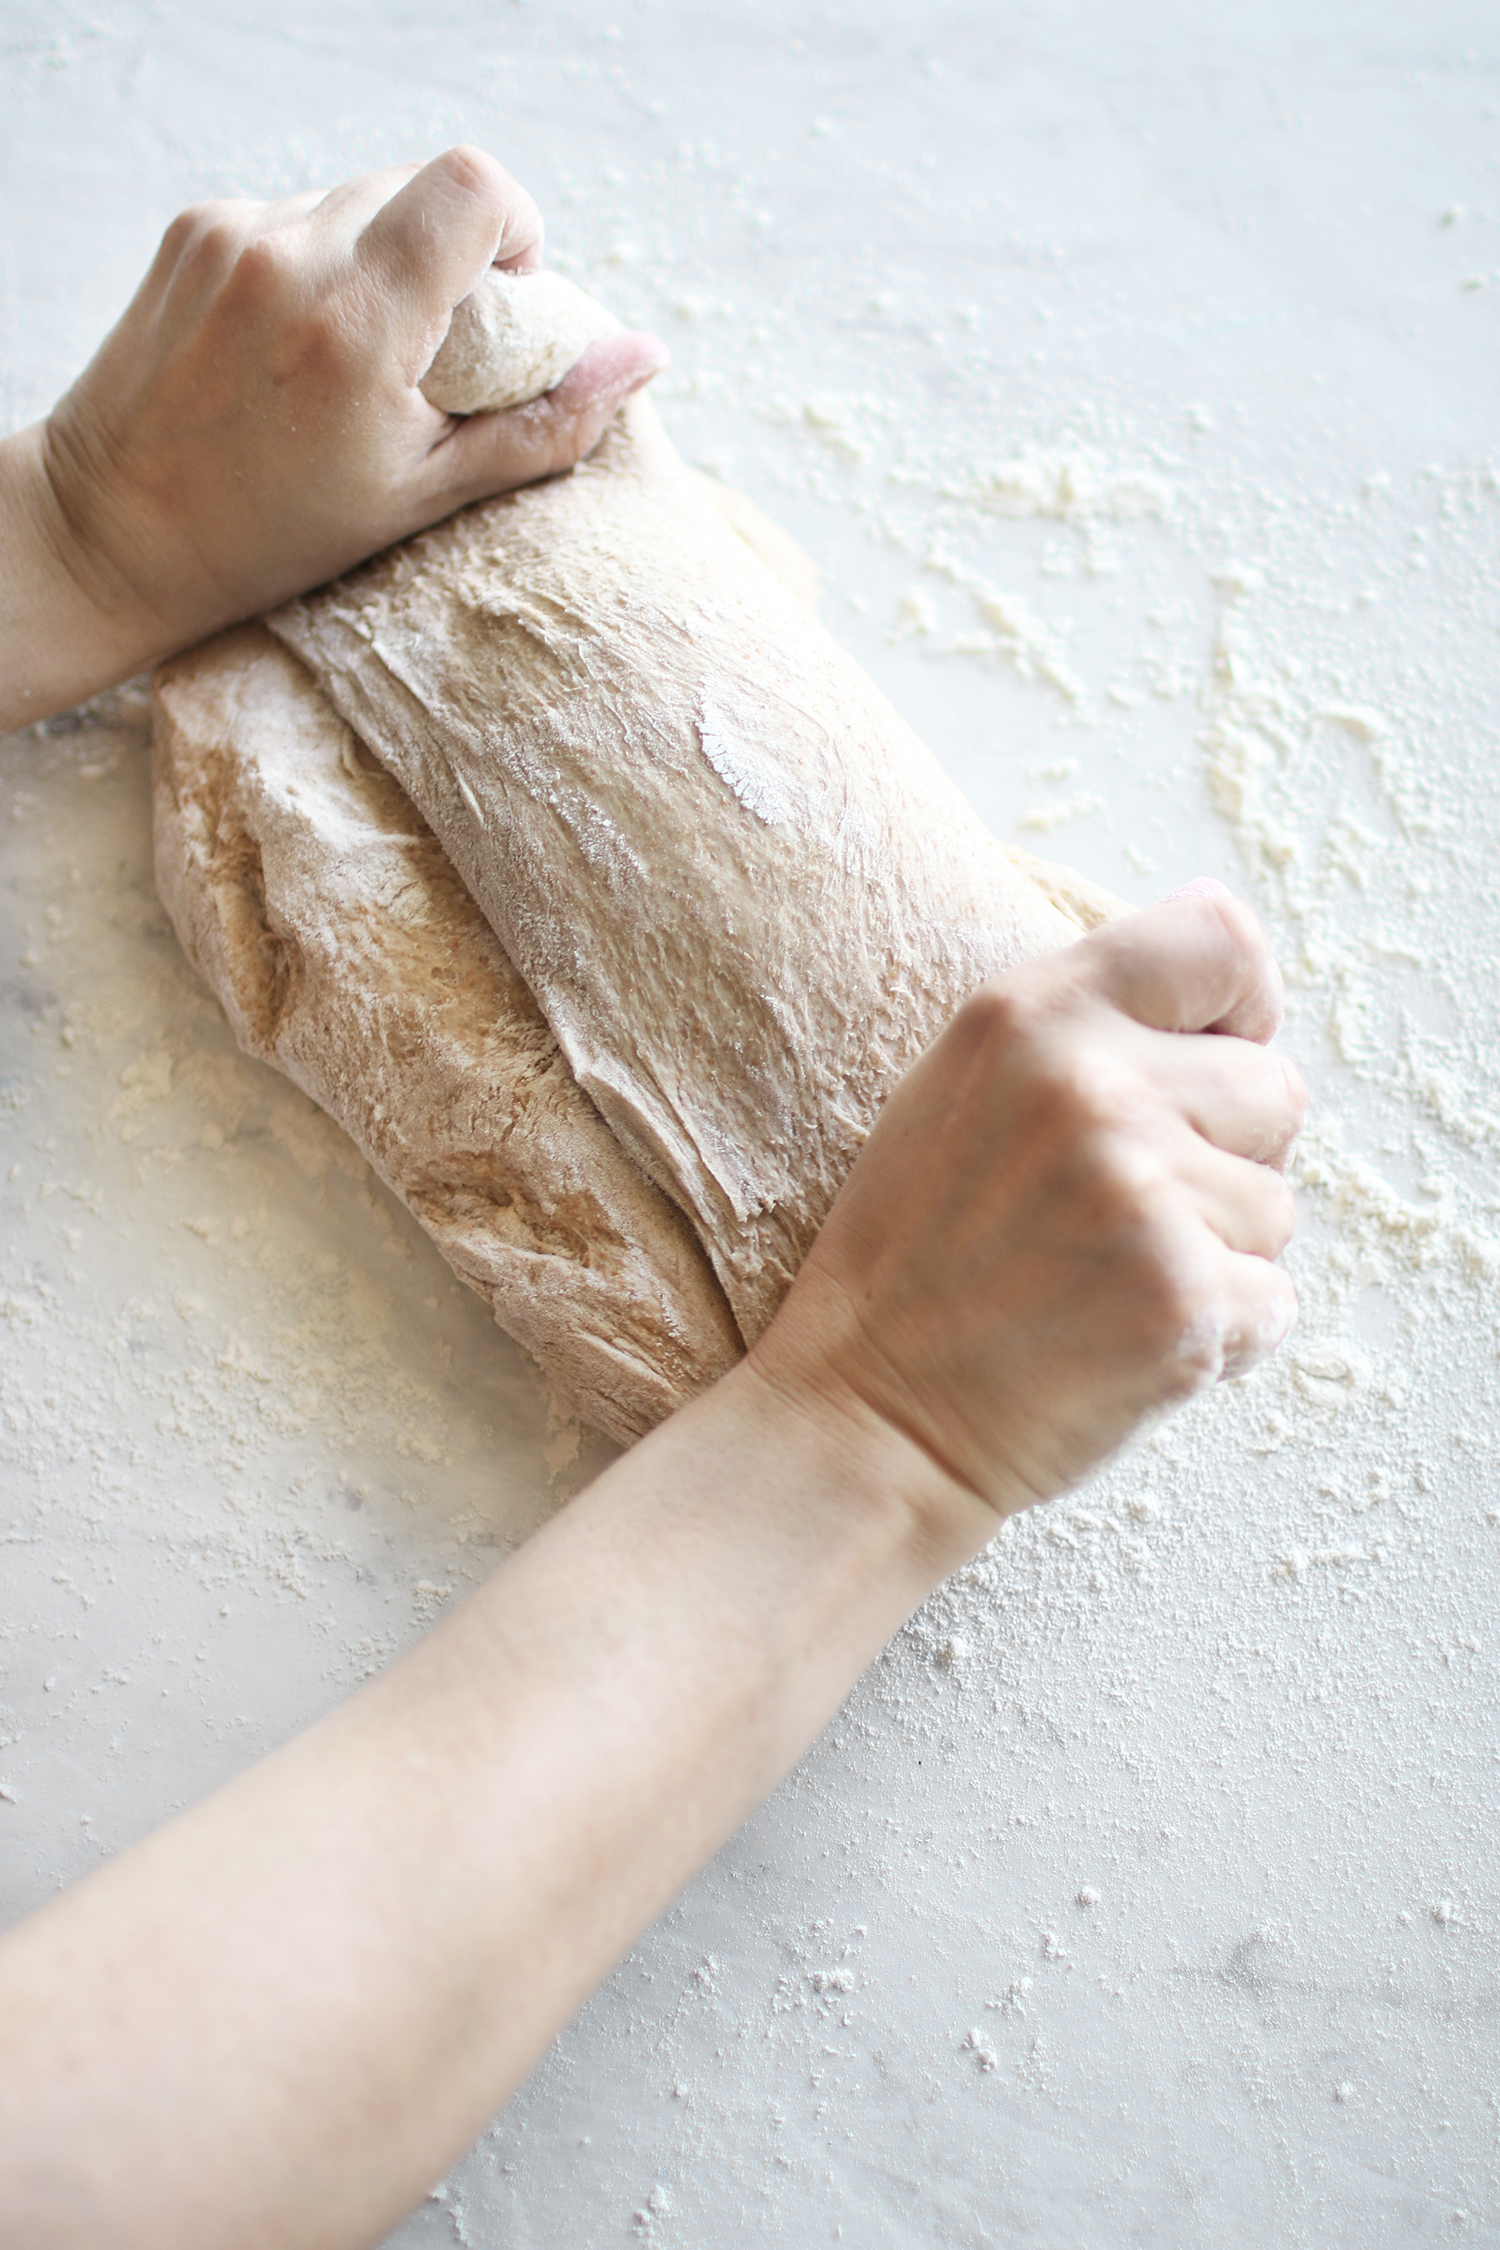
Then we want to place our dough on a lightly floured surface and we are going to knead it by hand for about 7 minutes. If you have a Kitchen-Aid mixer, you can use that, but I like to do it by hand.
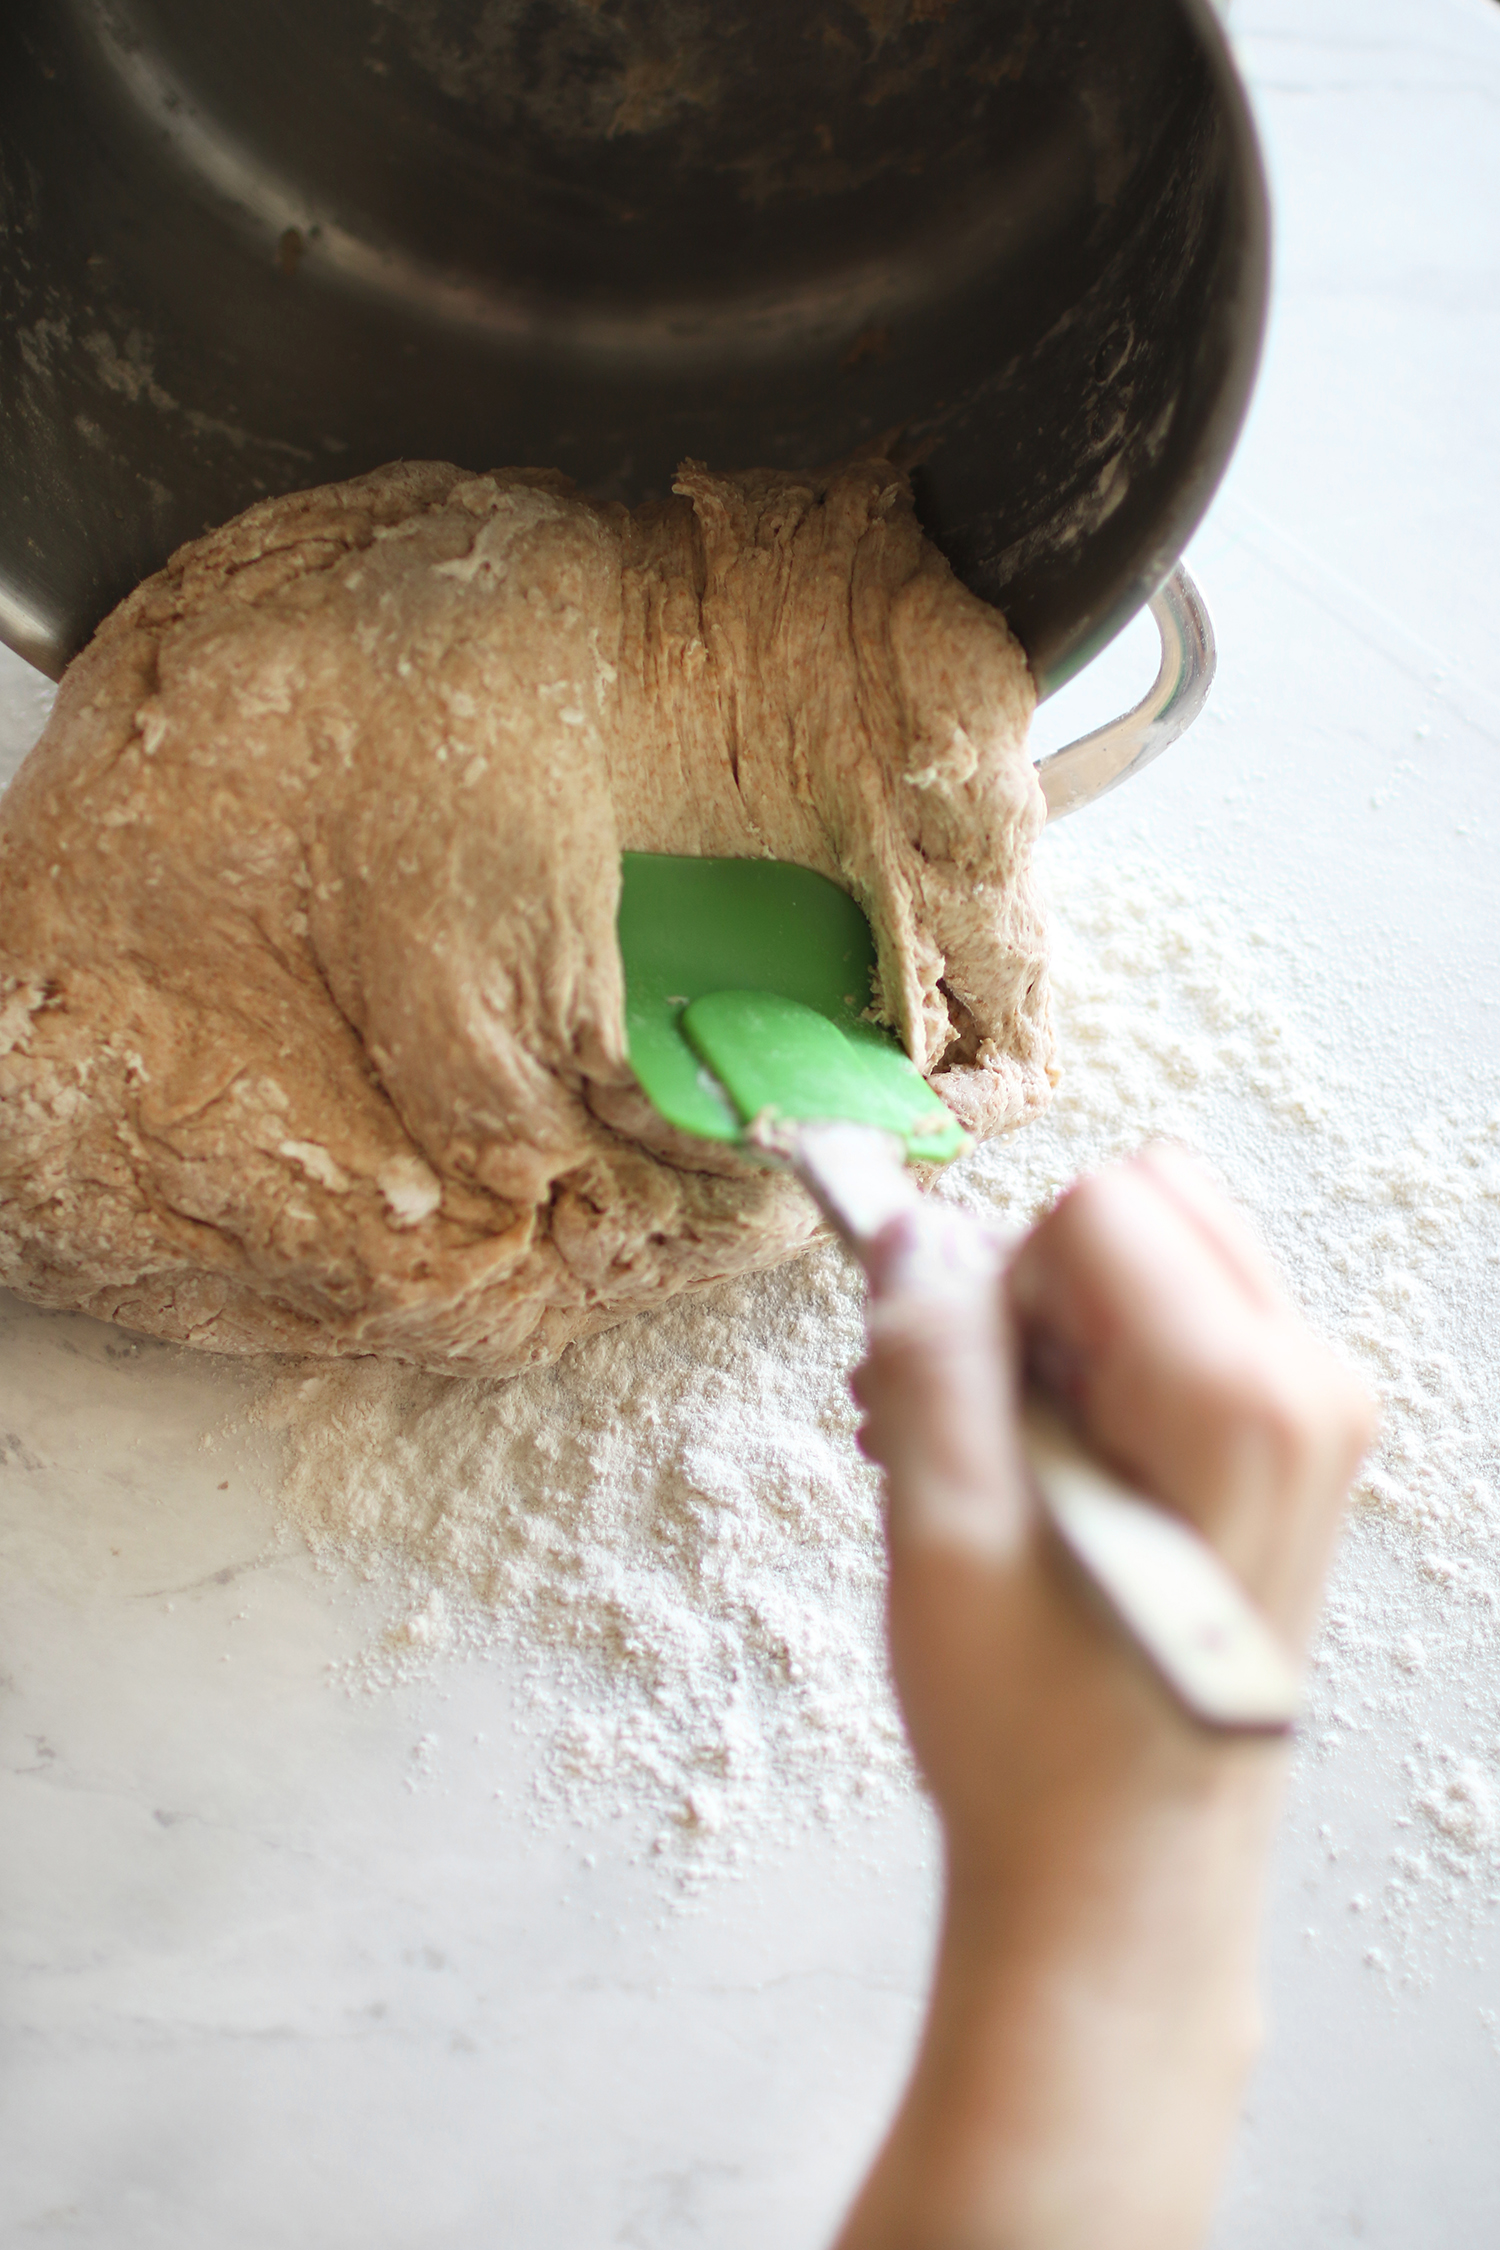
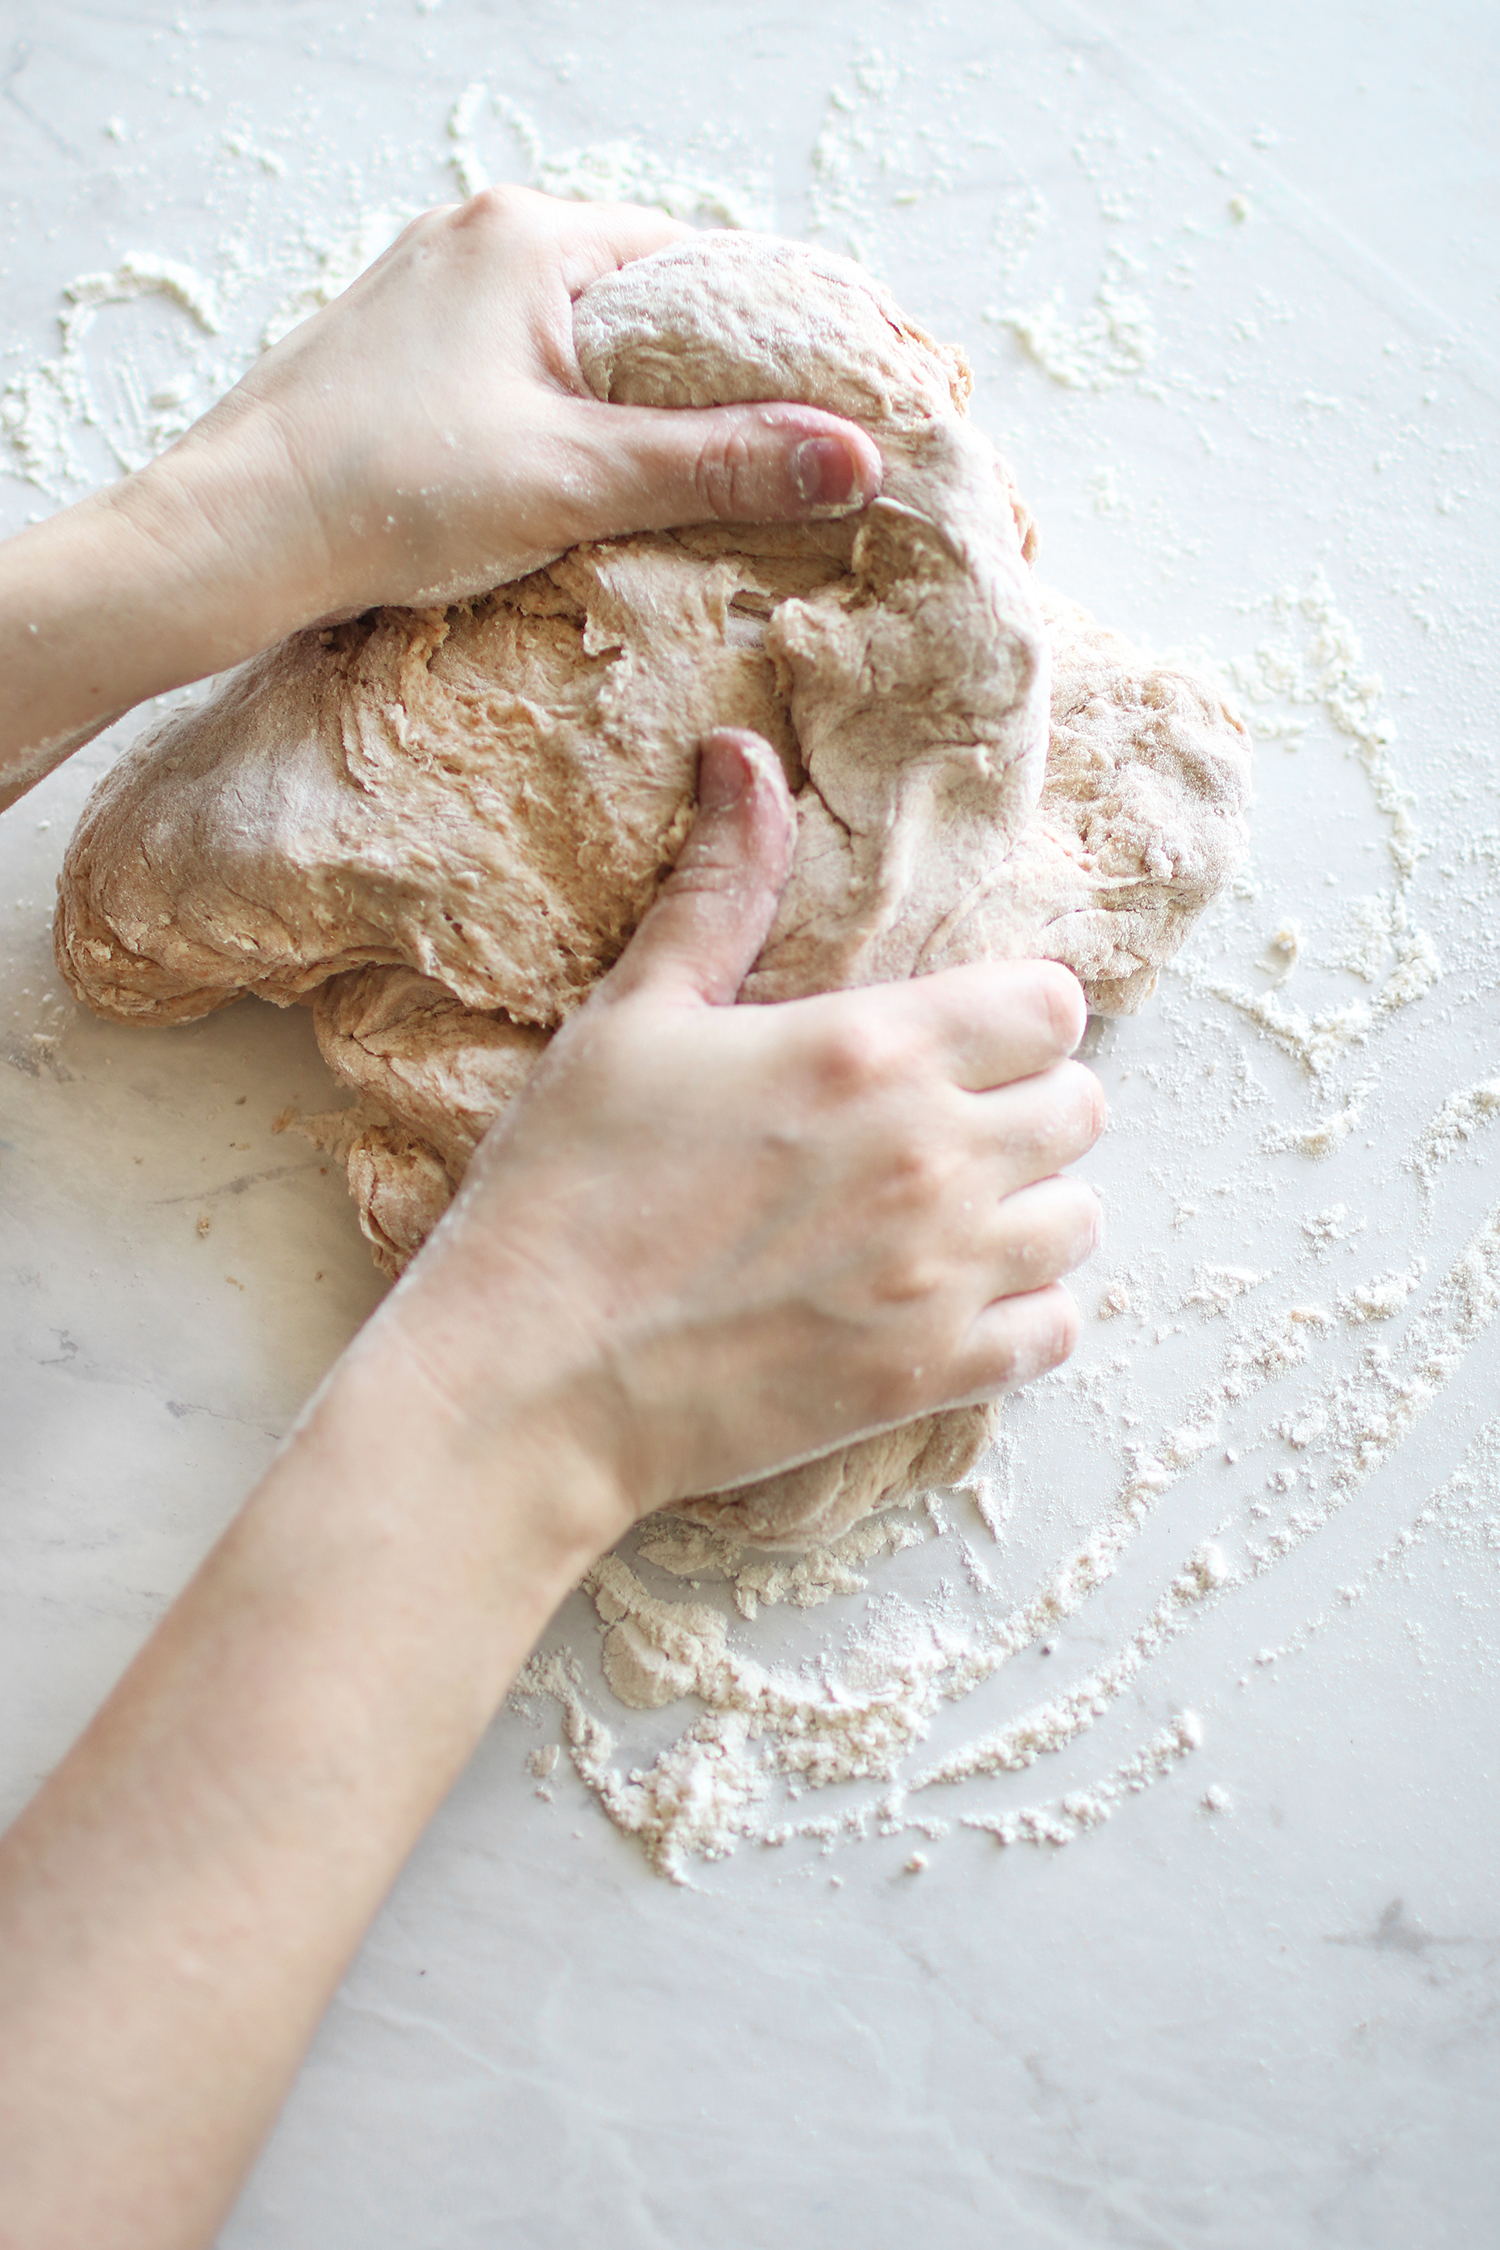
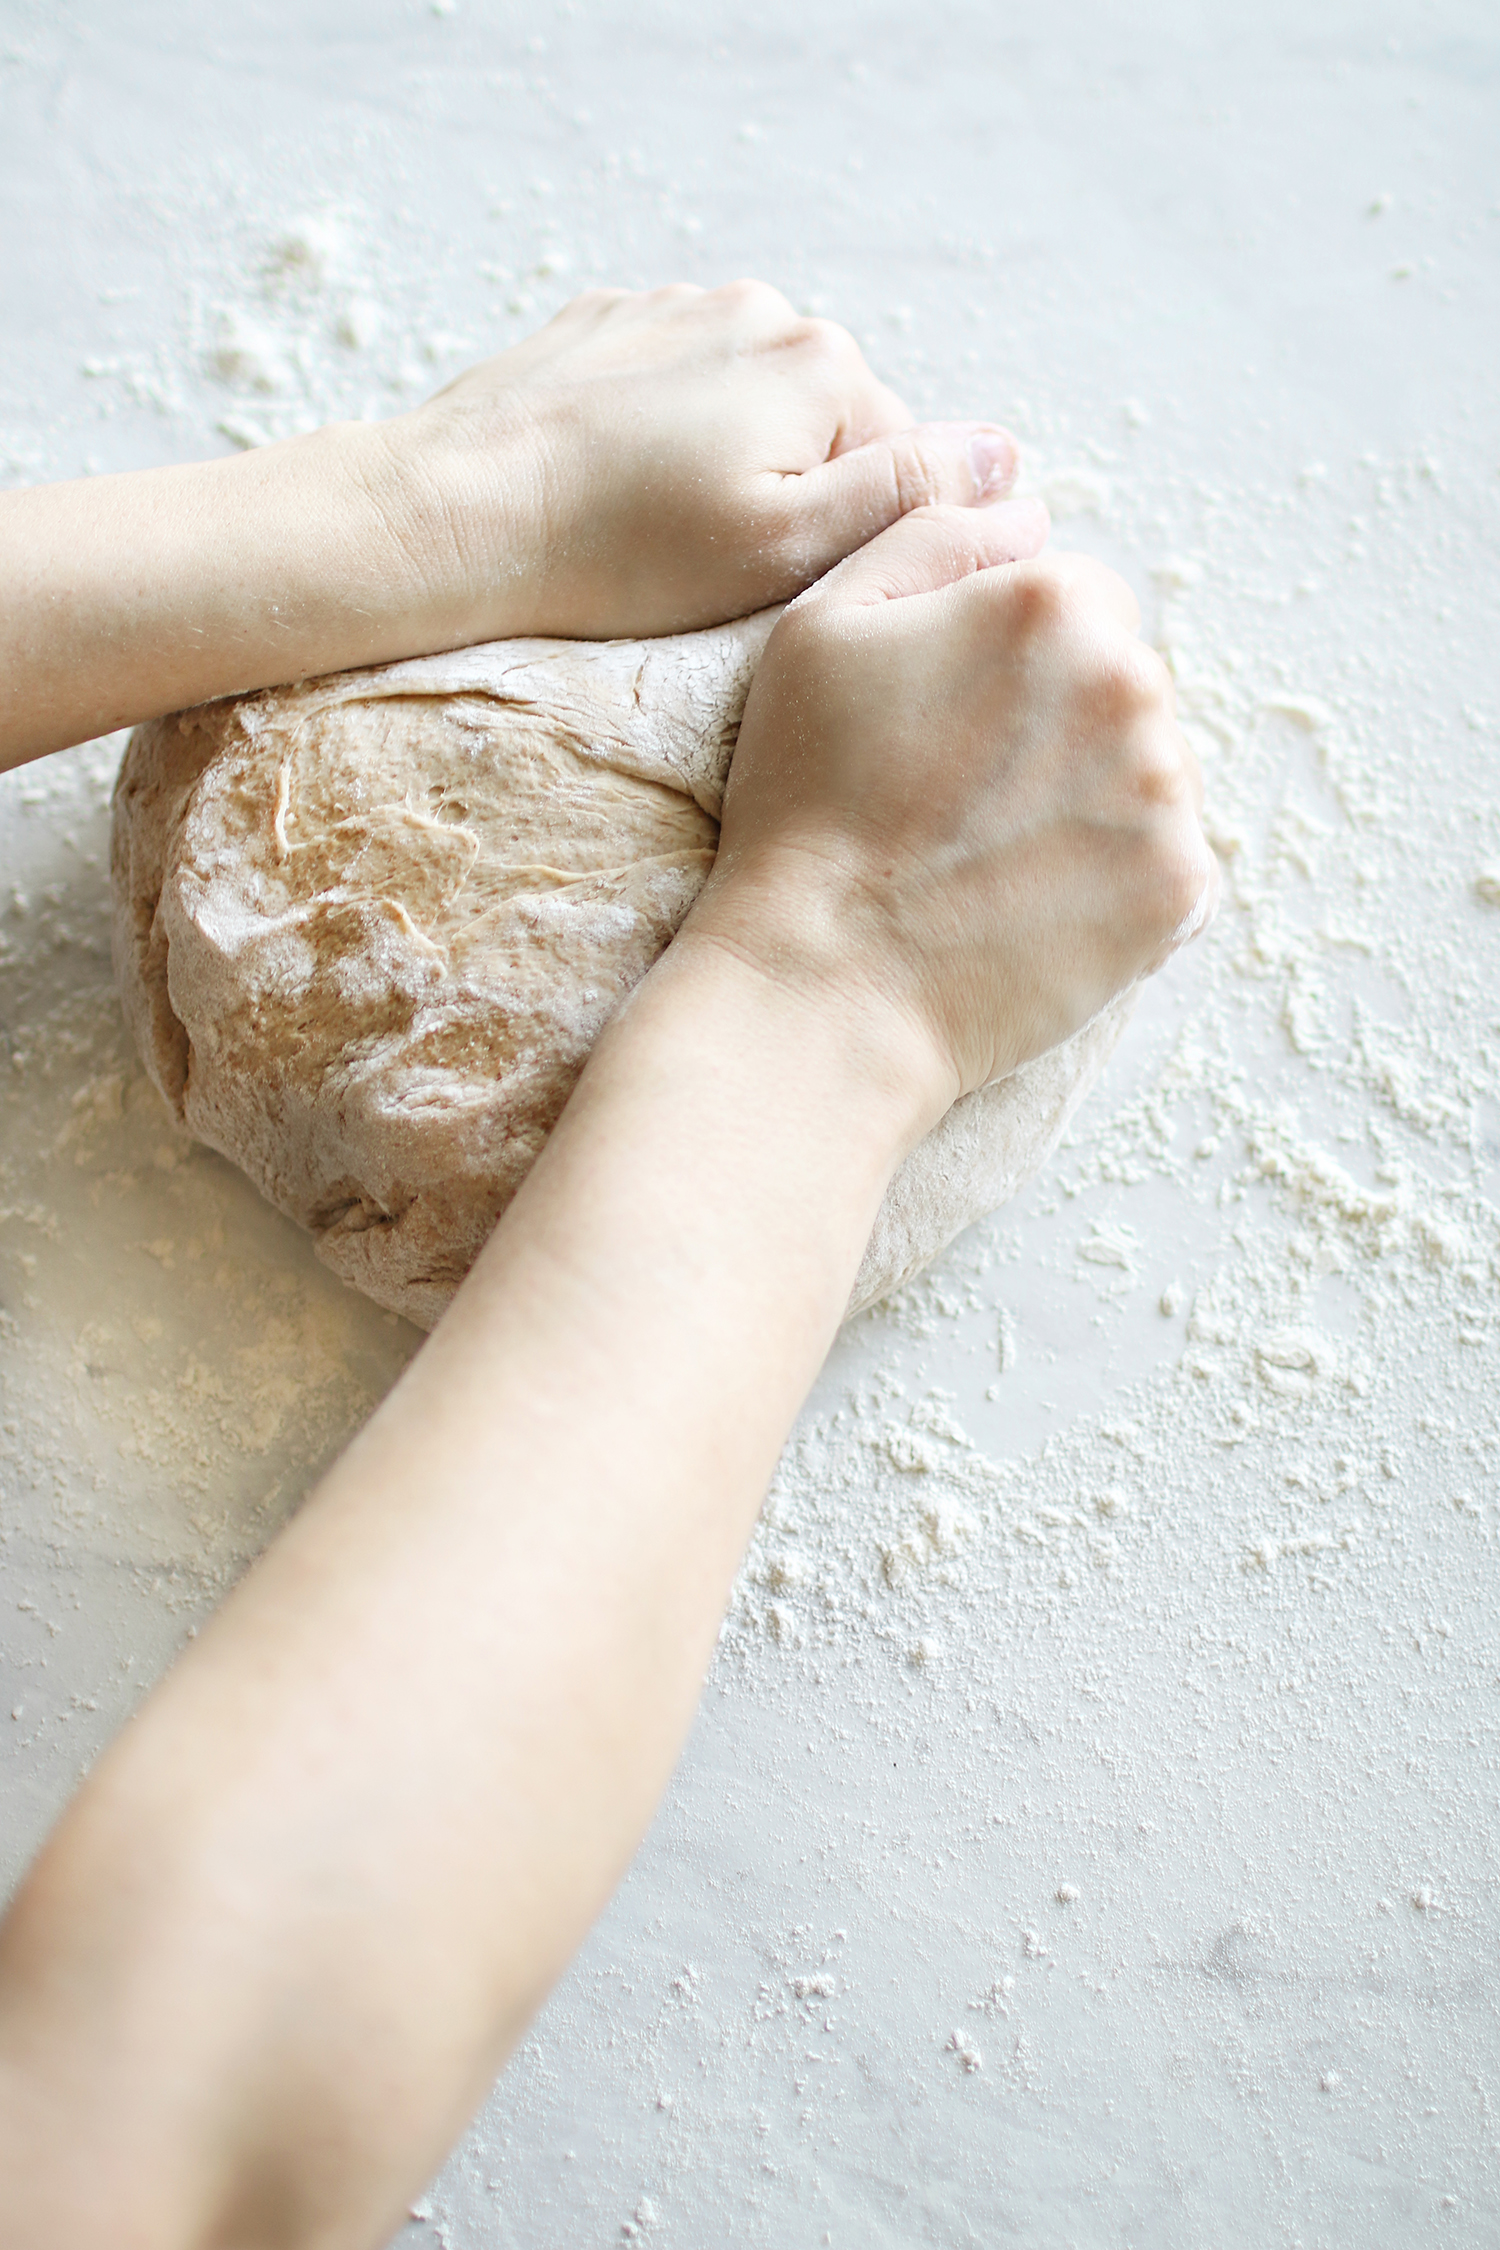
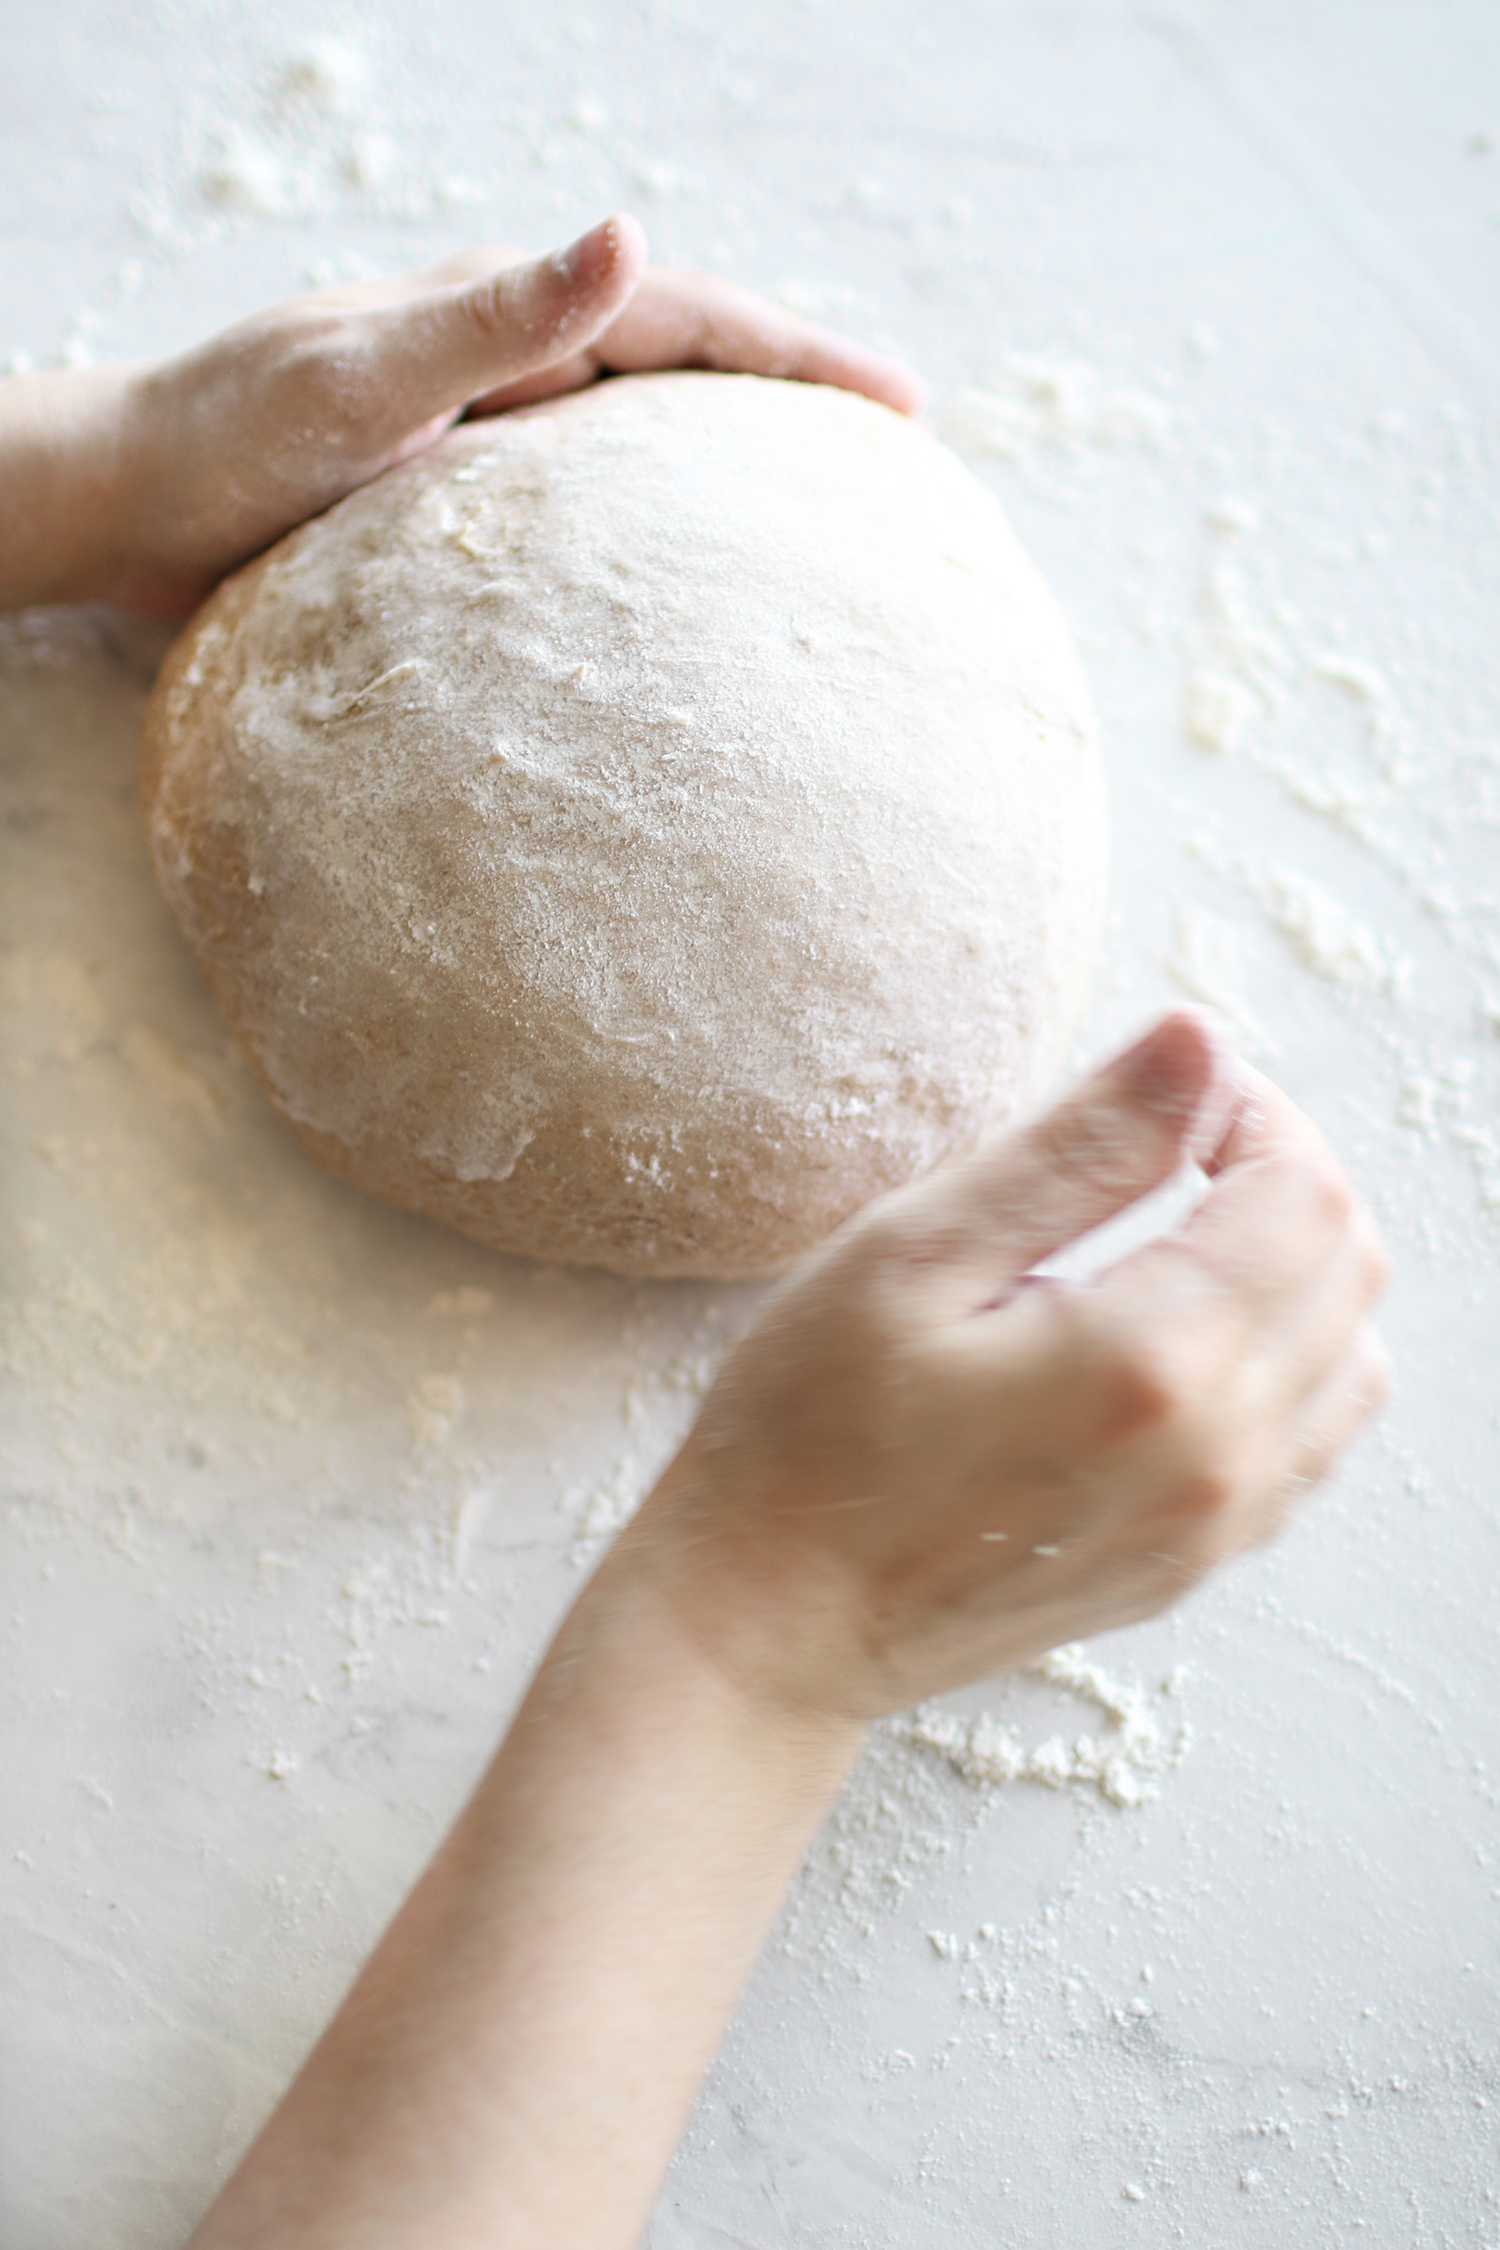
I then simply mold it into a large ball before placing it back into my bowl or pot.
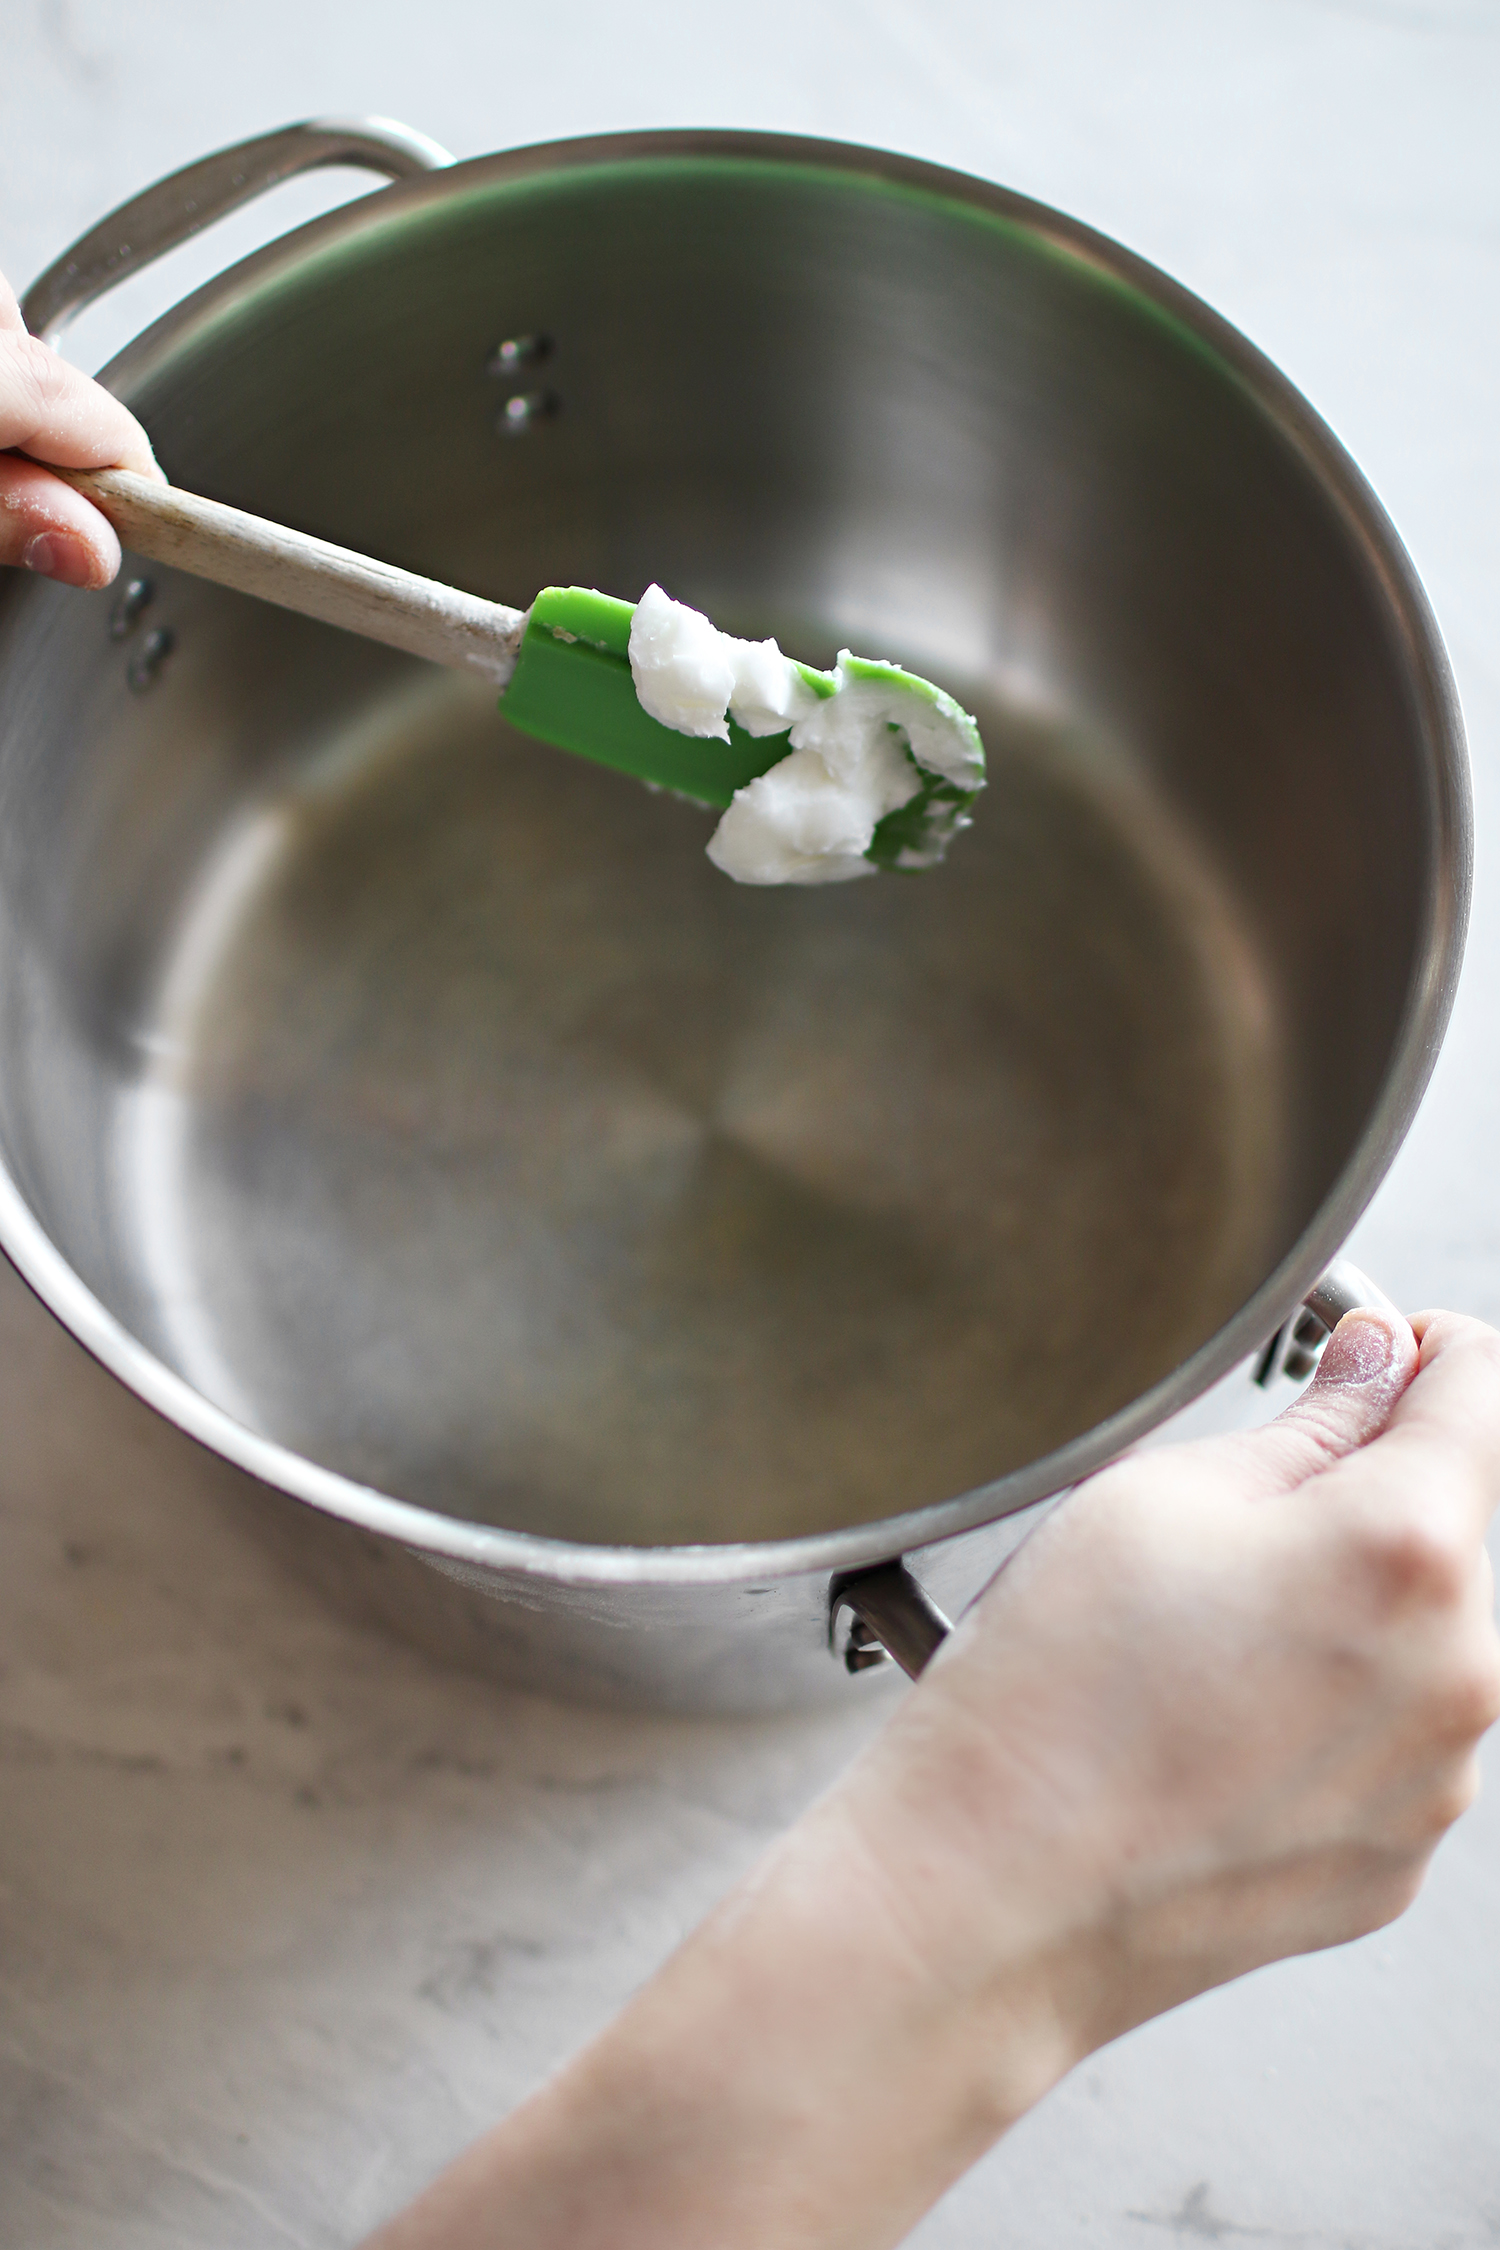
Before doing that, I make sure and take some of my shortening and grease the bottom and sides of my bowl or pot to make sure that the bread doesn’t stick while rising.
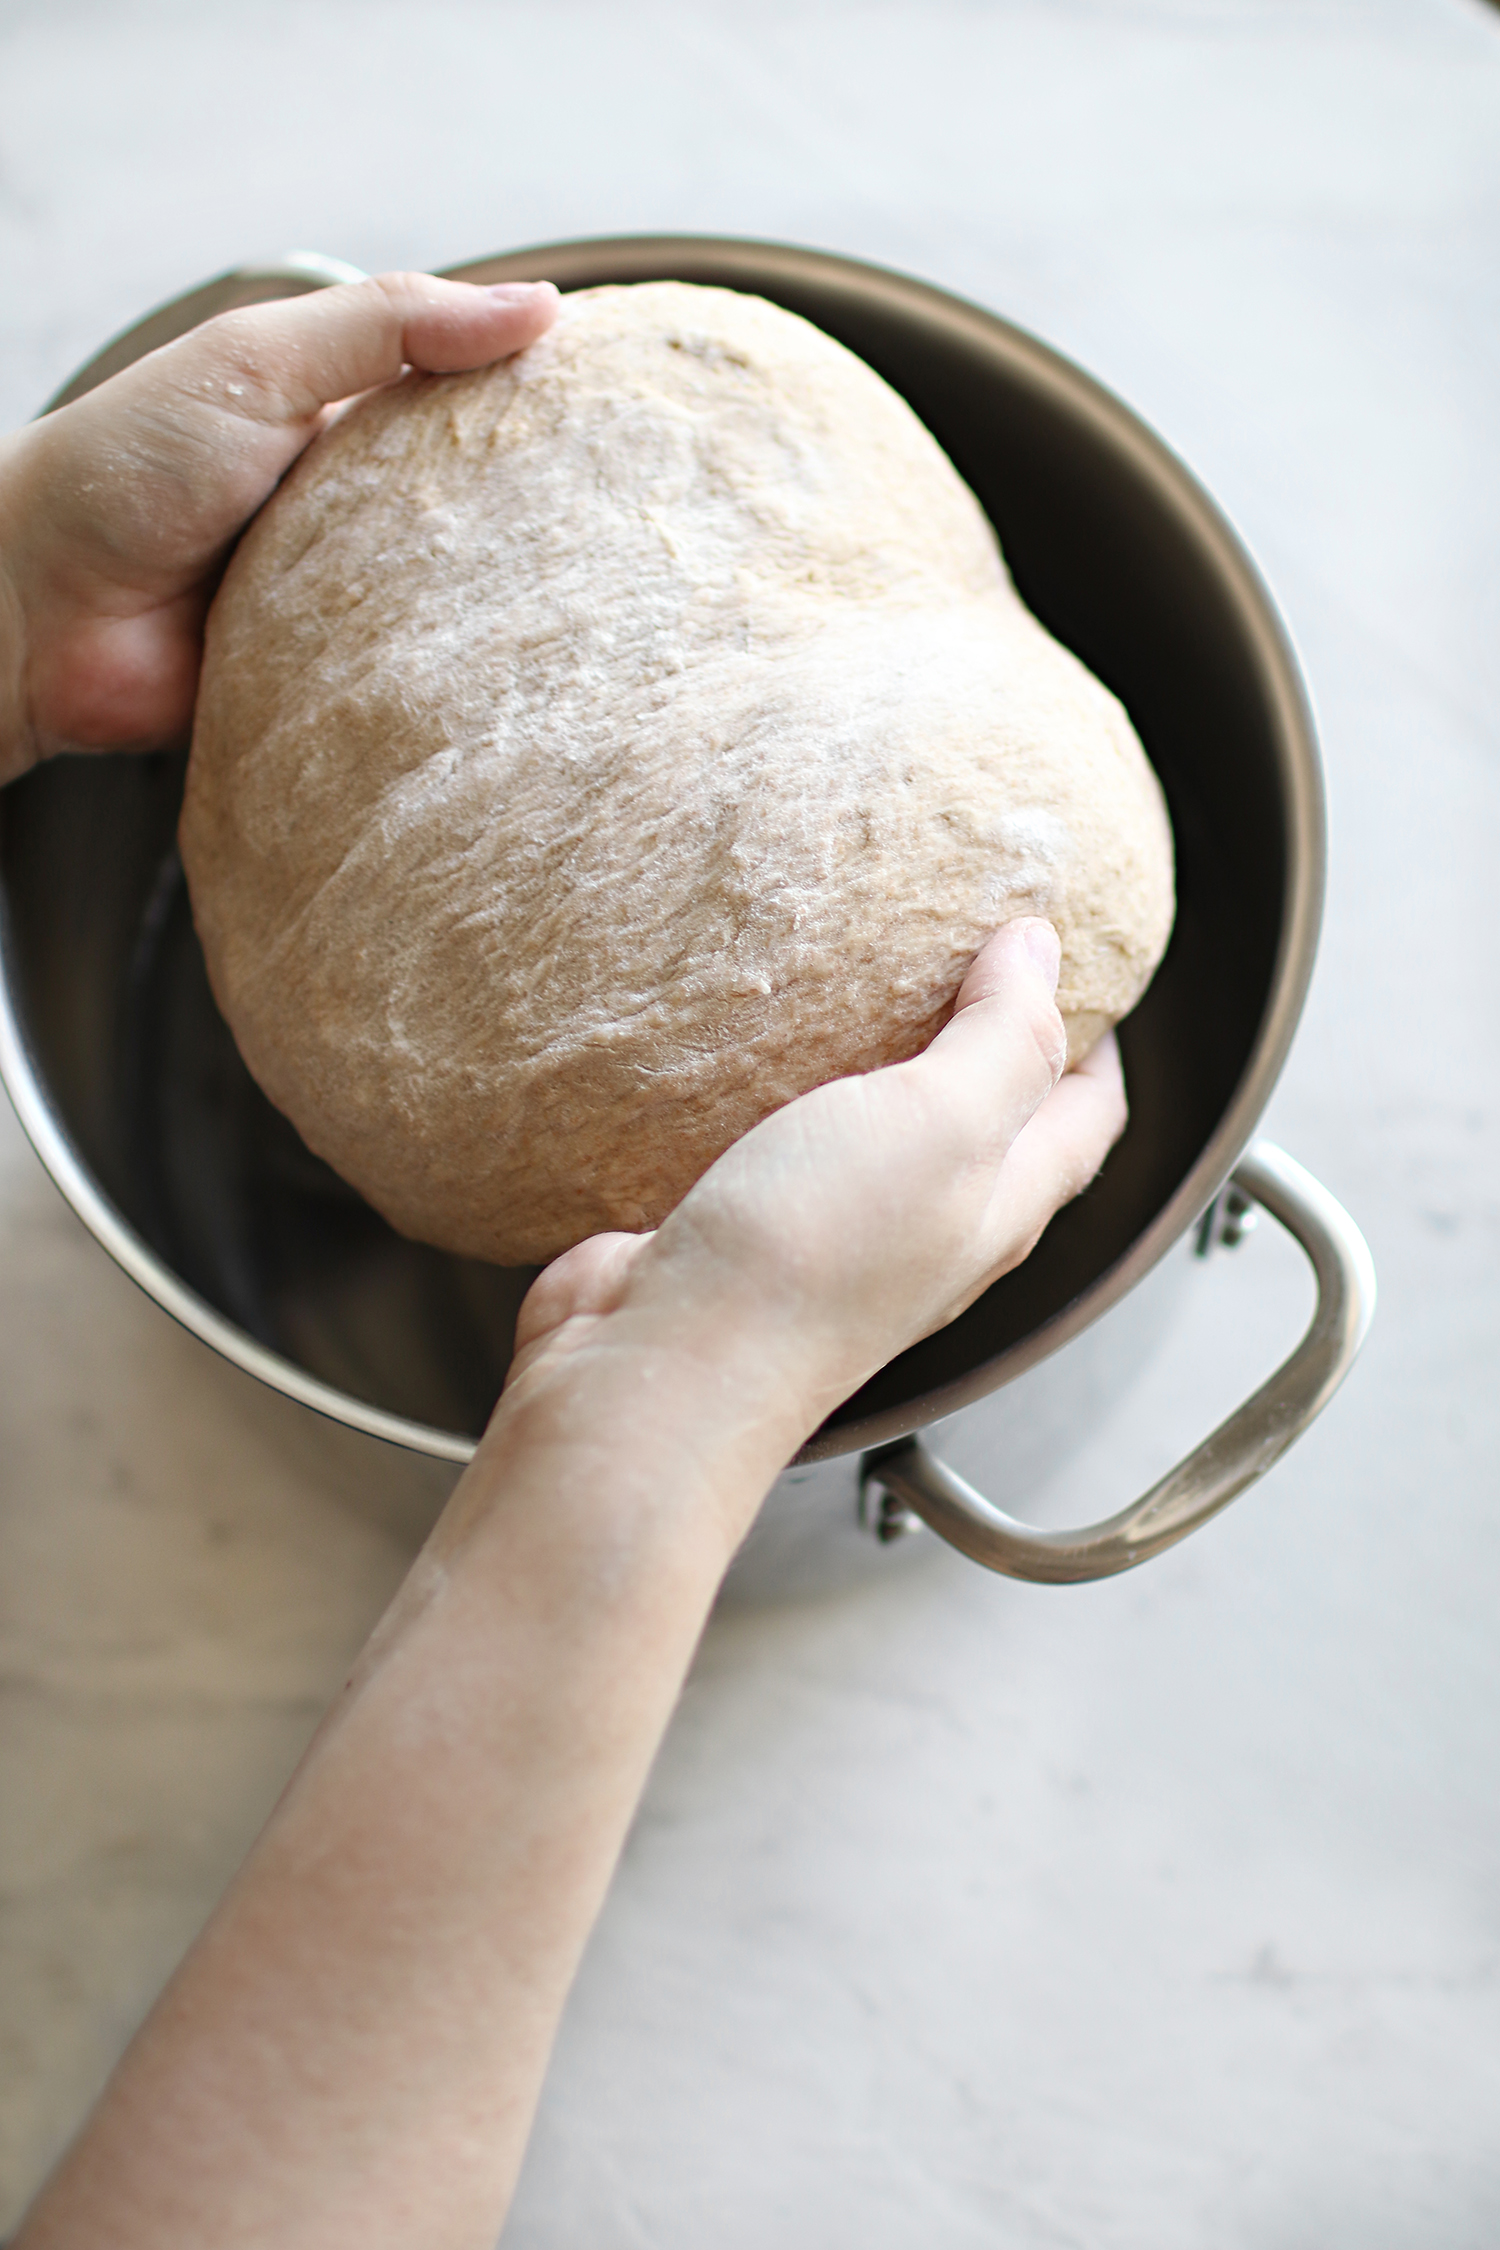
You are going to add your dough back into your bowl or pot, cover with a towel and leave it to rise for one hour. While I am waiting for it to rise, I also grease my two loaf pans so they are ready.
After the hour, your dough should now be double in size. We are then going to take our dough out and place back on our floured surface. I use my pastry knife to divide my dough in half and then mold into a rectangle, tucking the sides and ends under before placing them in my baking dishes.
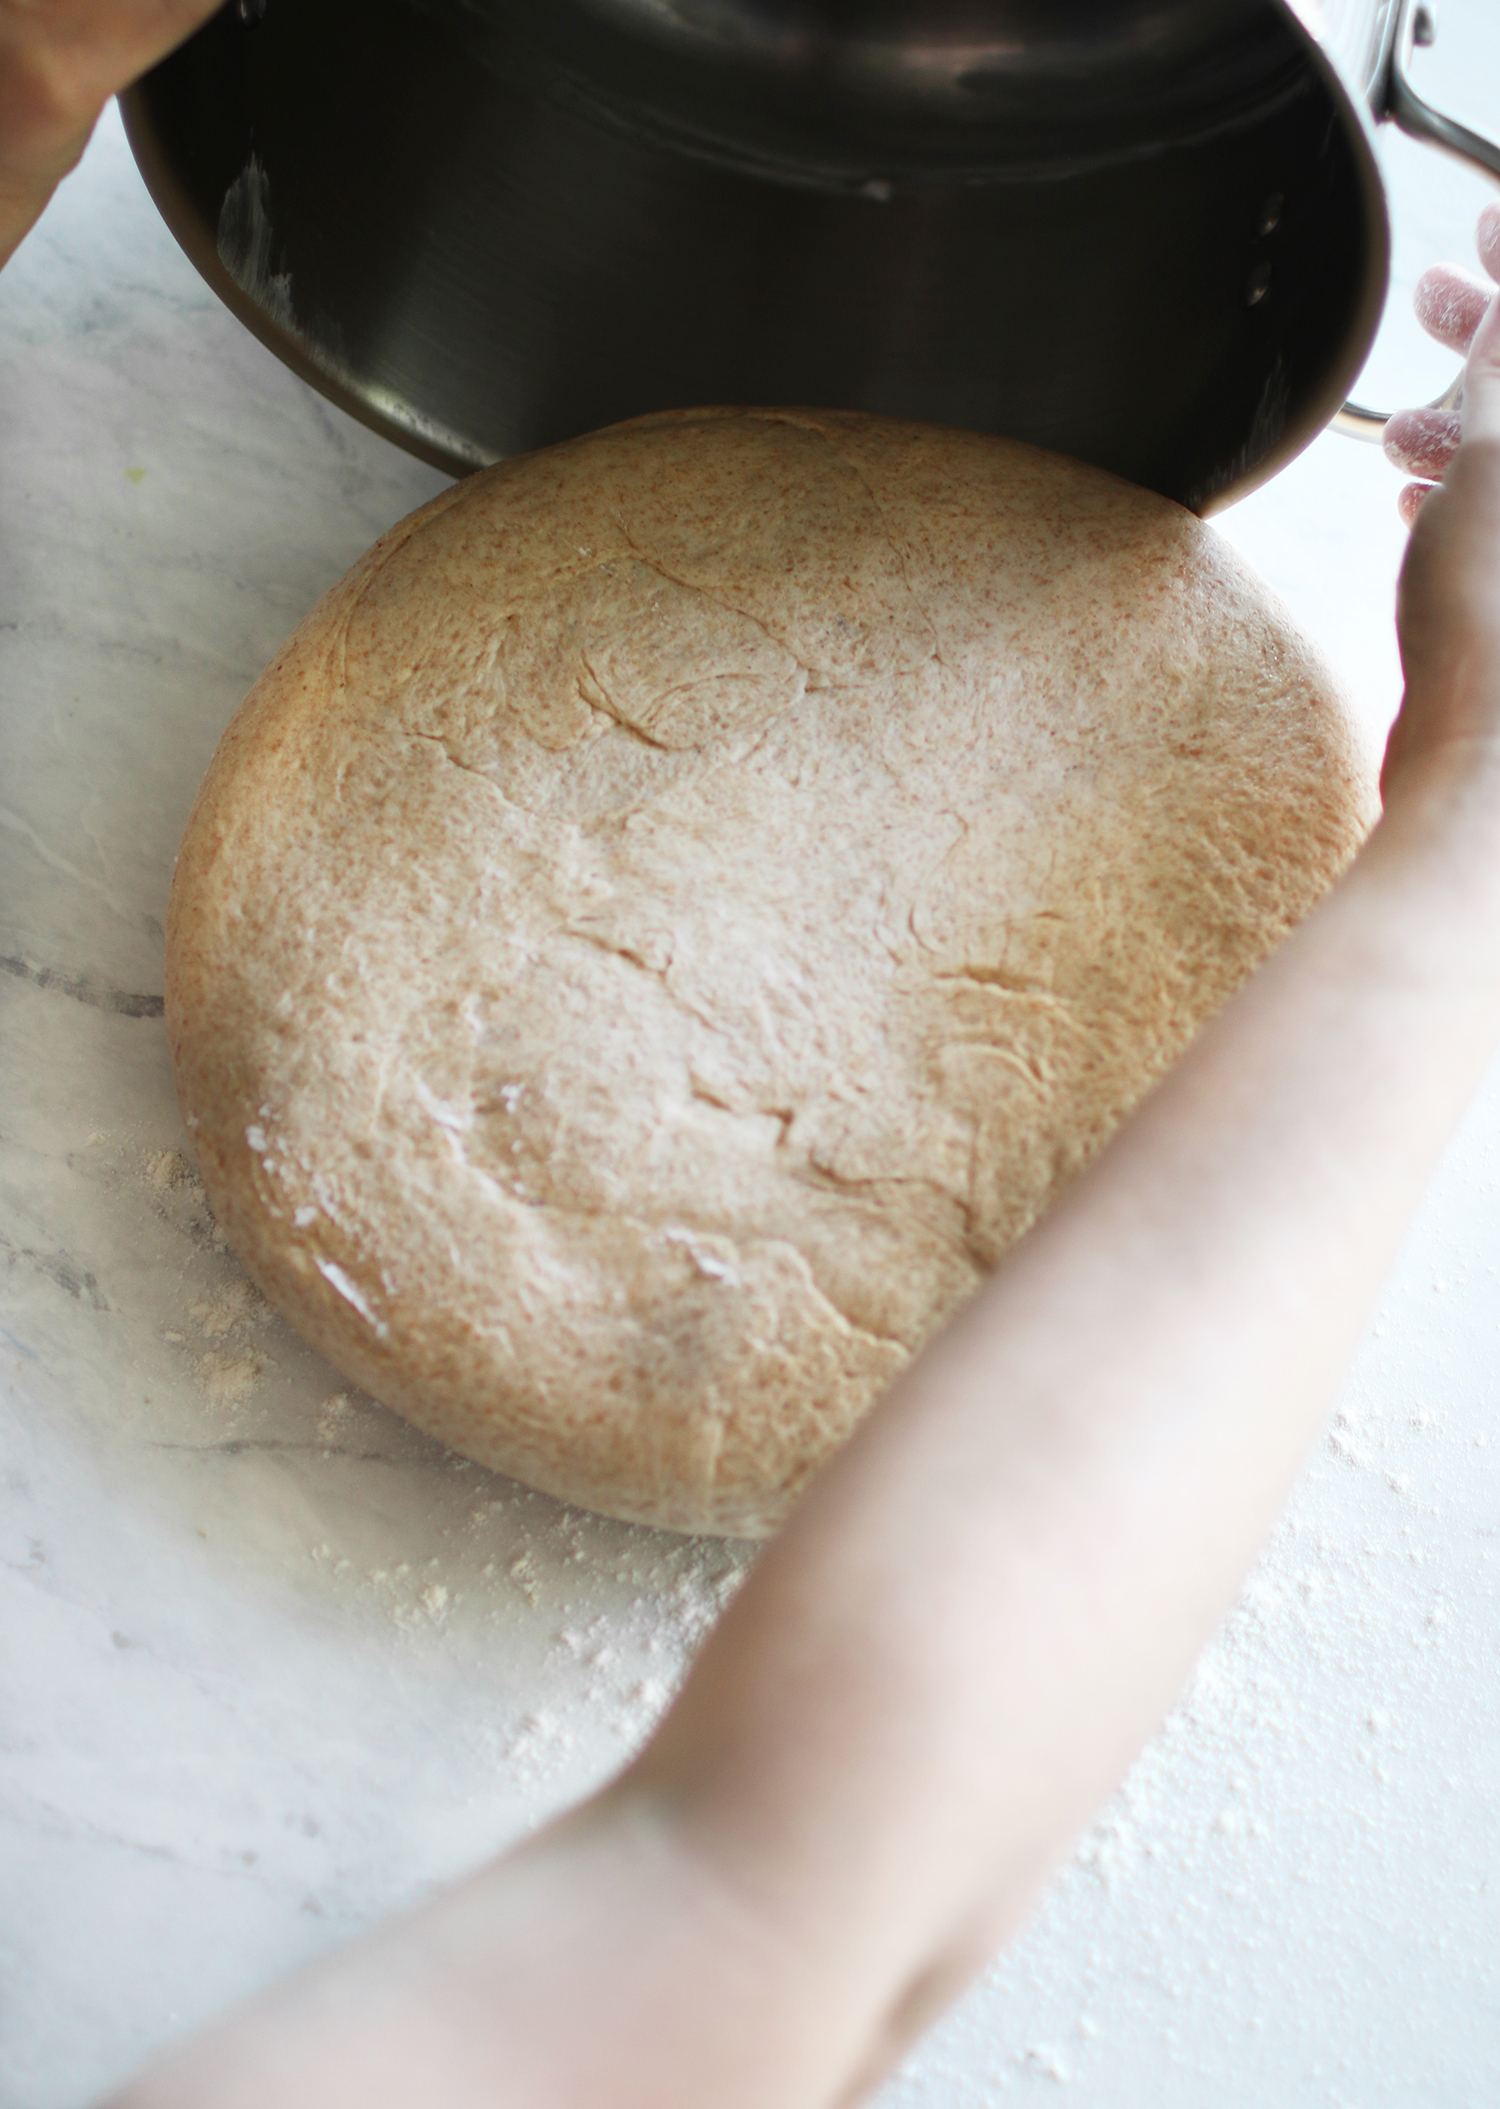
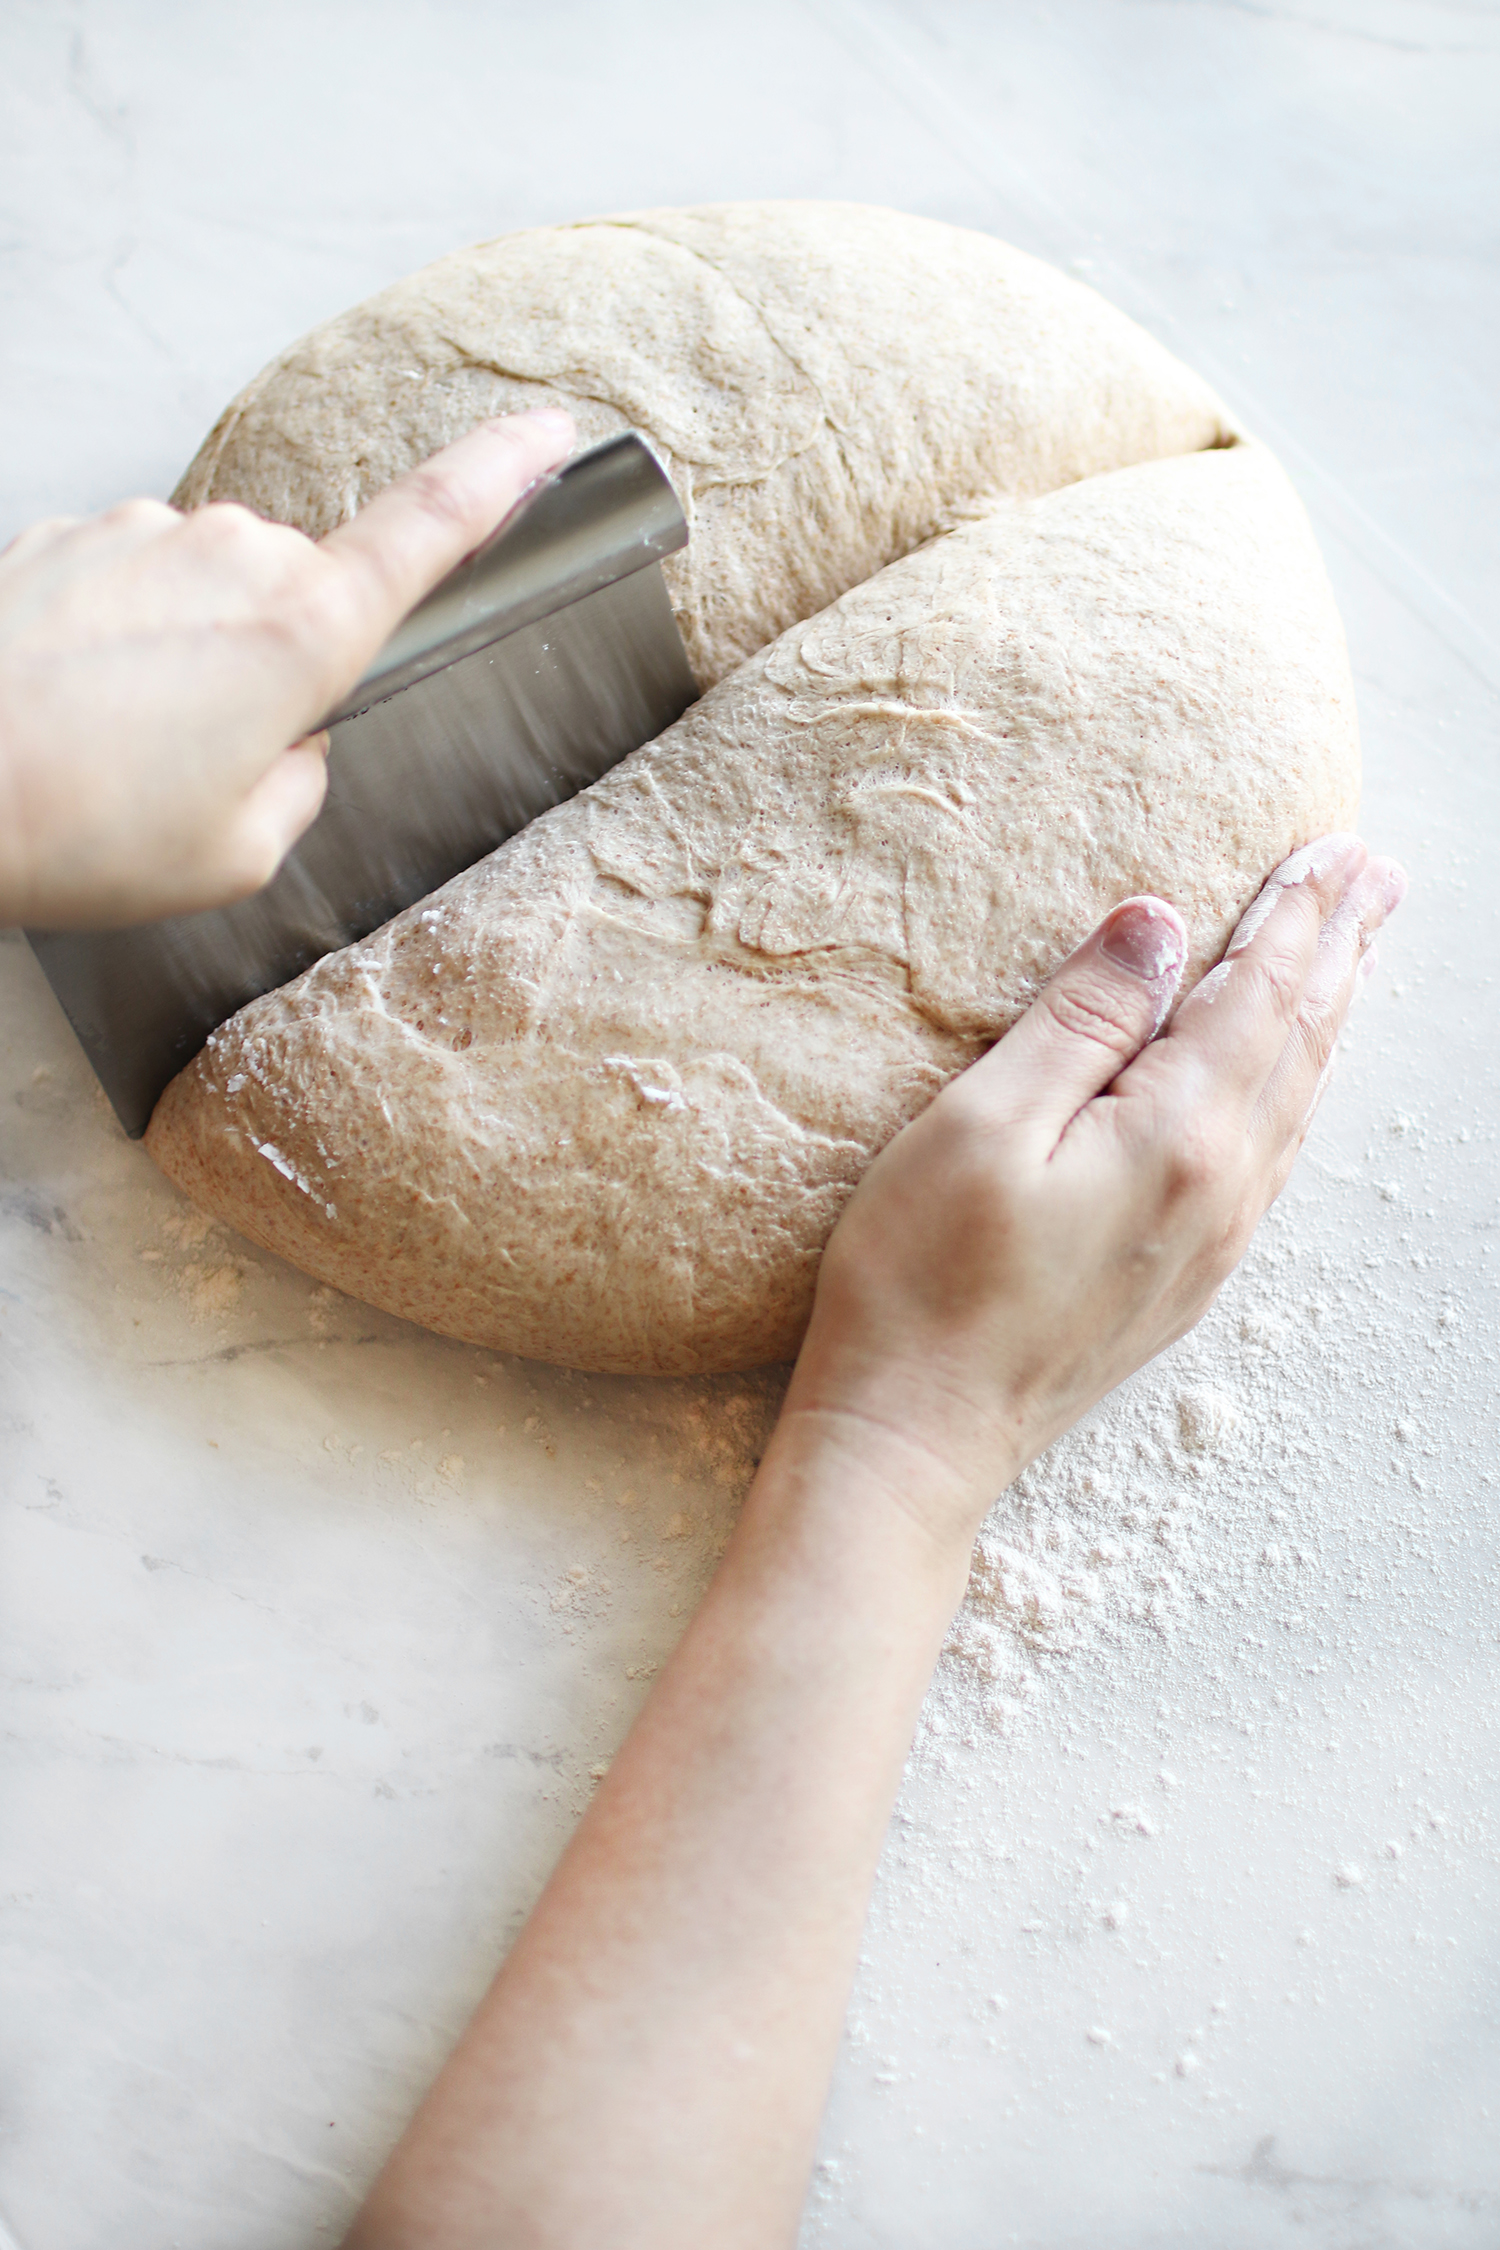
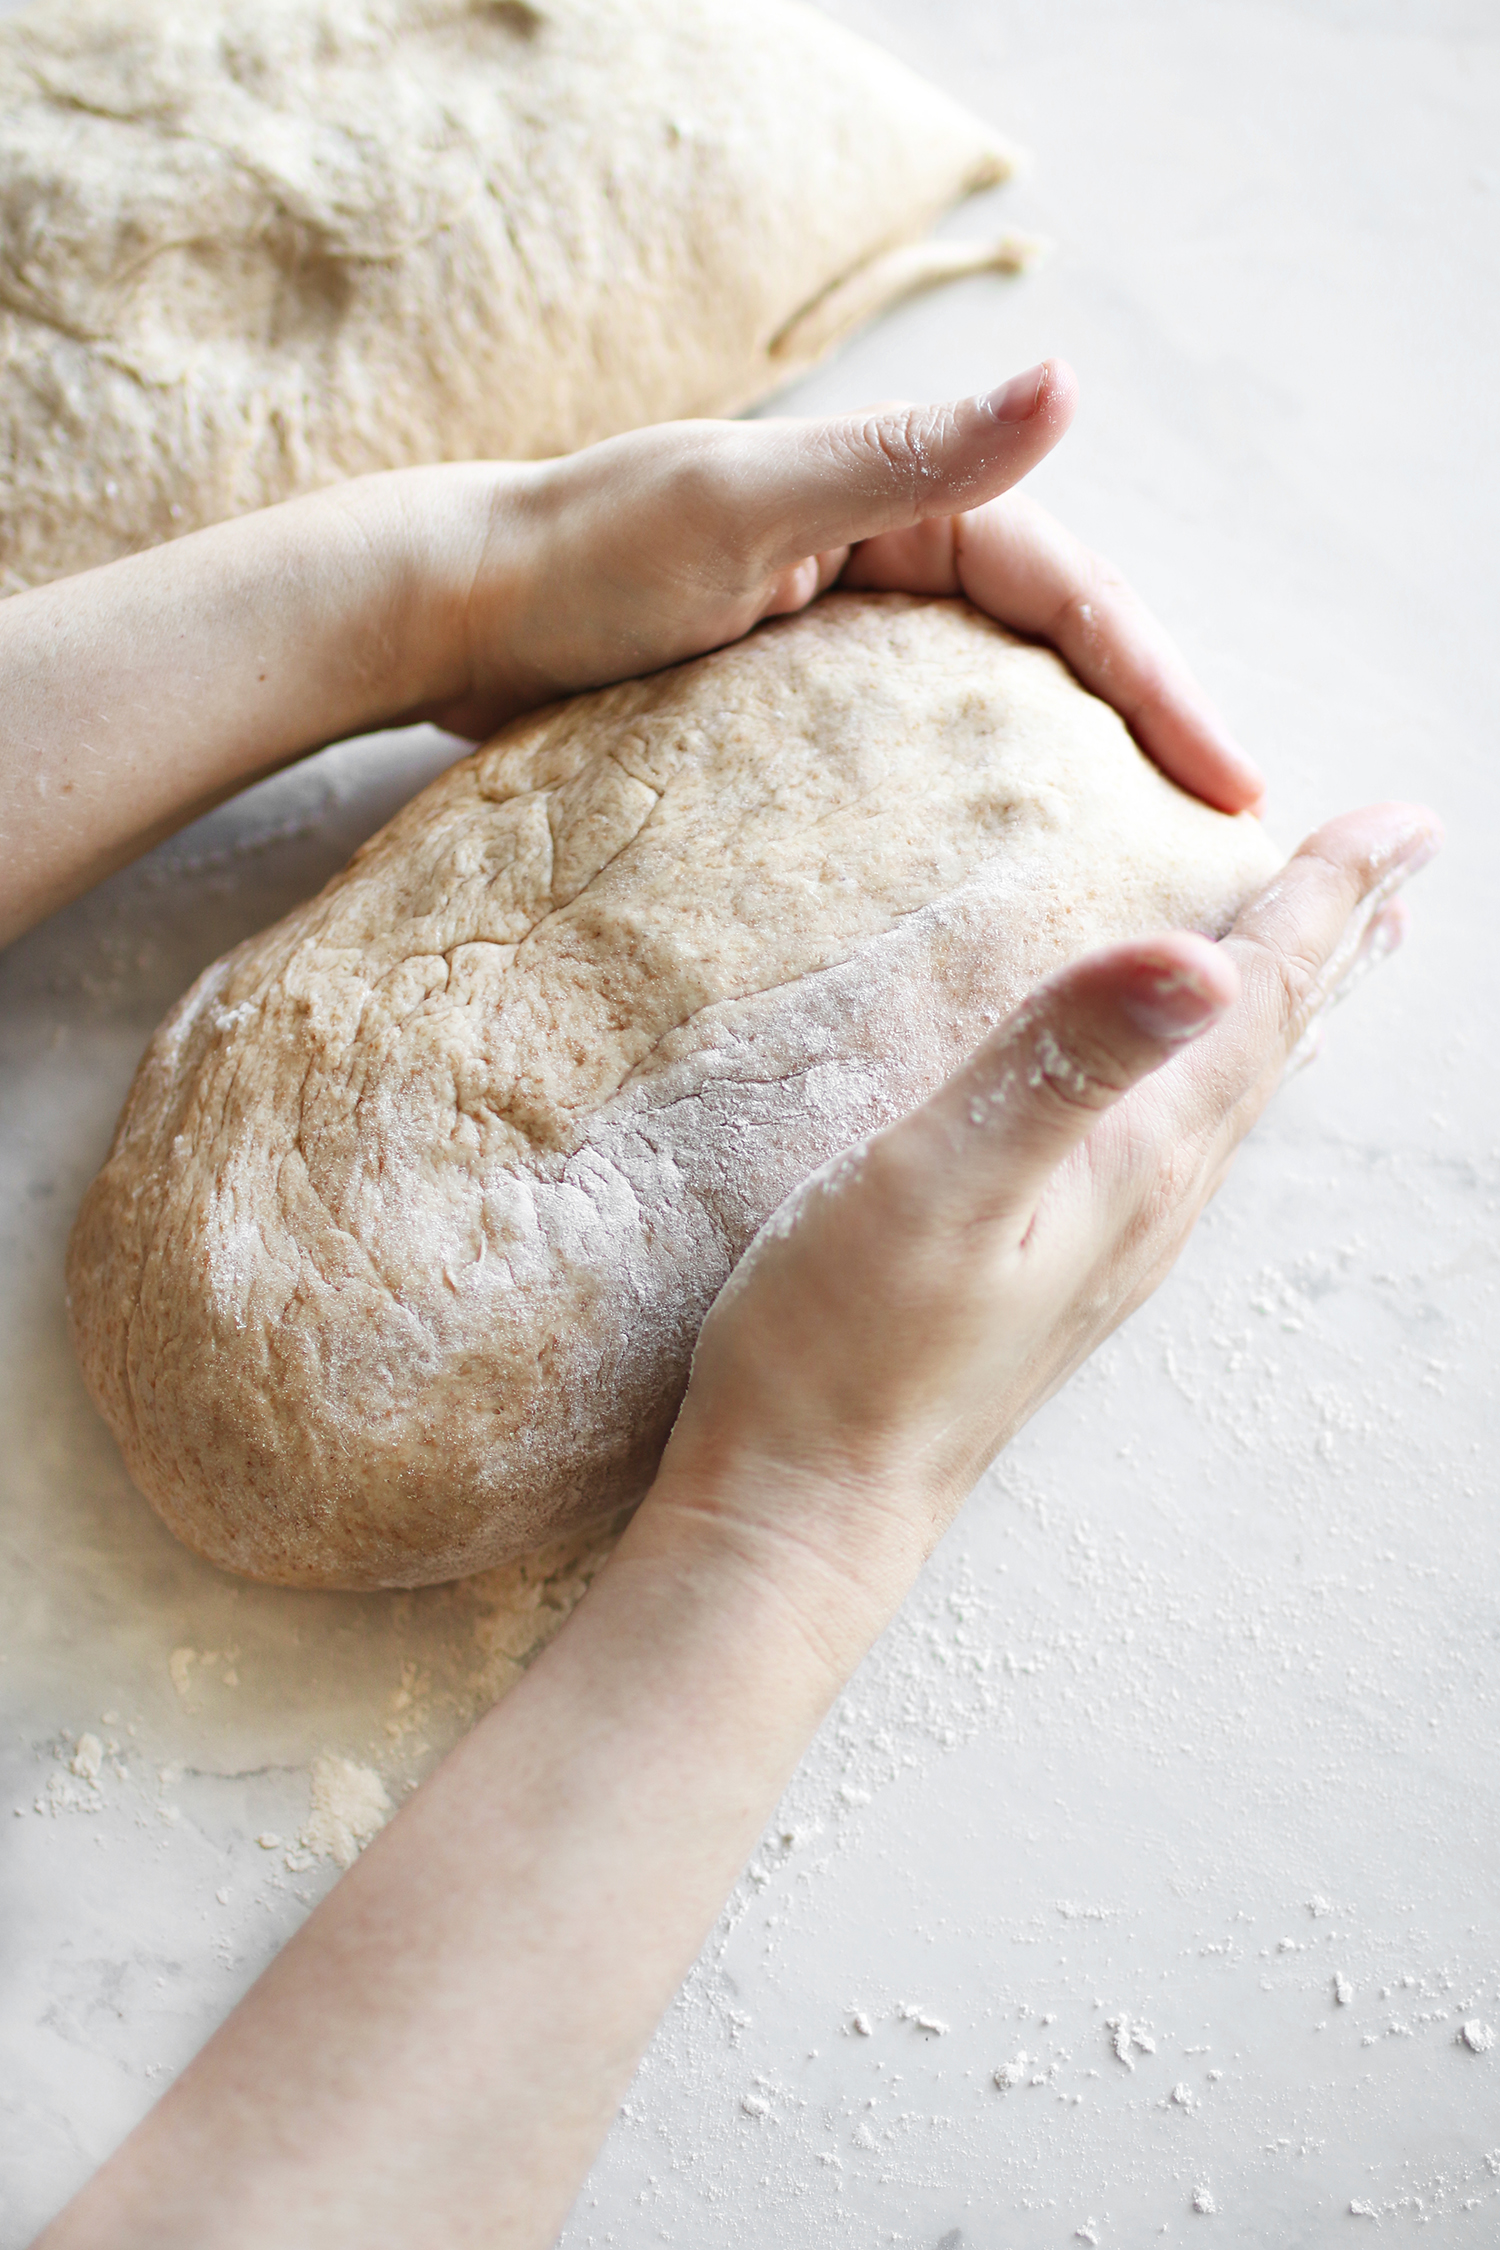
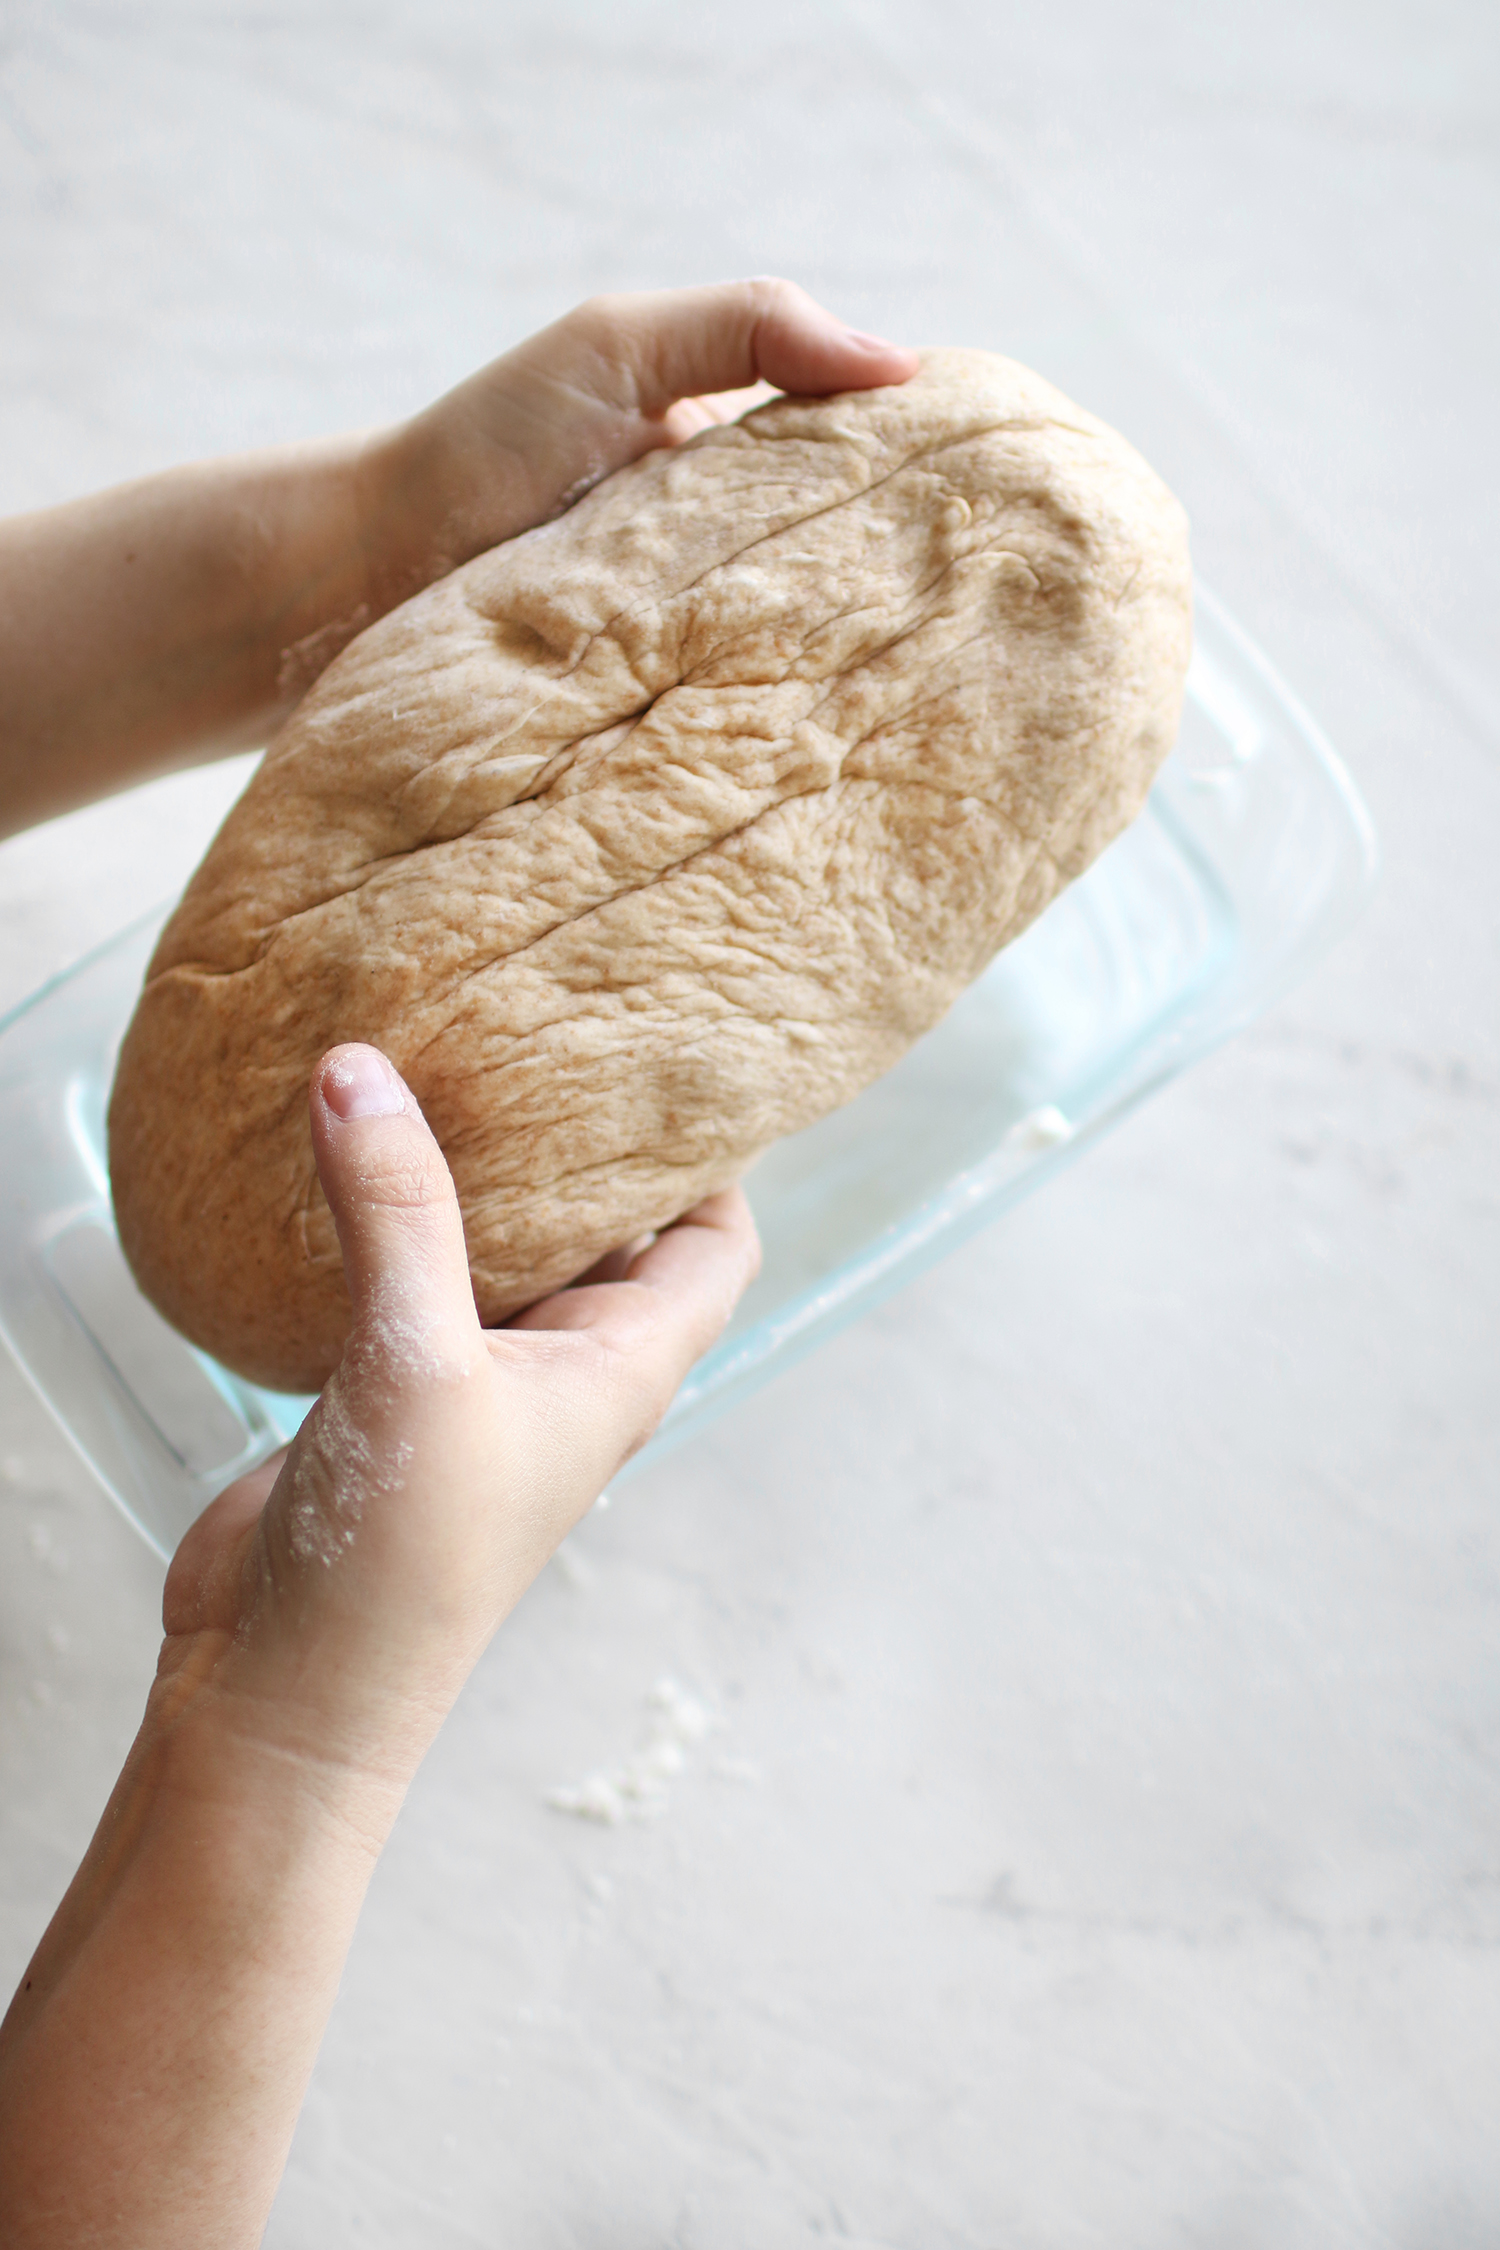
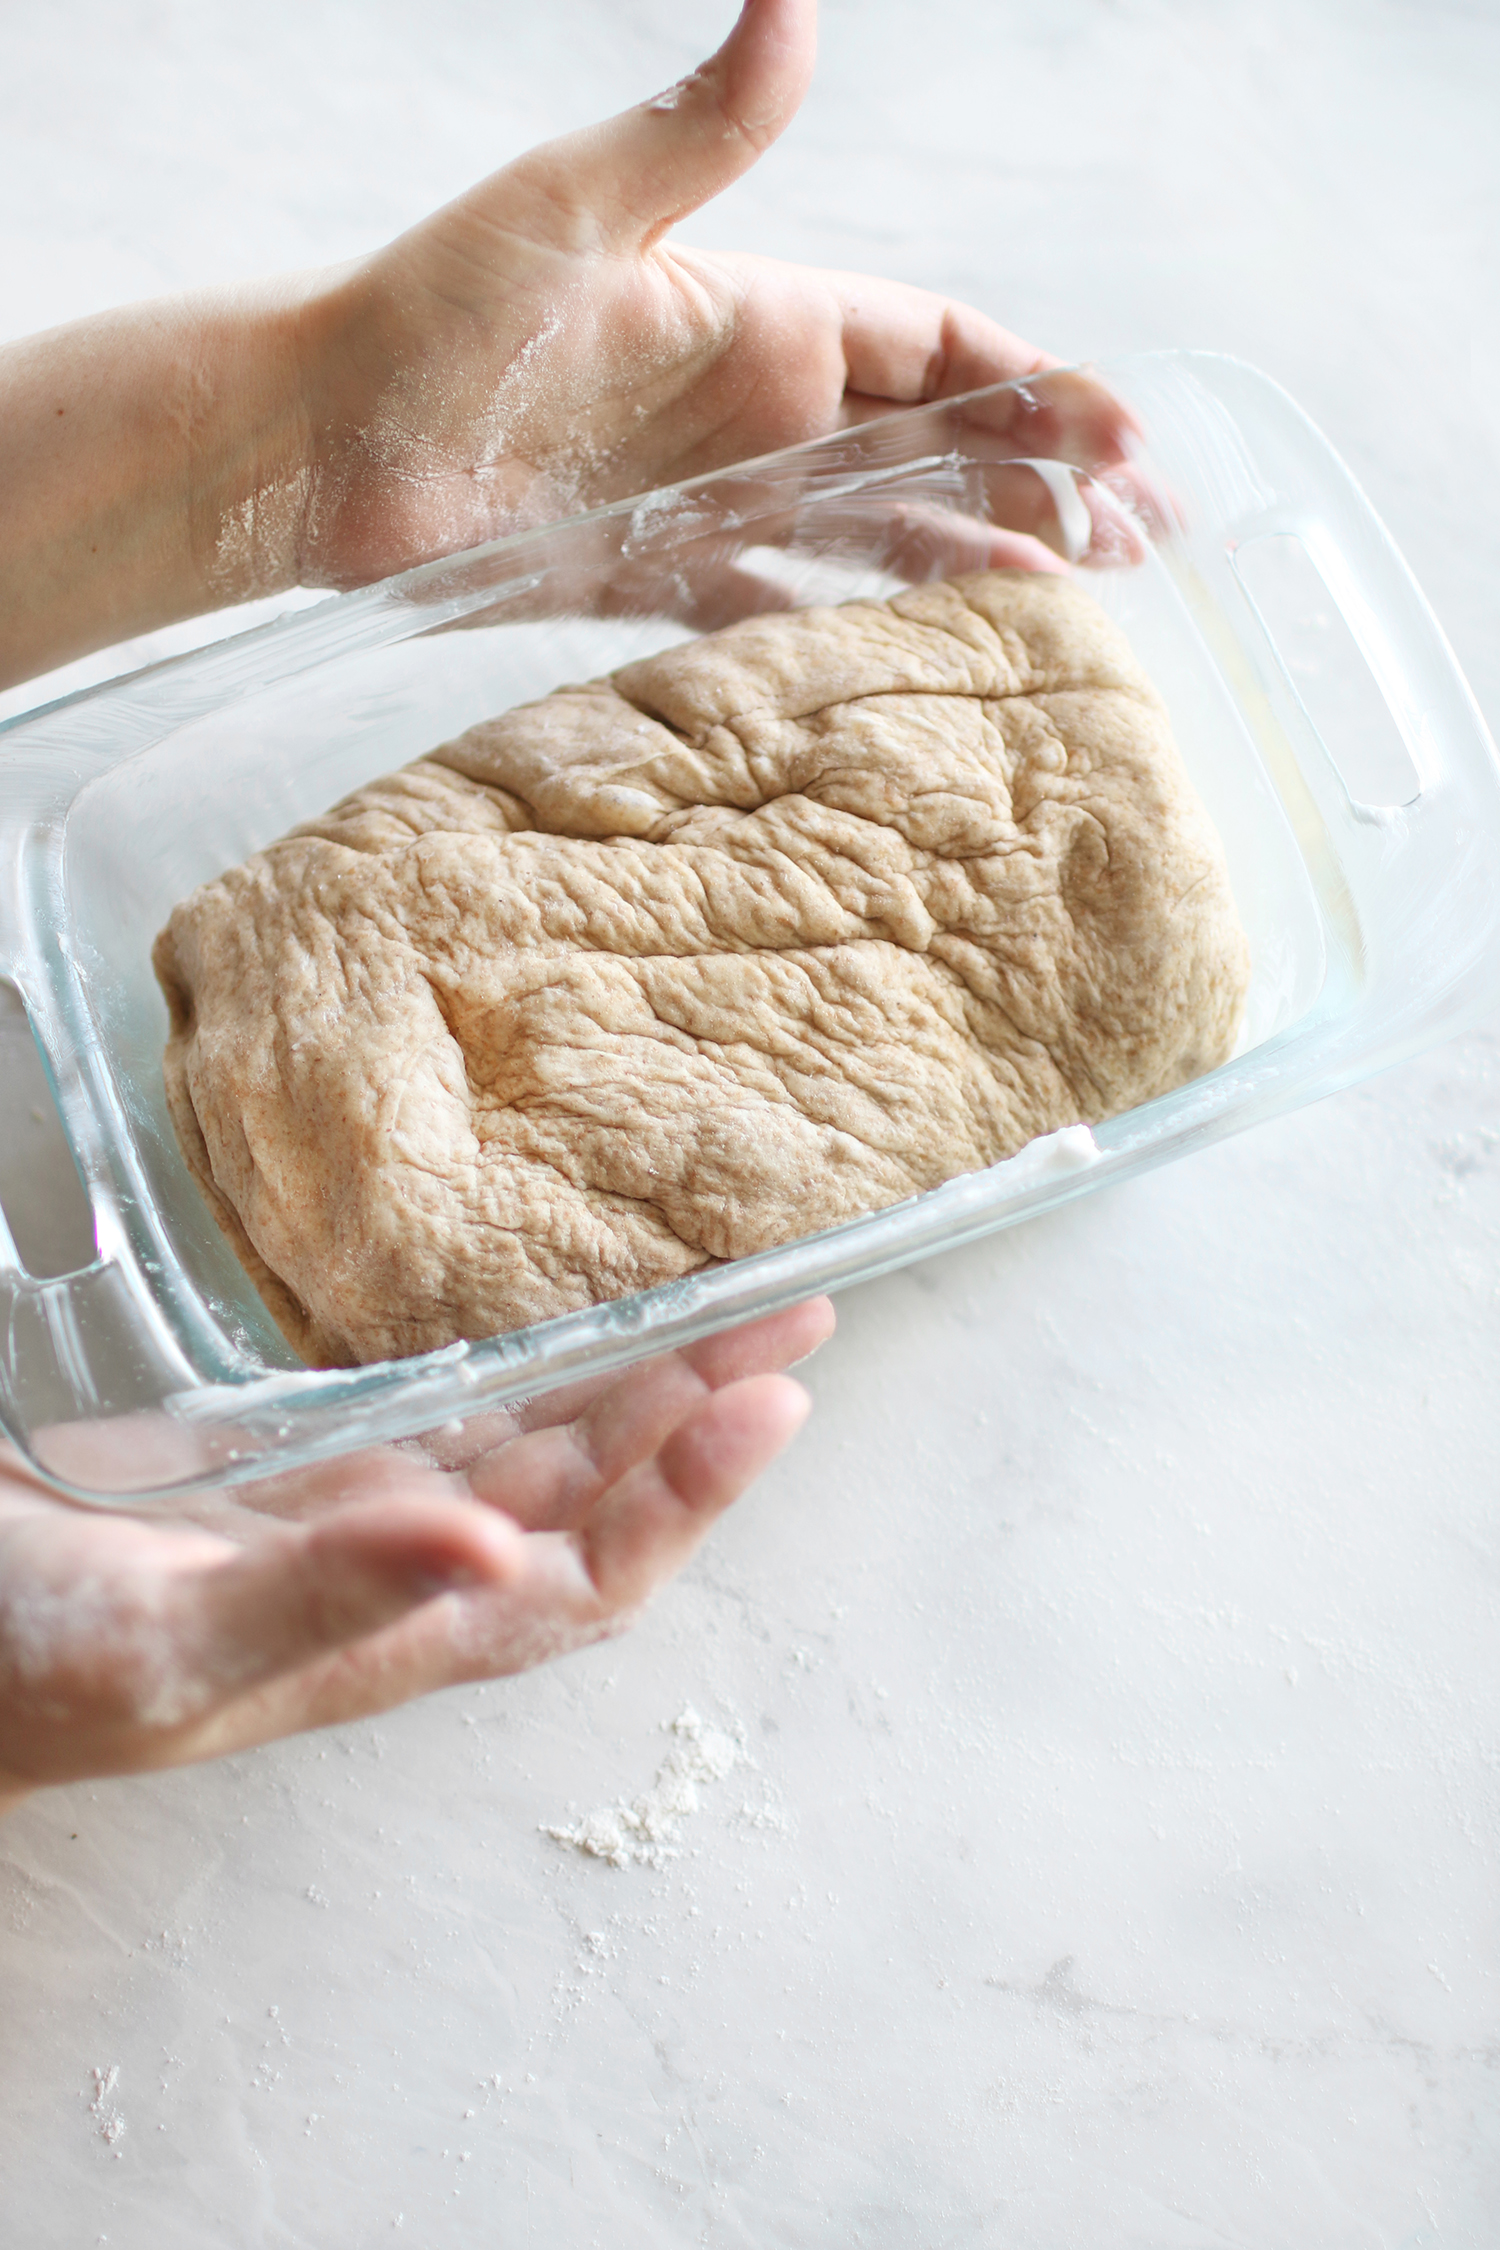
Then we are going to cover both of the loaves with a towel and leave to rise for another hour. Make sure and also preheat your oven to 375. After another hour, your loaves should have doubled in size and we are then going to bake them for 25-30 minutes or until the top has become golden. Remove from the oven and let cool. I then pre-slice one loaf to make it easy for little ones to make sandwiches. We go through two loaves pretty quickly in our home, but you could easily freeze your second loaf for later use.
With only a few minutes of actual hands-on time, I find this approach to be so easy and simple. Not to mention, I love the peace of mind that my kids are getting wholesome food without the added sugar, preservatives, and additives.
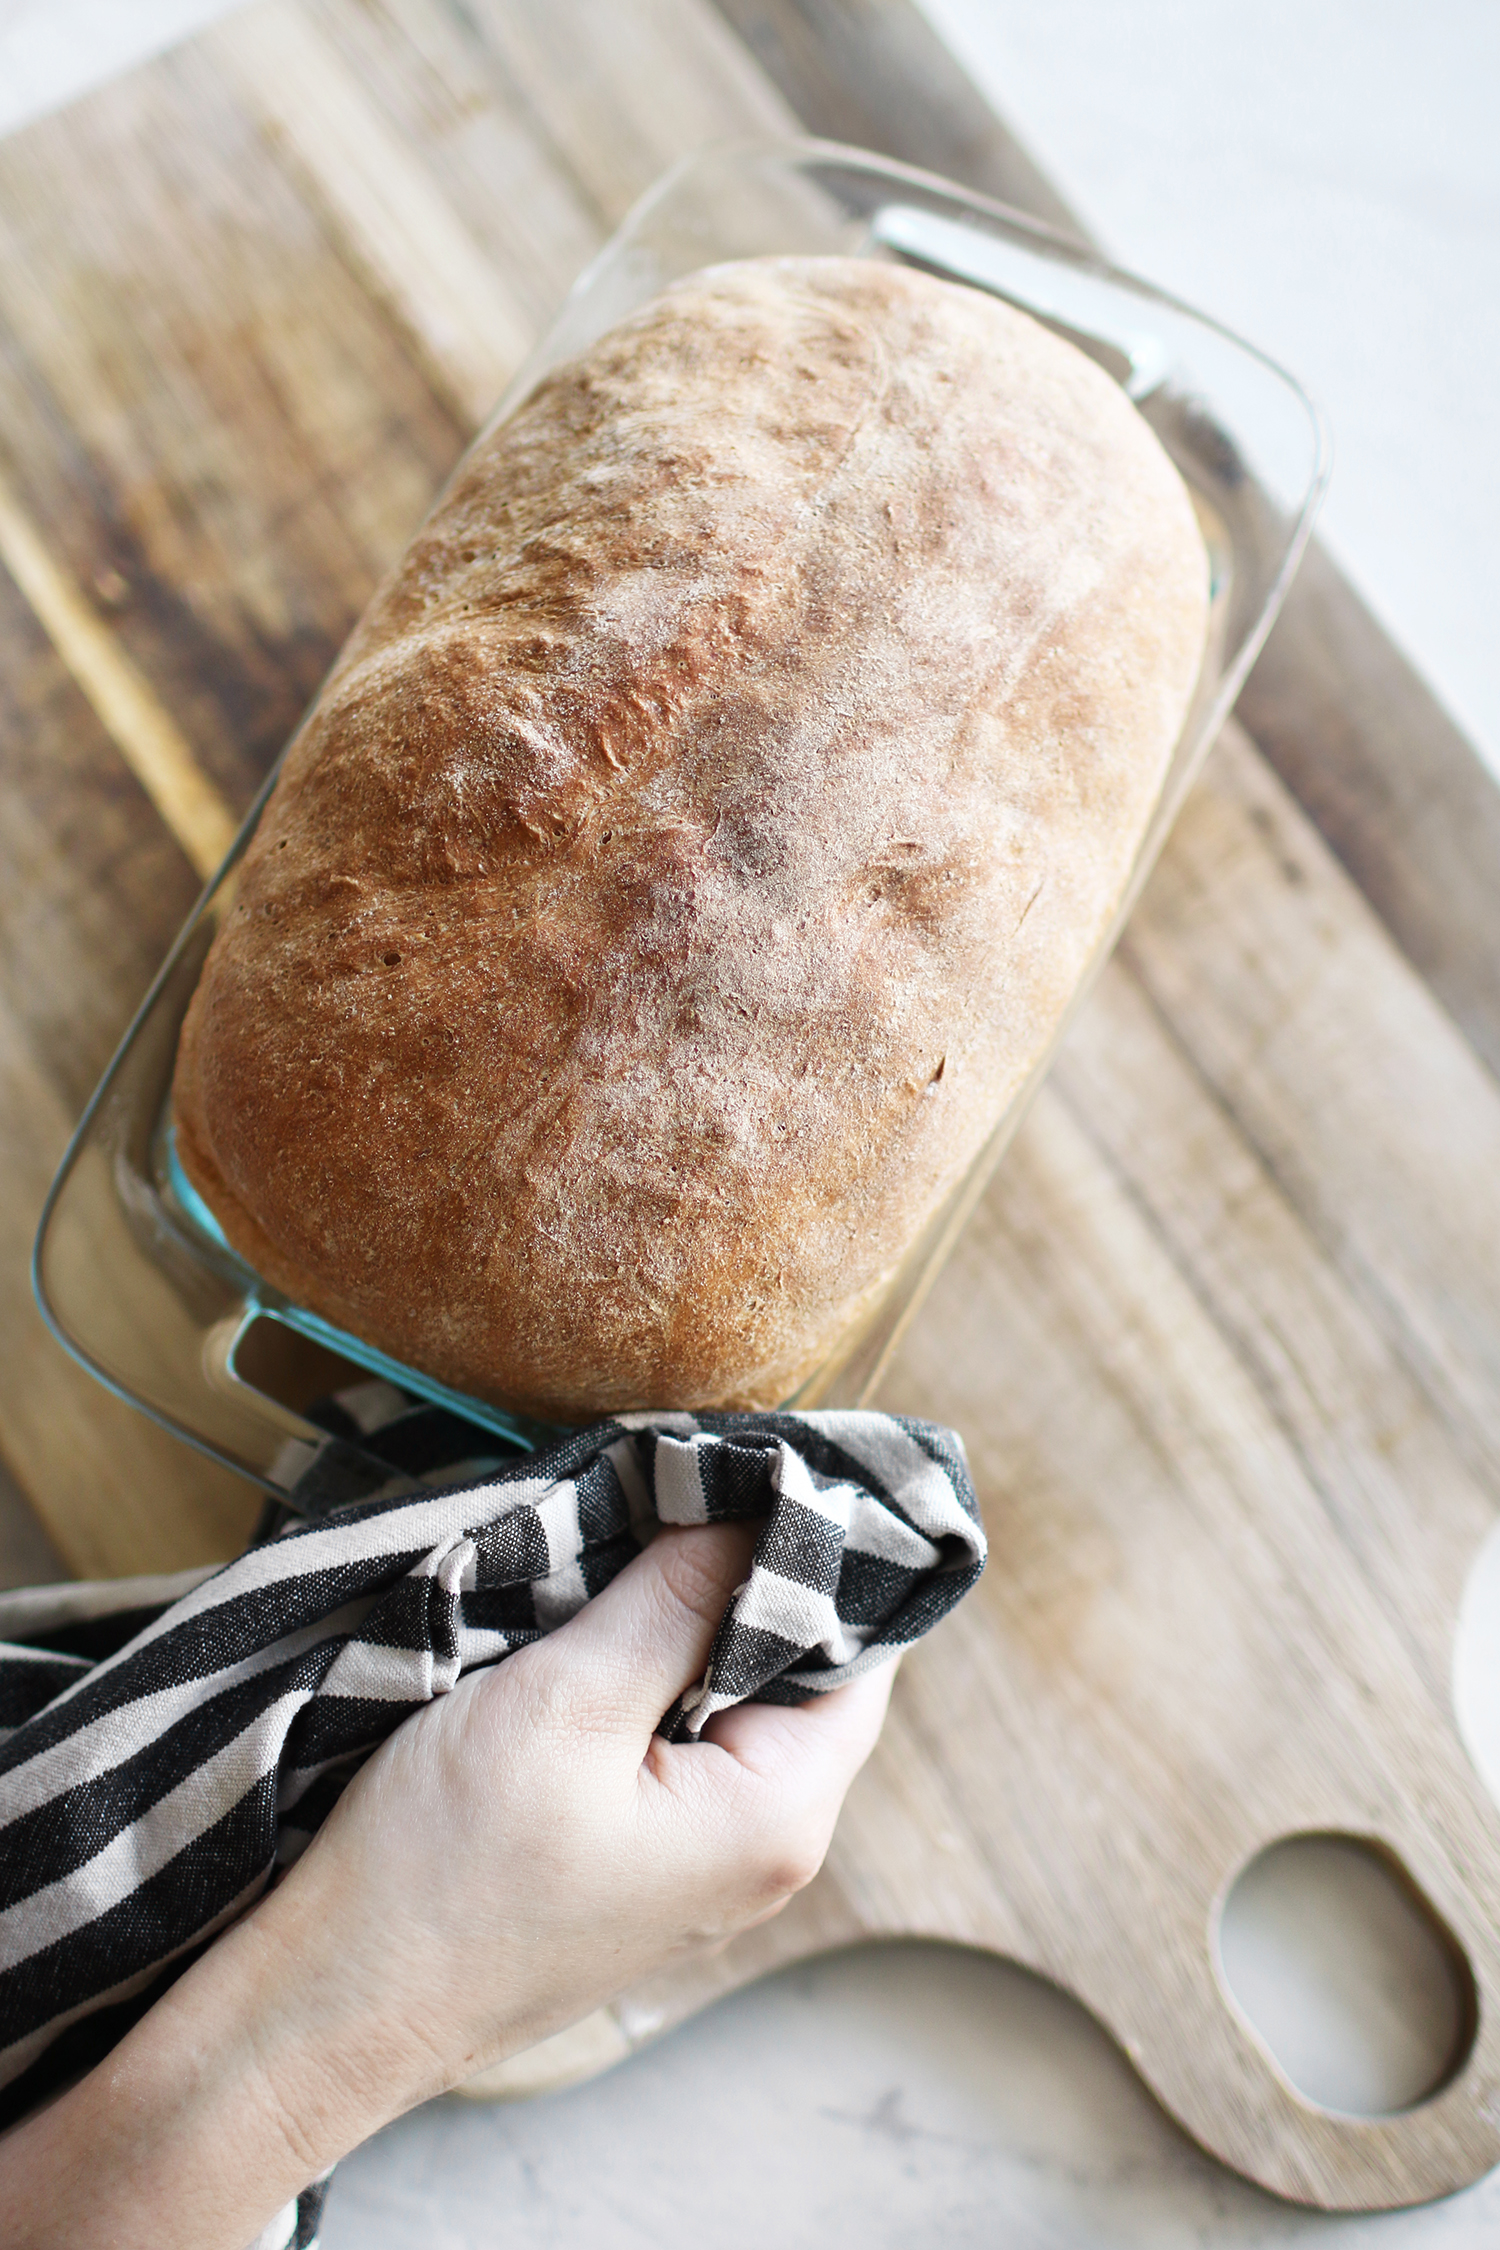
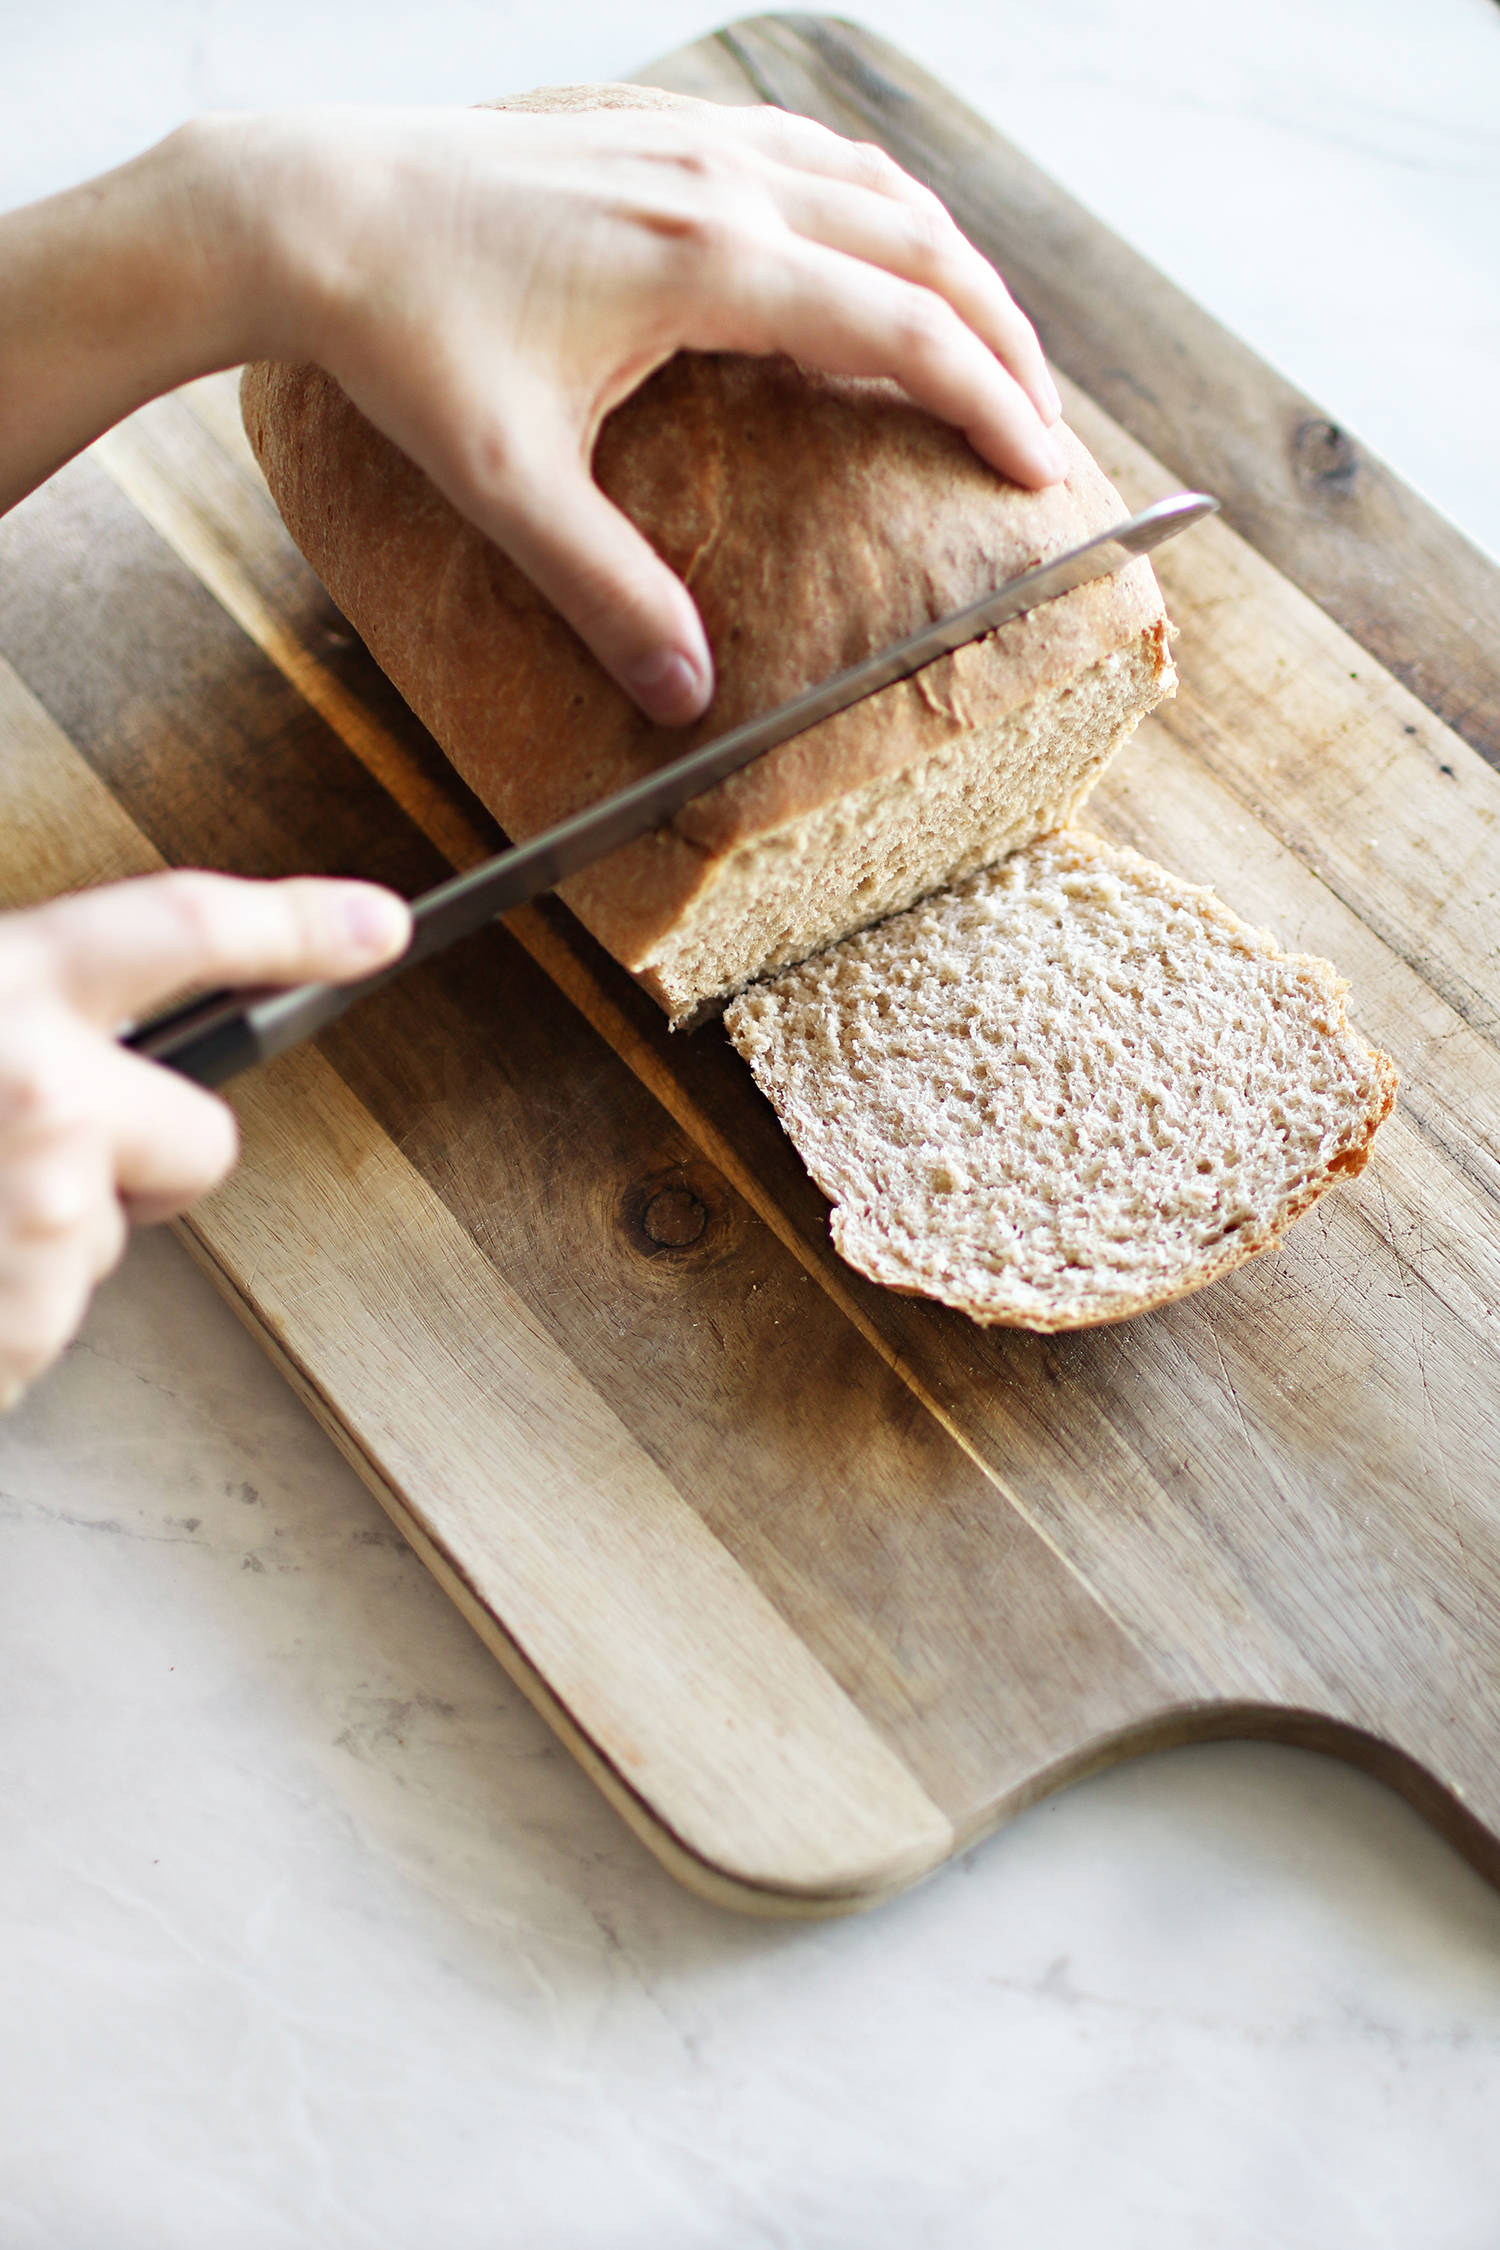
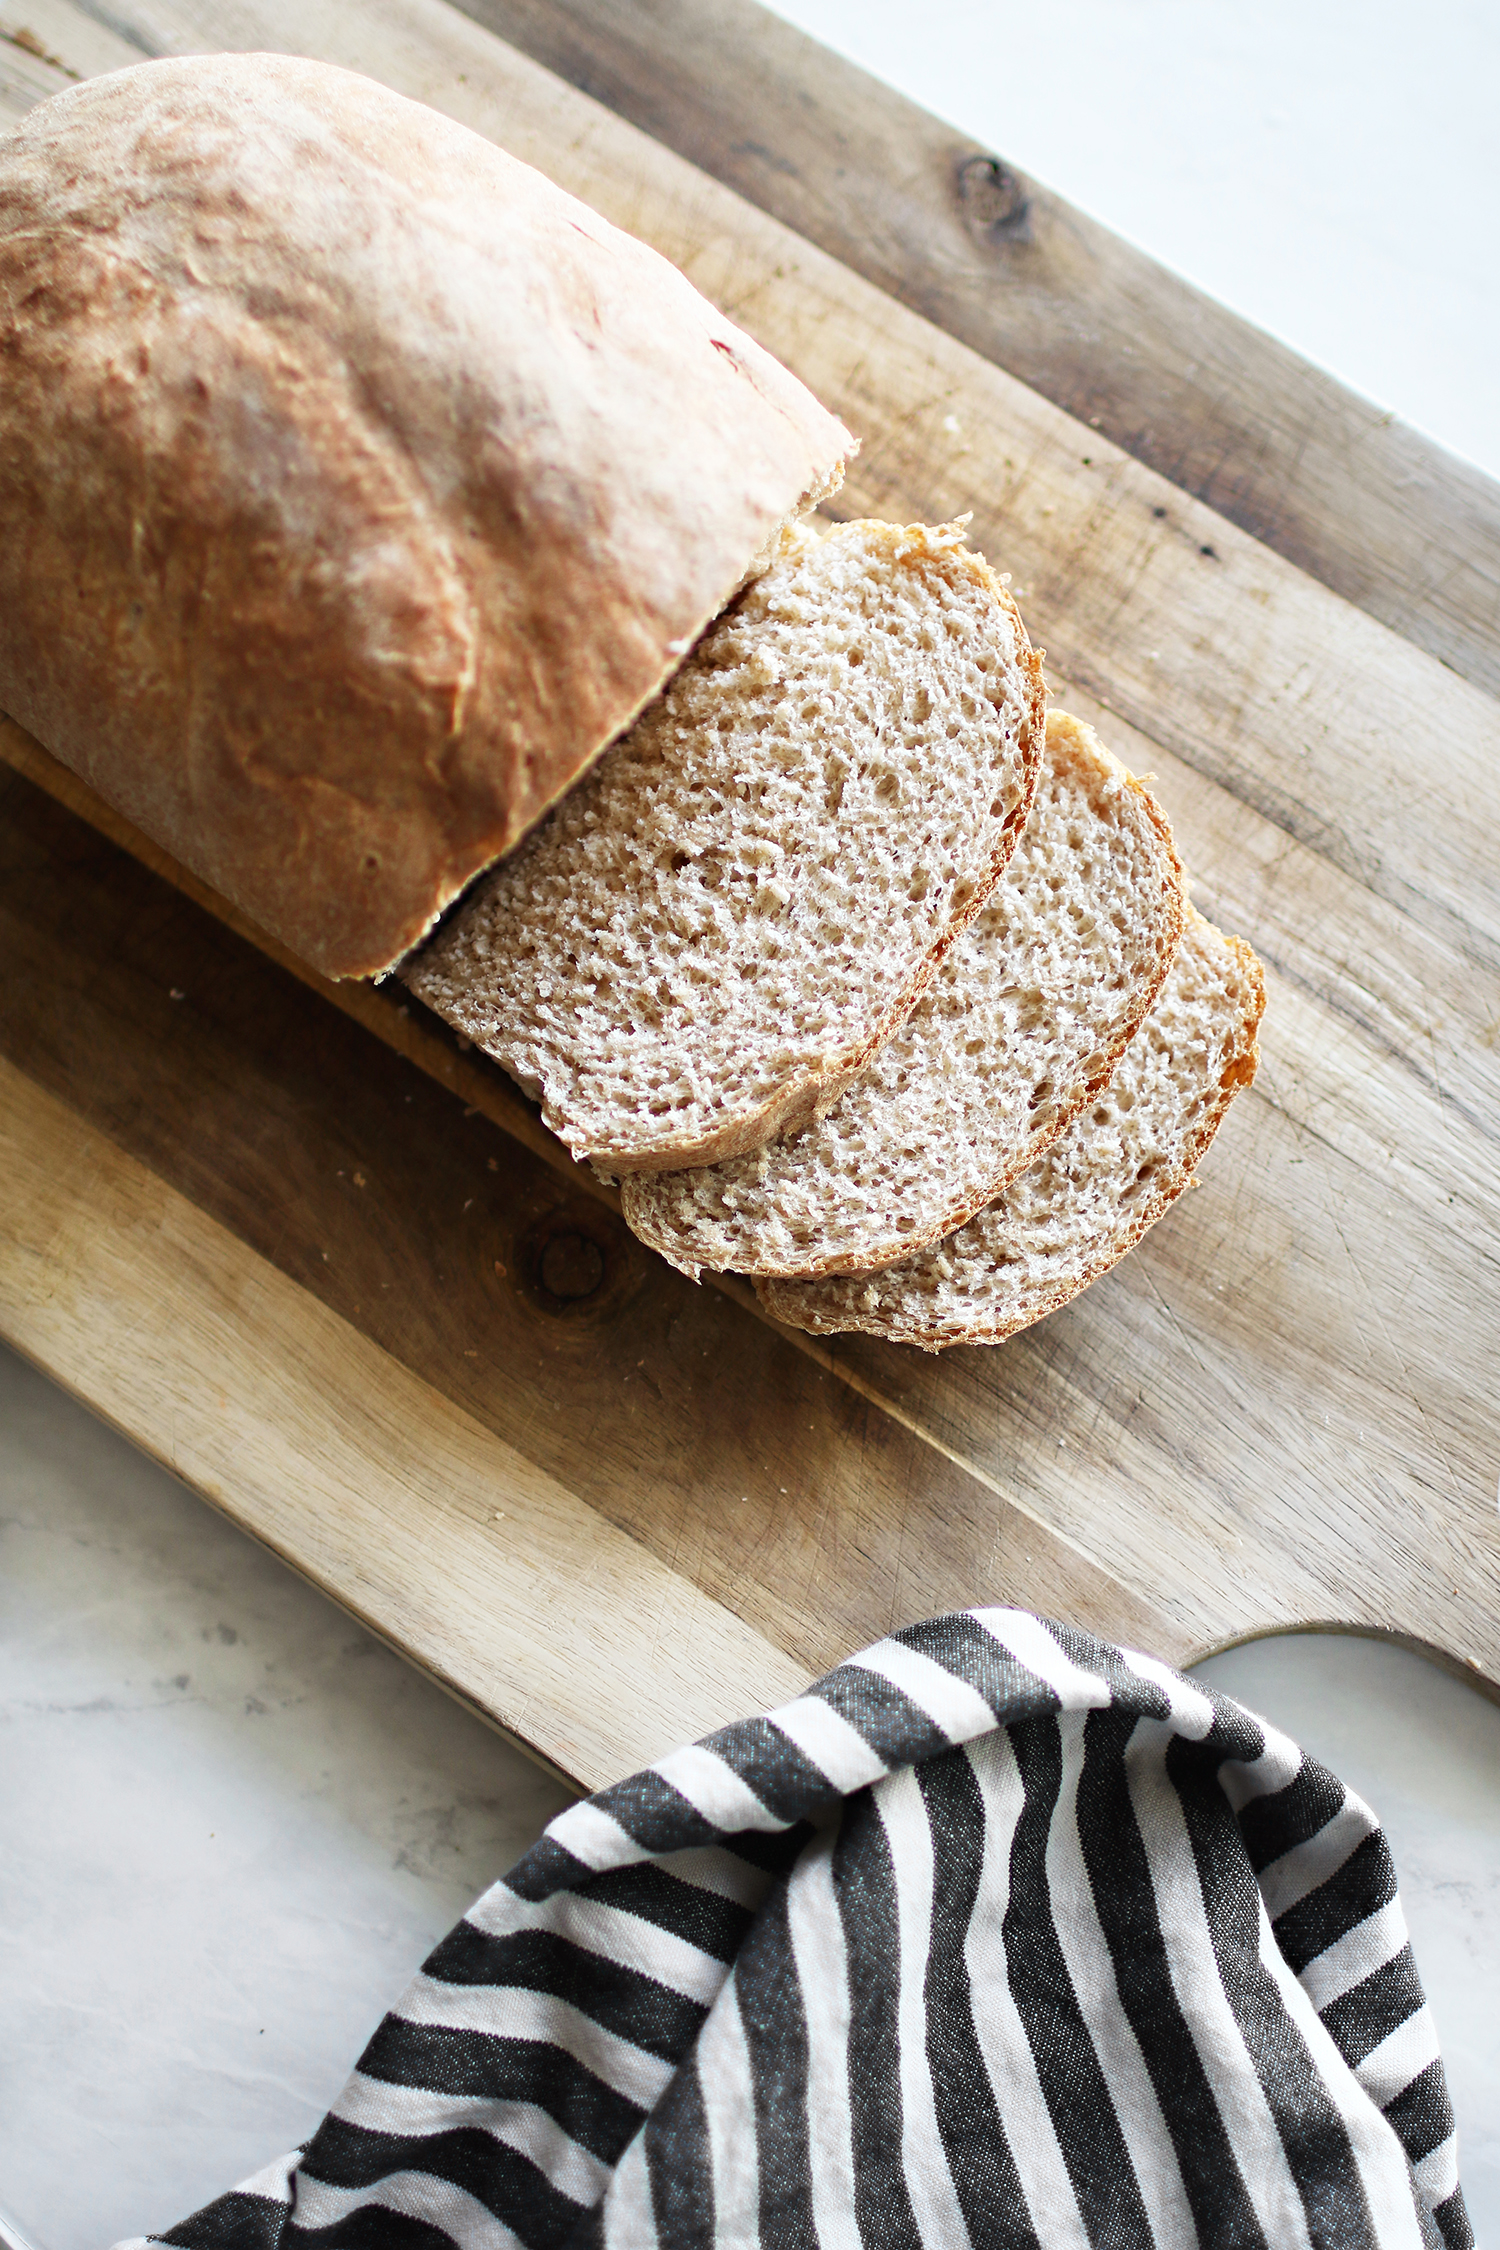
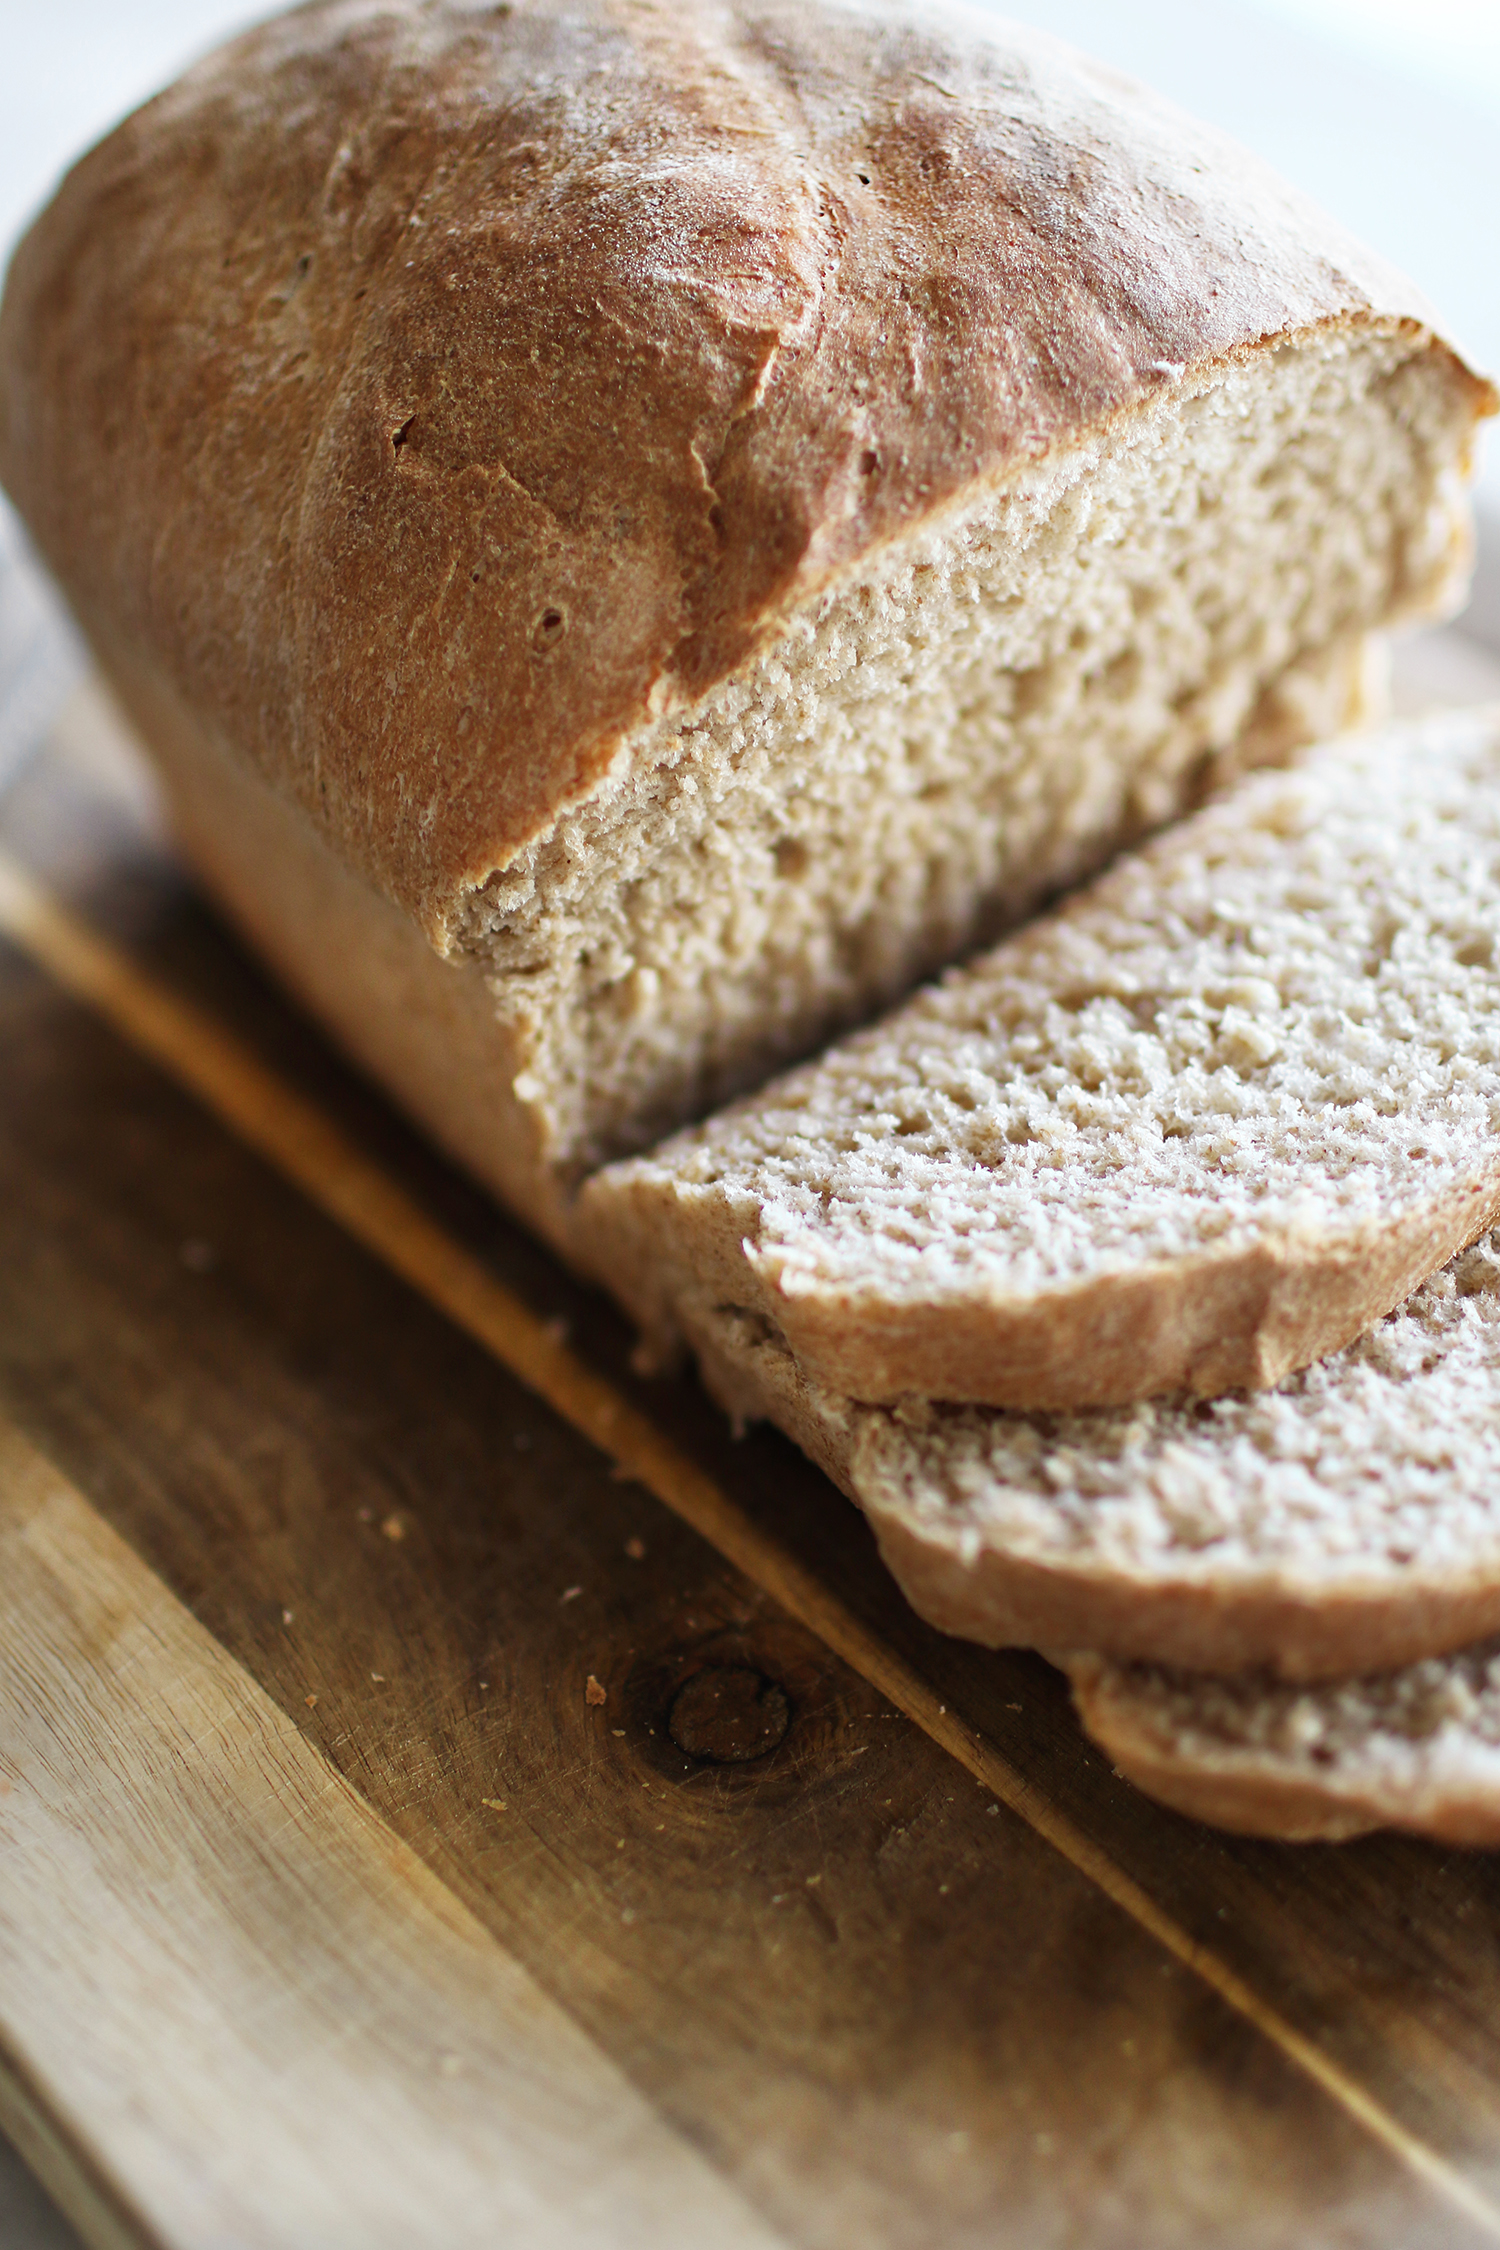
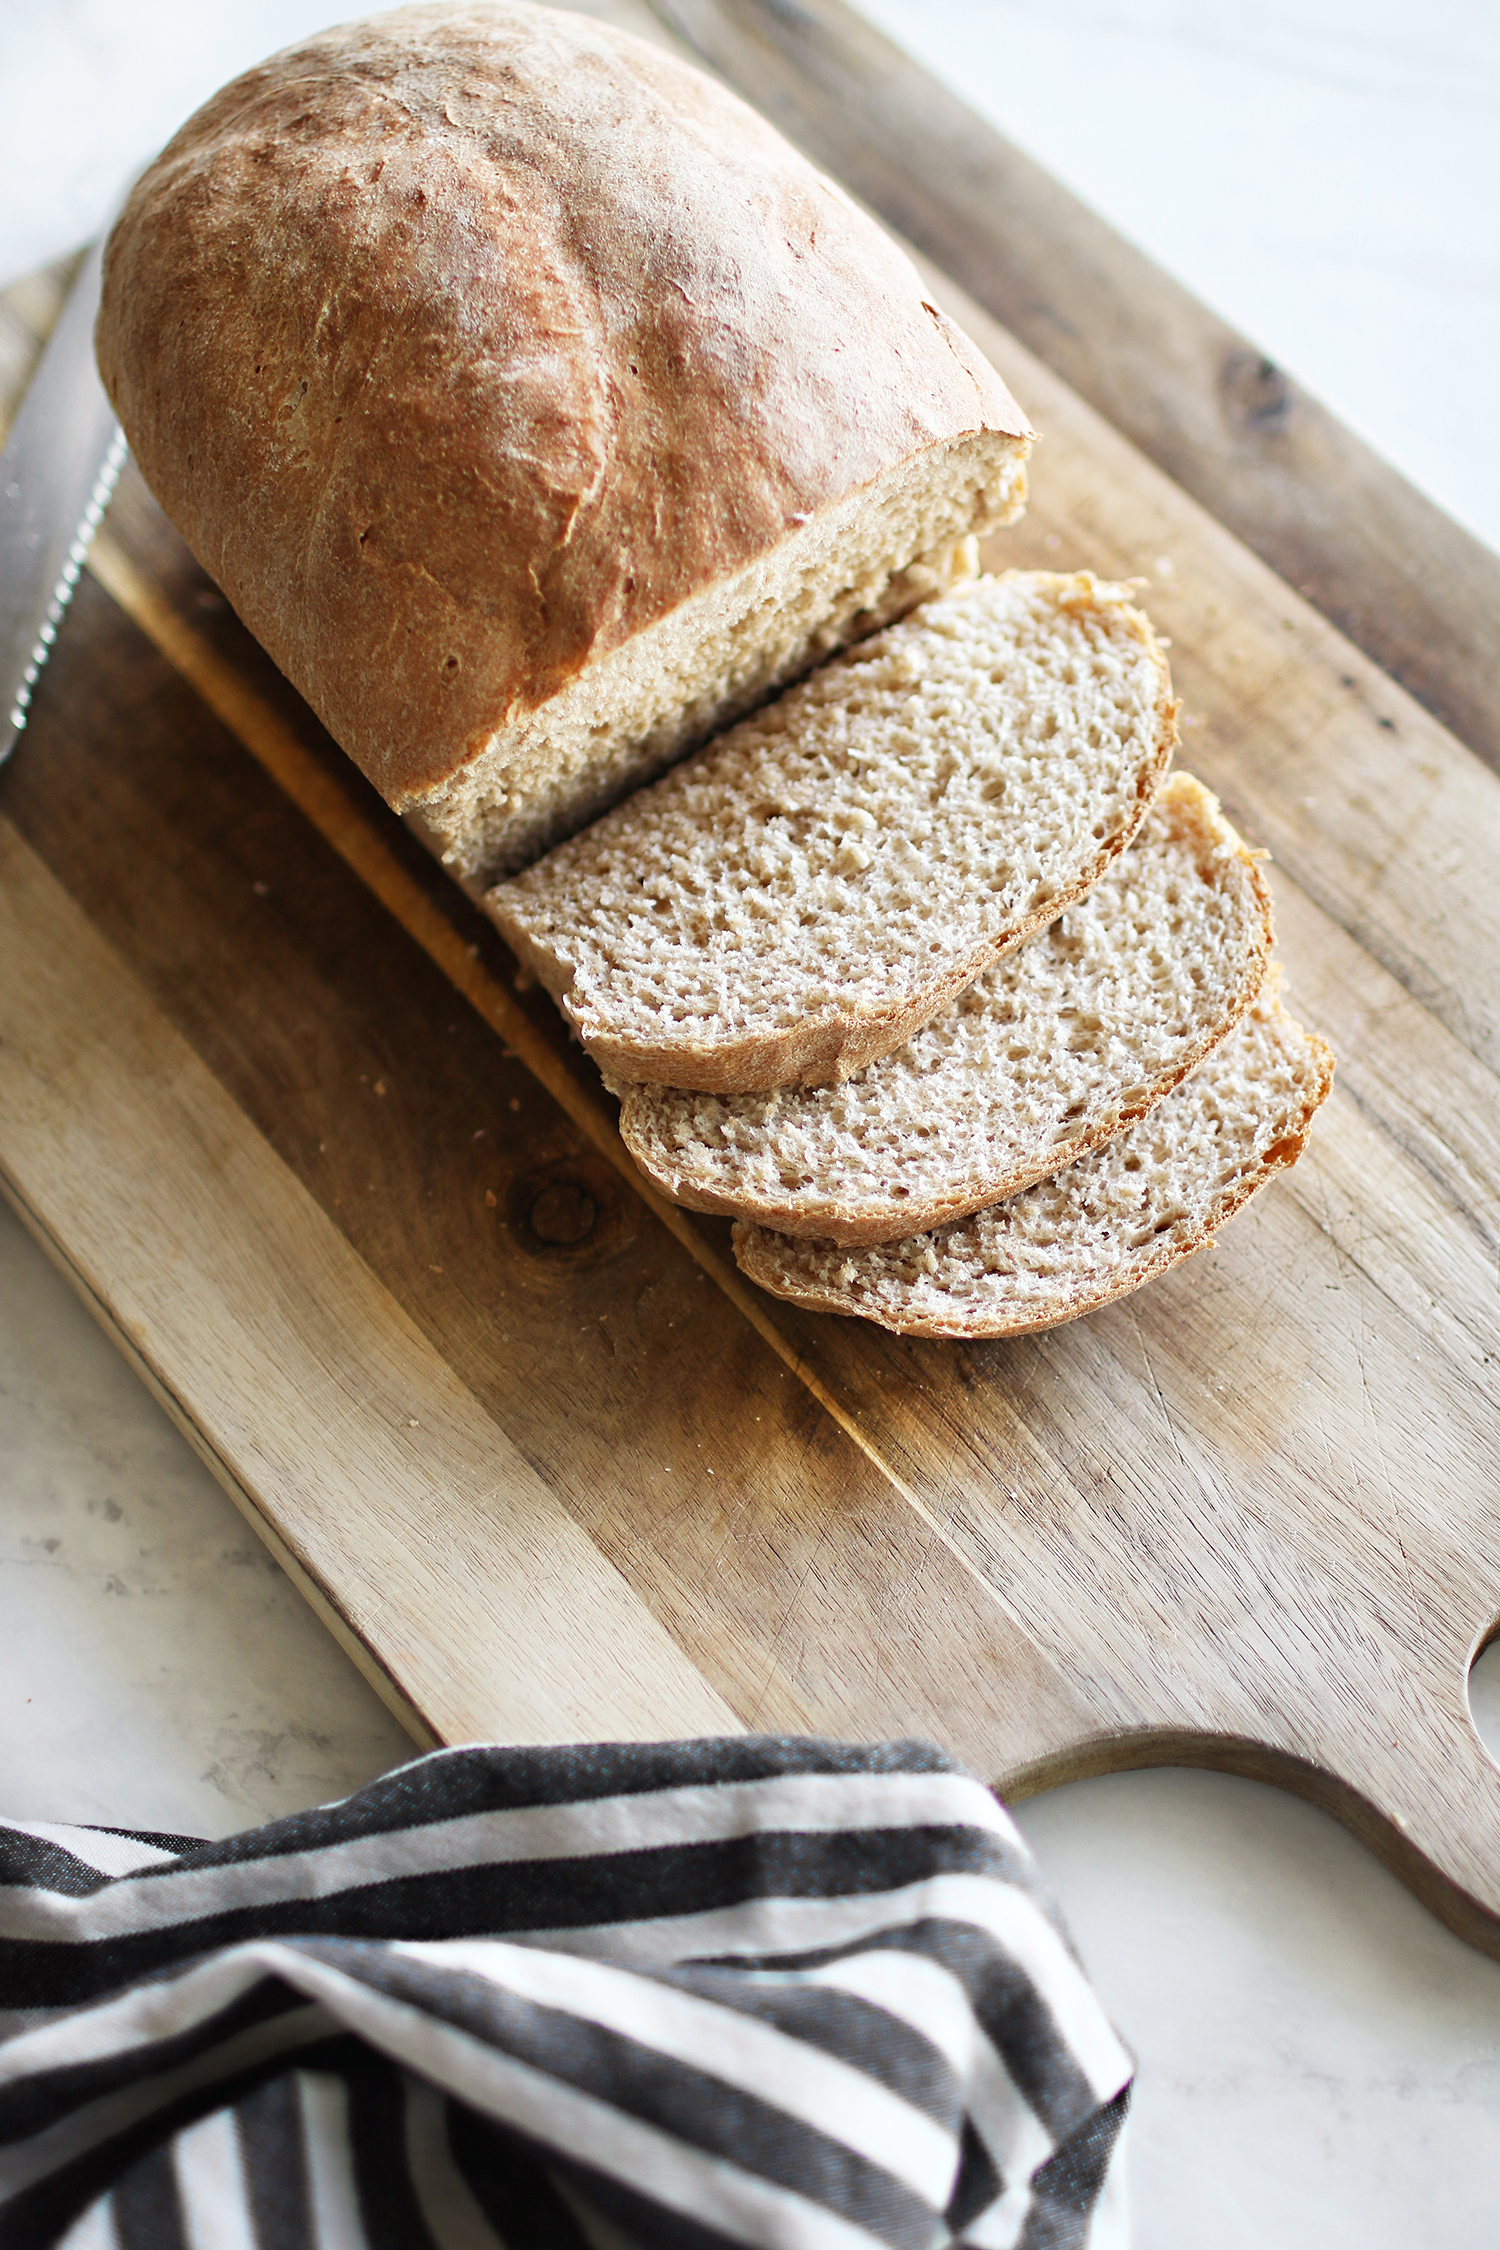
For more recipes from my kitchen, head here. I hope you enjoy!
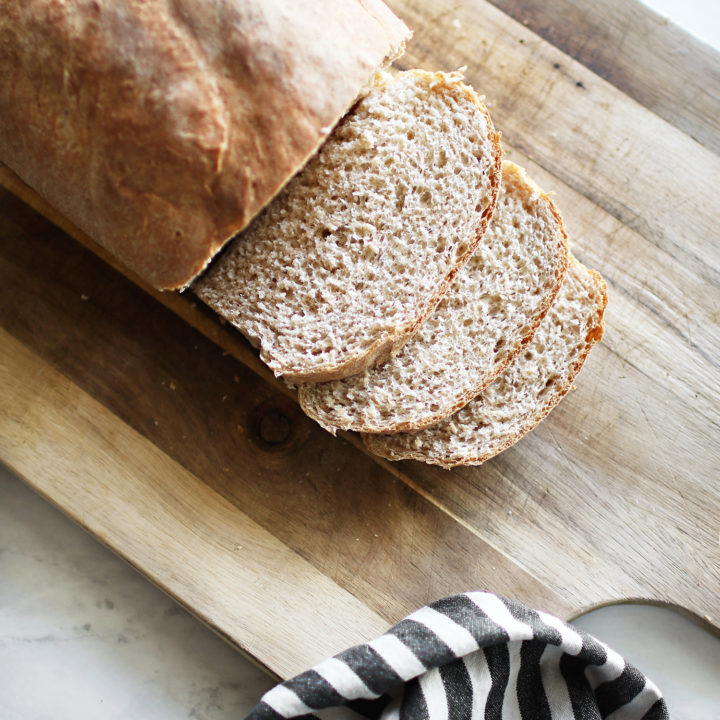
Honey Whole Wheat Bread Recipe
Ingredients
- 3 cups whole wheat flour
- 3 cups bread or all-purpose flour
- 4 1/2 teaspoons regular or active dry yeast (2 packets)
- 1 teaspoon salt
- 1/3 cup honey
- 1/4 cup Crisco shortening
- 2 1/2 cups warm water
Instructions
- Mix together whole wheat flour, salt, yeast, shortening, and honey in large mixing bowl.
- Add warm water and mix on low-medium speed until ingredients have been combined.
- Stir in bread or all-purpose flour one cup at a time to slowly incorporate the flour.
- Knead dough for approximately 7 minutes on a lightly floured surface if mixing by hand.
- Prepare a large bowl by using a non-stick spray or grease with shortening to prevent dough from sticking.
- Place dough in bowl and cover with a towel. Leave for 1 hour to rise.
- Prepare two loaf pans with non-stick spray or grease with shortening.
- When dough has doubled in size, remove and place on lightly flour surface to cut in half and mold into rectangular shapes. Tuck ends and sides under and place each loaf into the prepared pans.
- Cover both loaves with a towel and leave for 1 hour to rise.
- Preheat oven to 375 degrees.
- Once loaves have doubled in size place in the oven to bake for 25-30 minutes or until golden brown on top.
- Remove loaves and let cool.







July 27, 2020