How to Use Tags in Evernote for Easy Searching

Alright, friends. If you have been here for awhile you know just how much I adore Evernote. I use that darn app for EVERYTHING and I often say that it’s my backup brain. I have shared with you how I use it between business and personal, how to encrypt sensitive information within the app, how I use it for back-to-school organization, how I use it to organize home projects as well as how to organize receipts. Whew. It’s a lot and it’s only scratching the surface. Today I wanted to share with you how to use tags in Evernote for easy searching.
I absolutely love that you can apply this strategy for ease of searching only because as you use Evernote more and more, it becomes your own Google basically. There is so much stored and so much that can be accessed, but you need a system to make finding things again effortless.
Since I use Evernote for both business and personal, I am going to break down how I handle both simultaneously. If you only use Evernote for one or the other, the same rule can be applied to either side.
What works best for me is to use a sort of tier system. So what I did is I sat down and made three columns – one for the main subject, the second for what it is relating to and third for any additional identifier. I don’t always use three tags if it’s not needed, but I wanted to break it down as finely and as efficiently as possible. The reason you want to approach the setup of tags methodically is so it becomes muscle memory. If you just choose whatever comes to your mind each time you add tags, you will never be able to remember the same ones which will result in pretty chaotic organization.
For example, on the personal side of things, if I have a receipt for a prescription for one of my kids that I want to make sure and store for tax deduction reasons I would add the following tags: #Tanner #Medical #Receipt
On the business side of things, if I have a blog post idea for Haus of Layne and research to go along with the points I want to include, I would add the following tags: #HausOfLayne #PostIdea
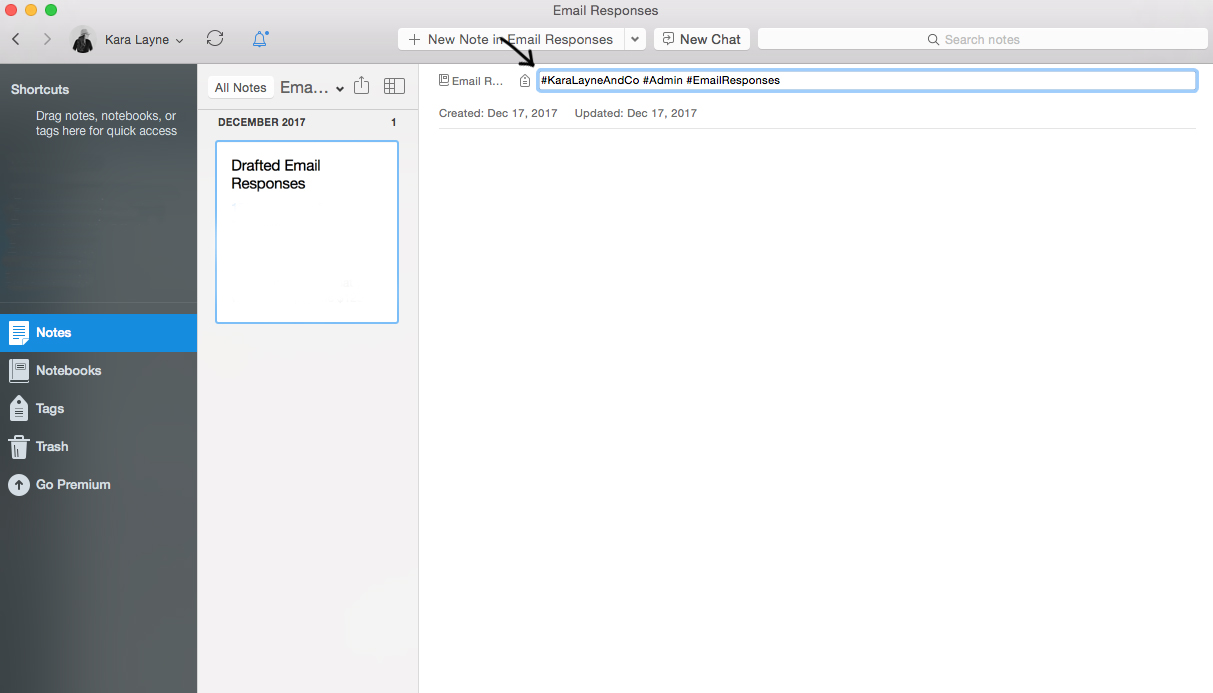
When you create a new note, you will want to make sure and add in your appropriate tags located near the top, which you can see from my screenshot below, and then add your note to the assigned folder.

Hope you find these Evernote hack posts helpful as you dive in and begin organizing all of the things! Leave a comment below if you have any questions or ideas for future Evernote posts and thanks for reading!


April 9, 2018