DIY Farmhouse Headboard Project
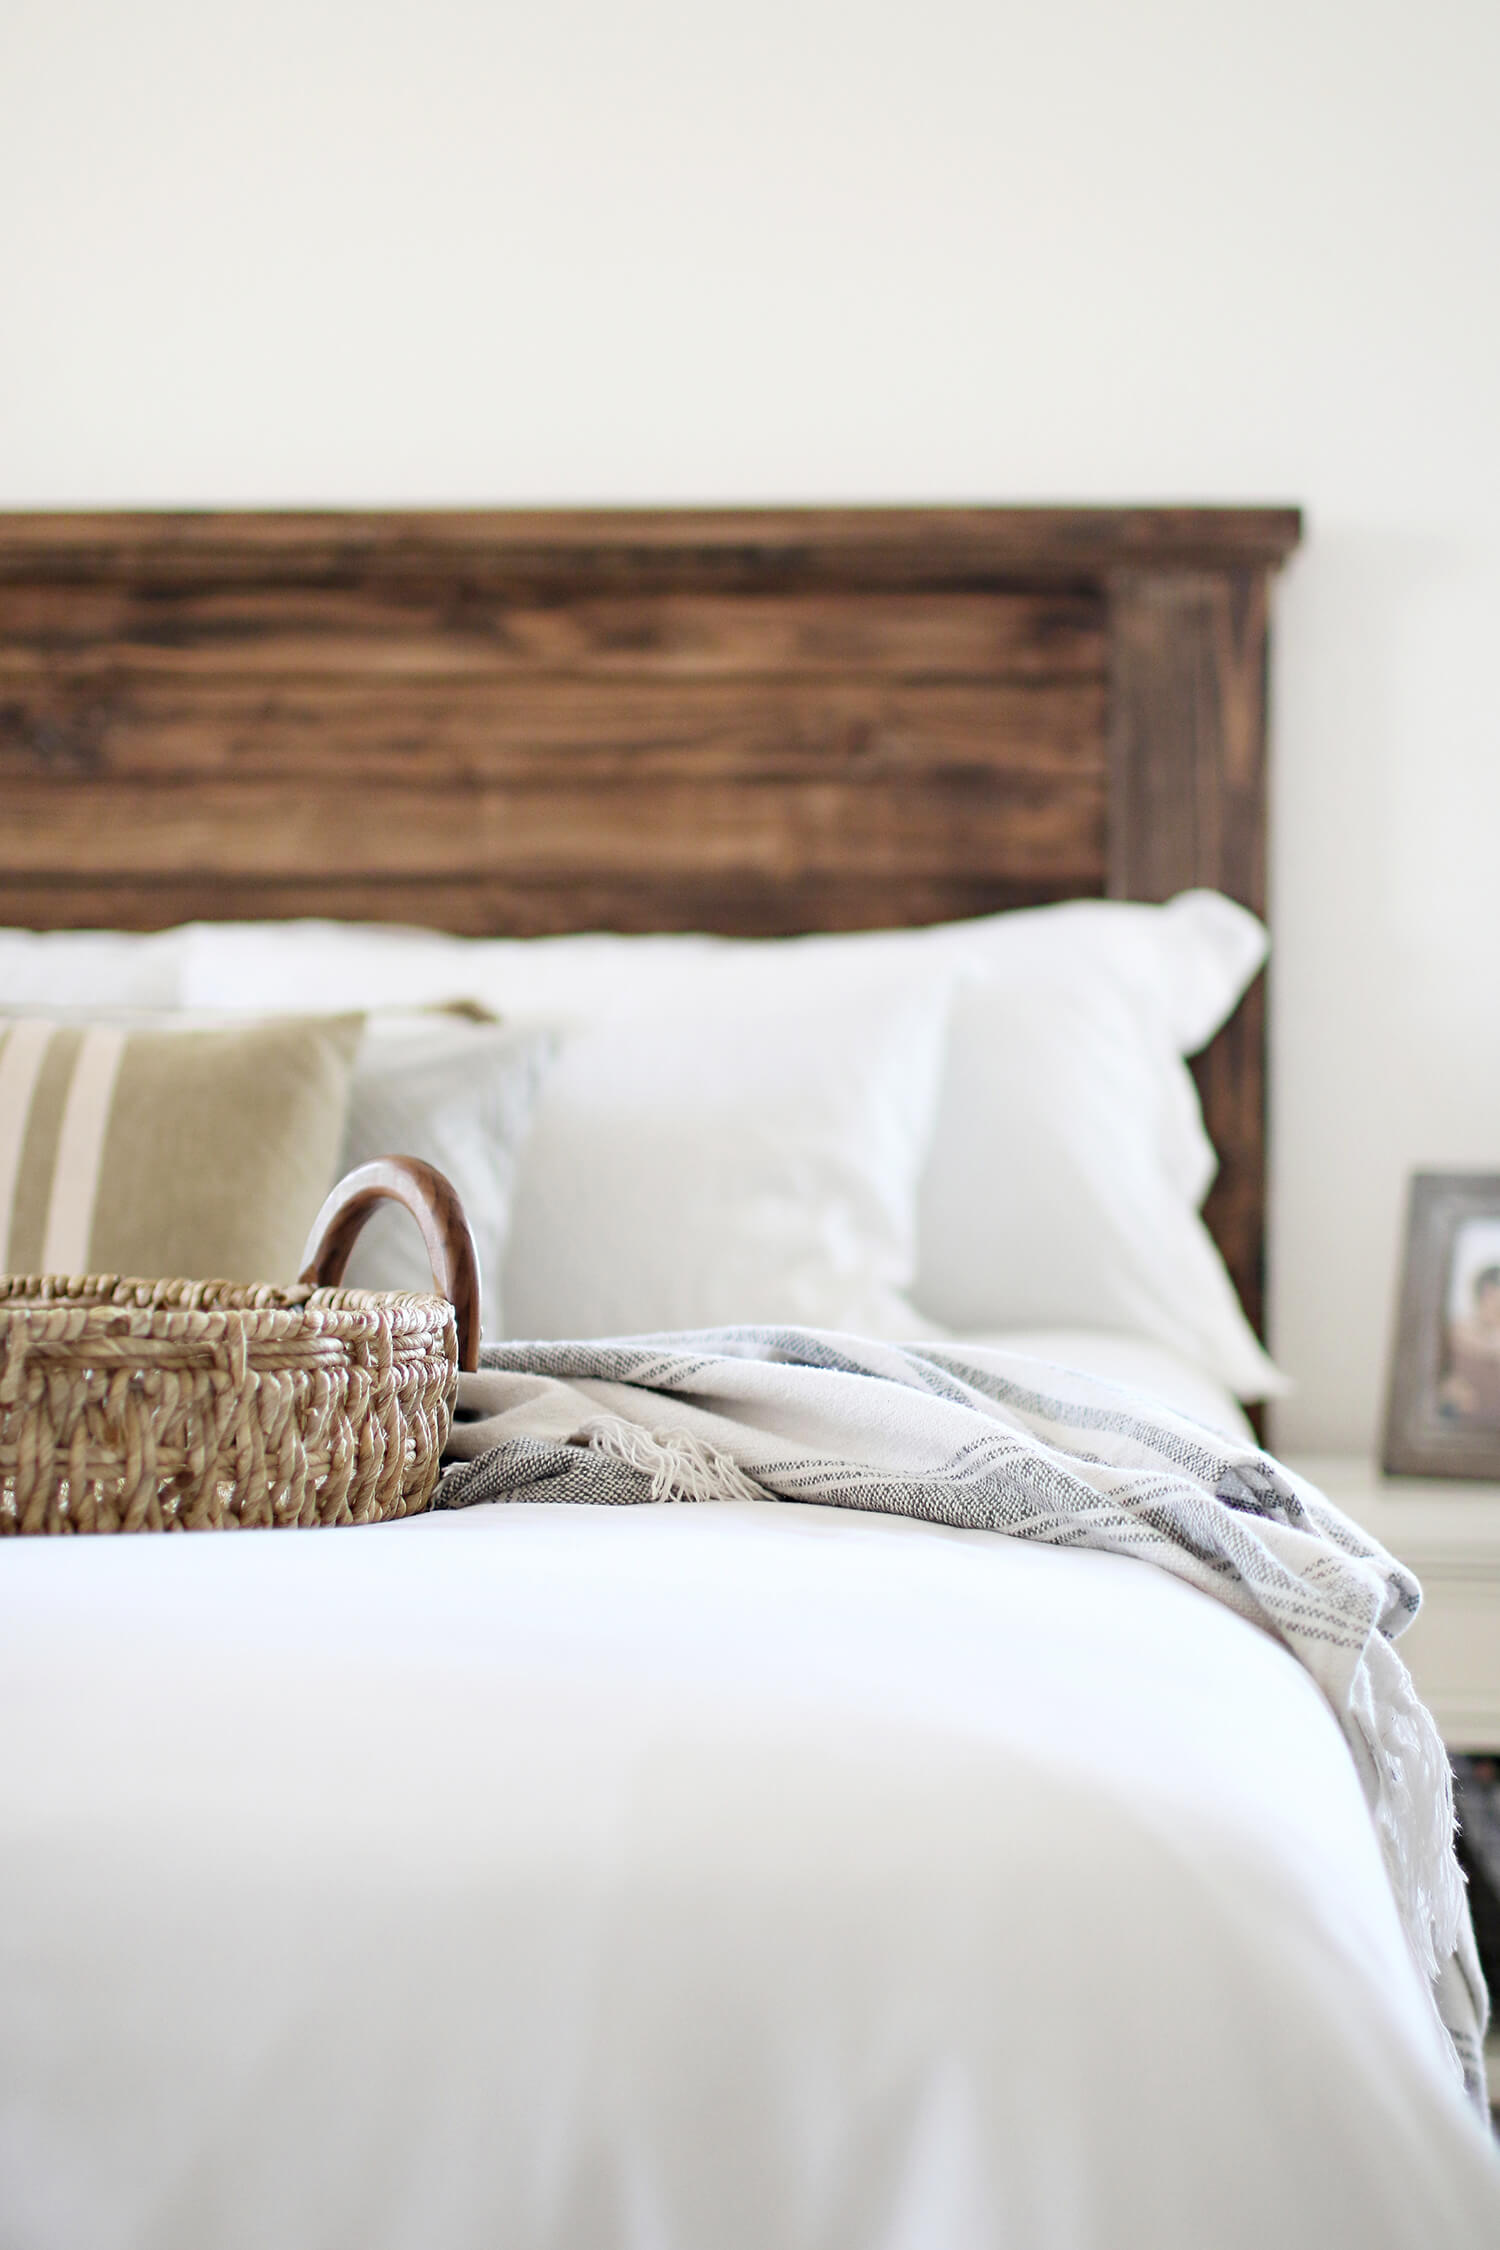
I am so excited to share this one with you! I am finally breaking down our DIY farmhouse headboard project. And if you keep scrolling to the end, I created a downloadable plan and shopping list for you! Just to make things as easy as possible for those of you who want to tackle it.
Home projects. Goodness gracious, I really do love them, but that doesn’t mean that every single one we have attempted goes smoothly. There have been some projects in the past that will never see the light of day, but I am happy to say that we have come a long way from those beginning years as two young kids trying to do things ourselves.
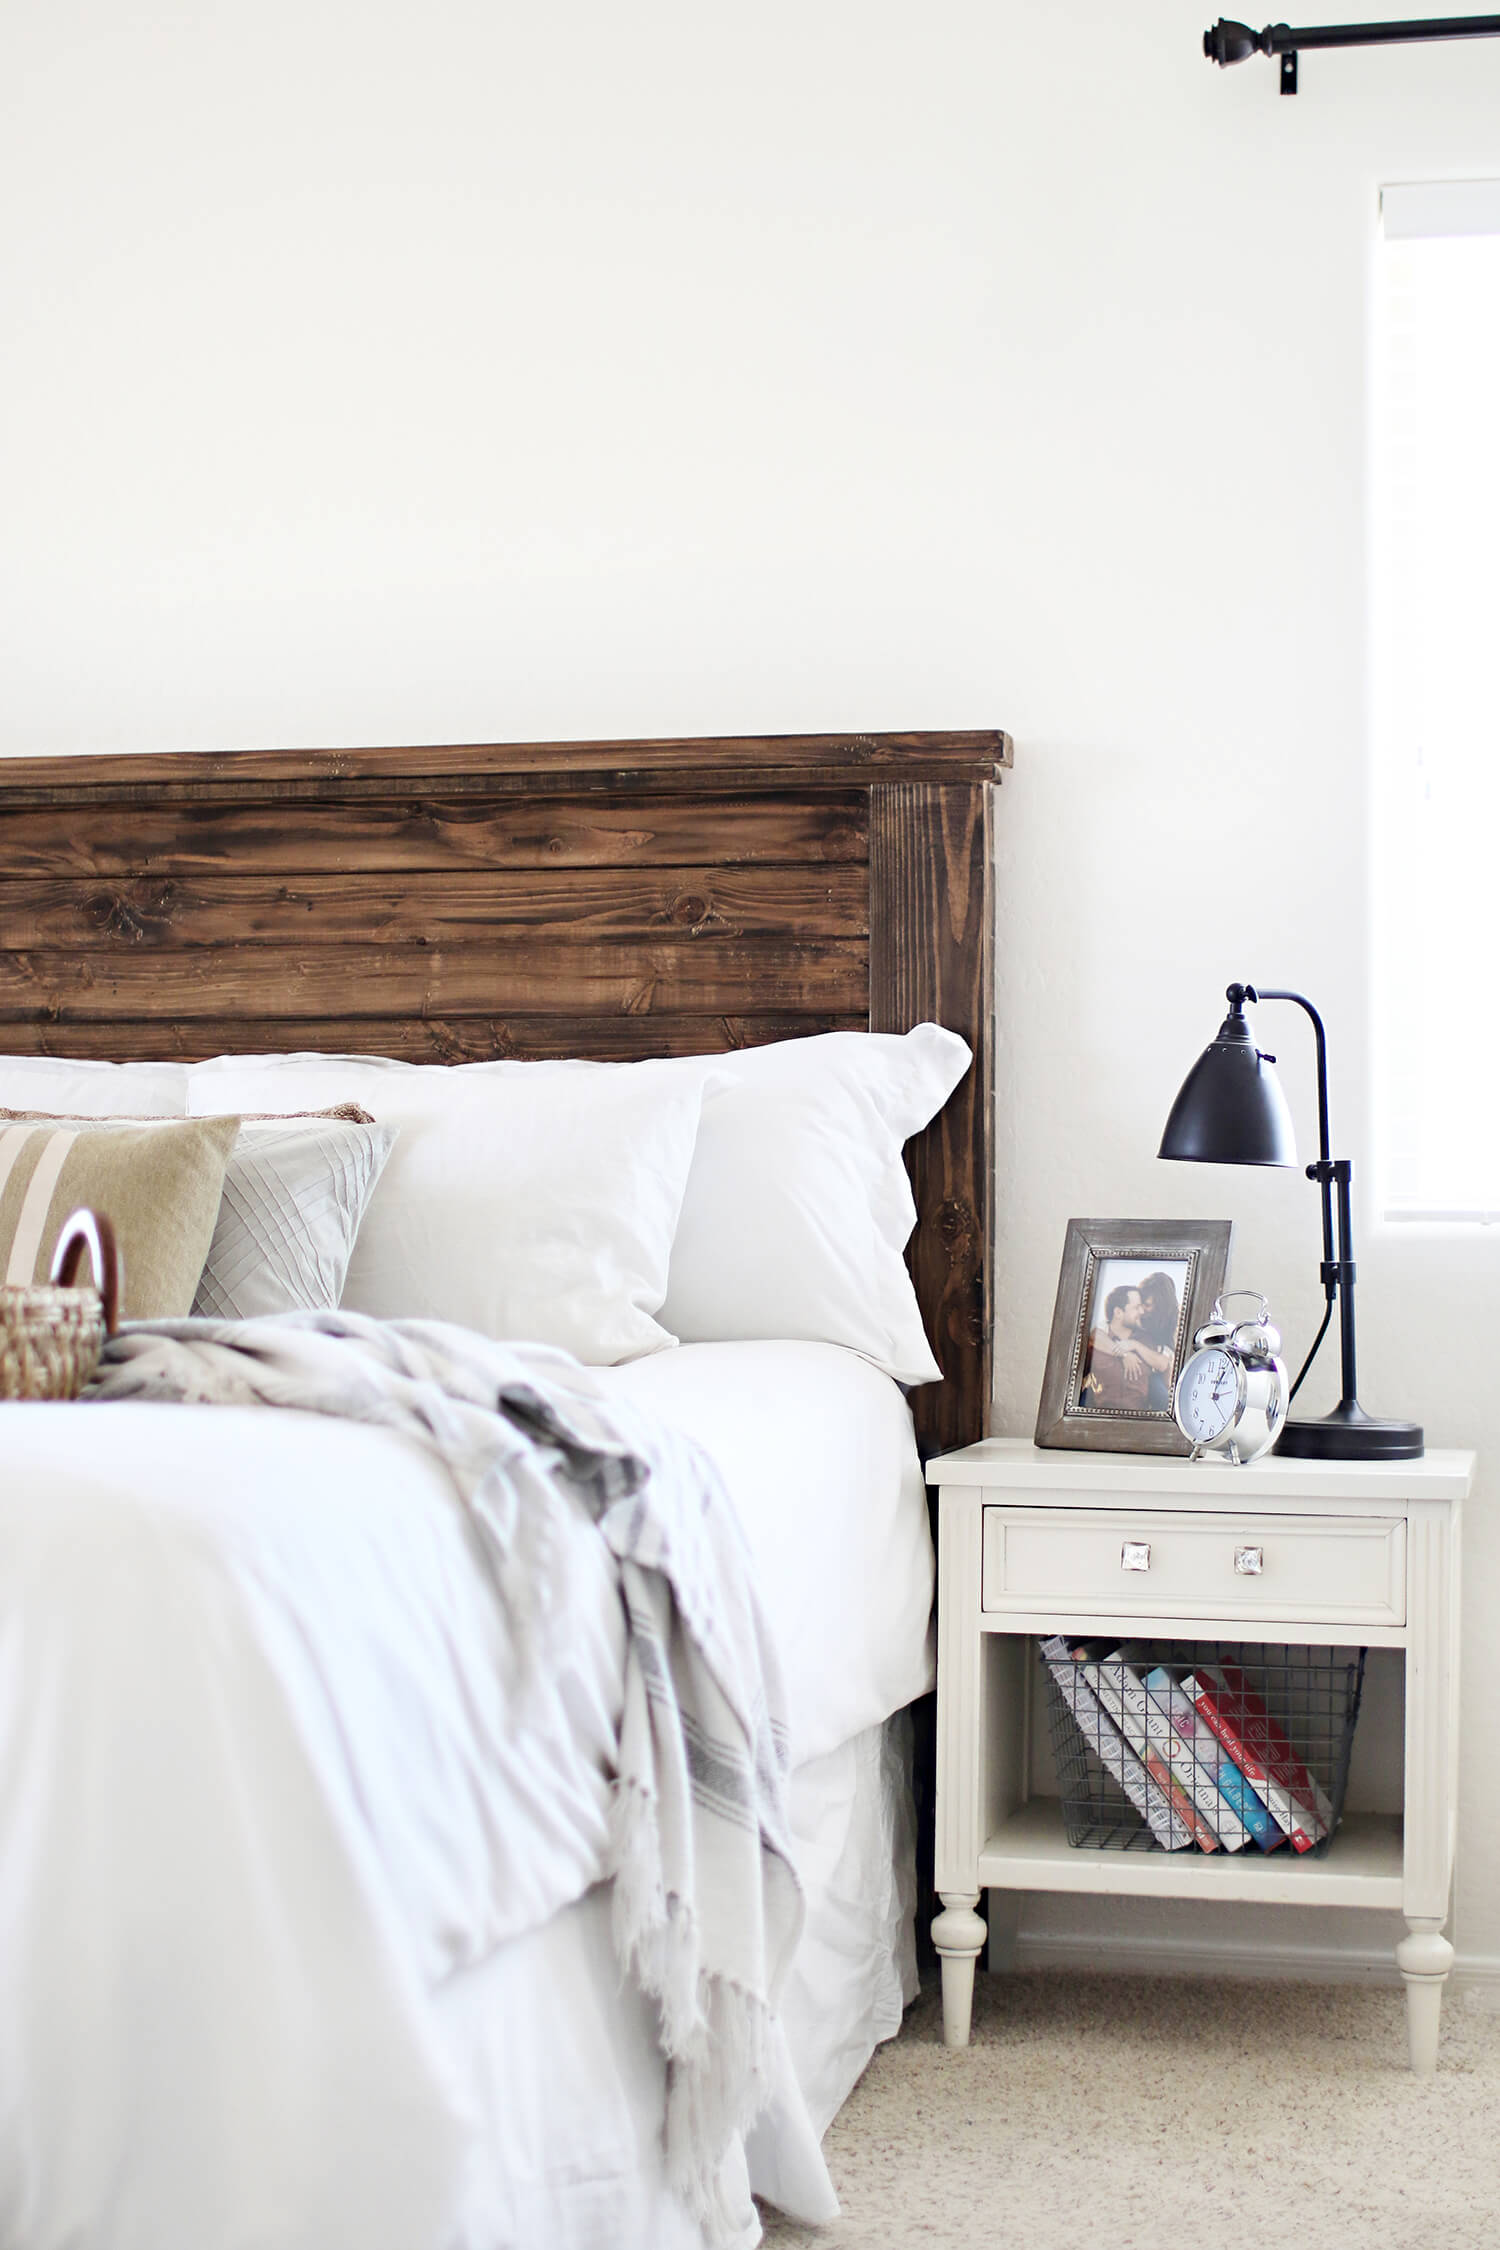
This project, however, is my favorite to date. Less than $75 dollars, less than 6 hours to build and my husband made our bedroom feel more like home than it ever has. I love a good DIY project, but I love them, even more, when I can step back and see a room begin to transform. Not to mention the sentiment of being surrounded by things being built my husband’s hands. Bless that man and the things he accomplishes while I carry his beautiful babies. Wink.
We knew we wanted a touch of rustic to break up all of the white we have going on in our master suite and we love the look and lines of that classic farmhouse style. We browsed Pinterest and online for a long time, but either the plans we came across weren’t the style we wanted or it required so many individual tools to invest in just to get the one job done. So we came up with our own.
Keep in mind, the supplies and measurements I am including in this post were for a headboard design to fit our bed which is a California King. However, with it being such a simple design, I don’t think it would be too difficult to adjust it to the size you need.
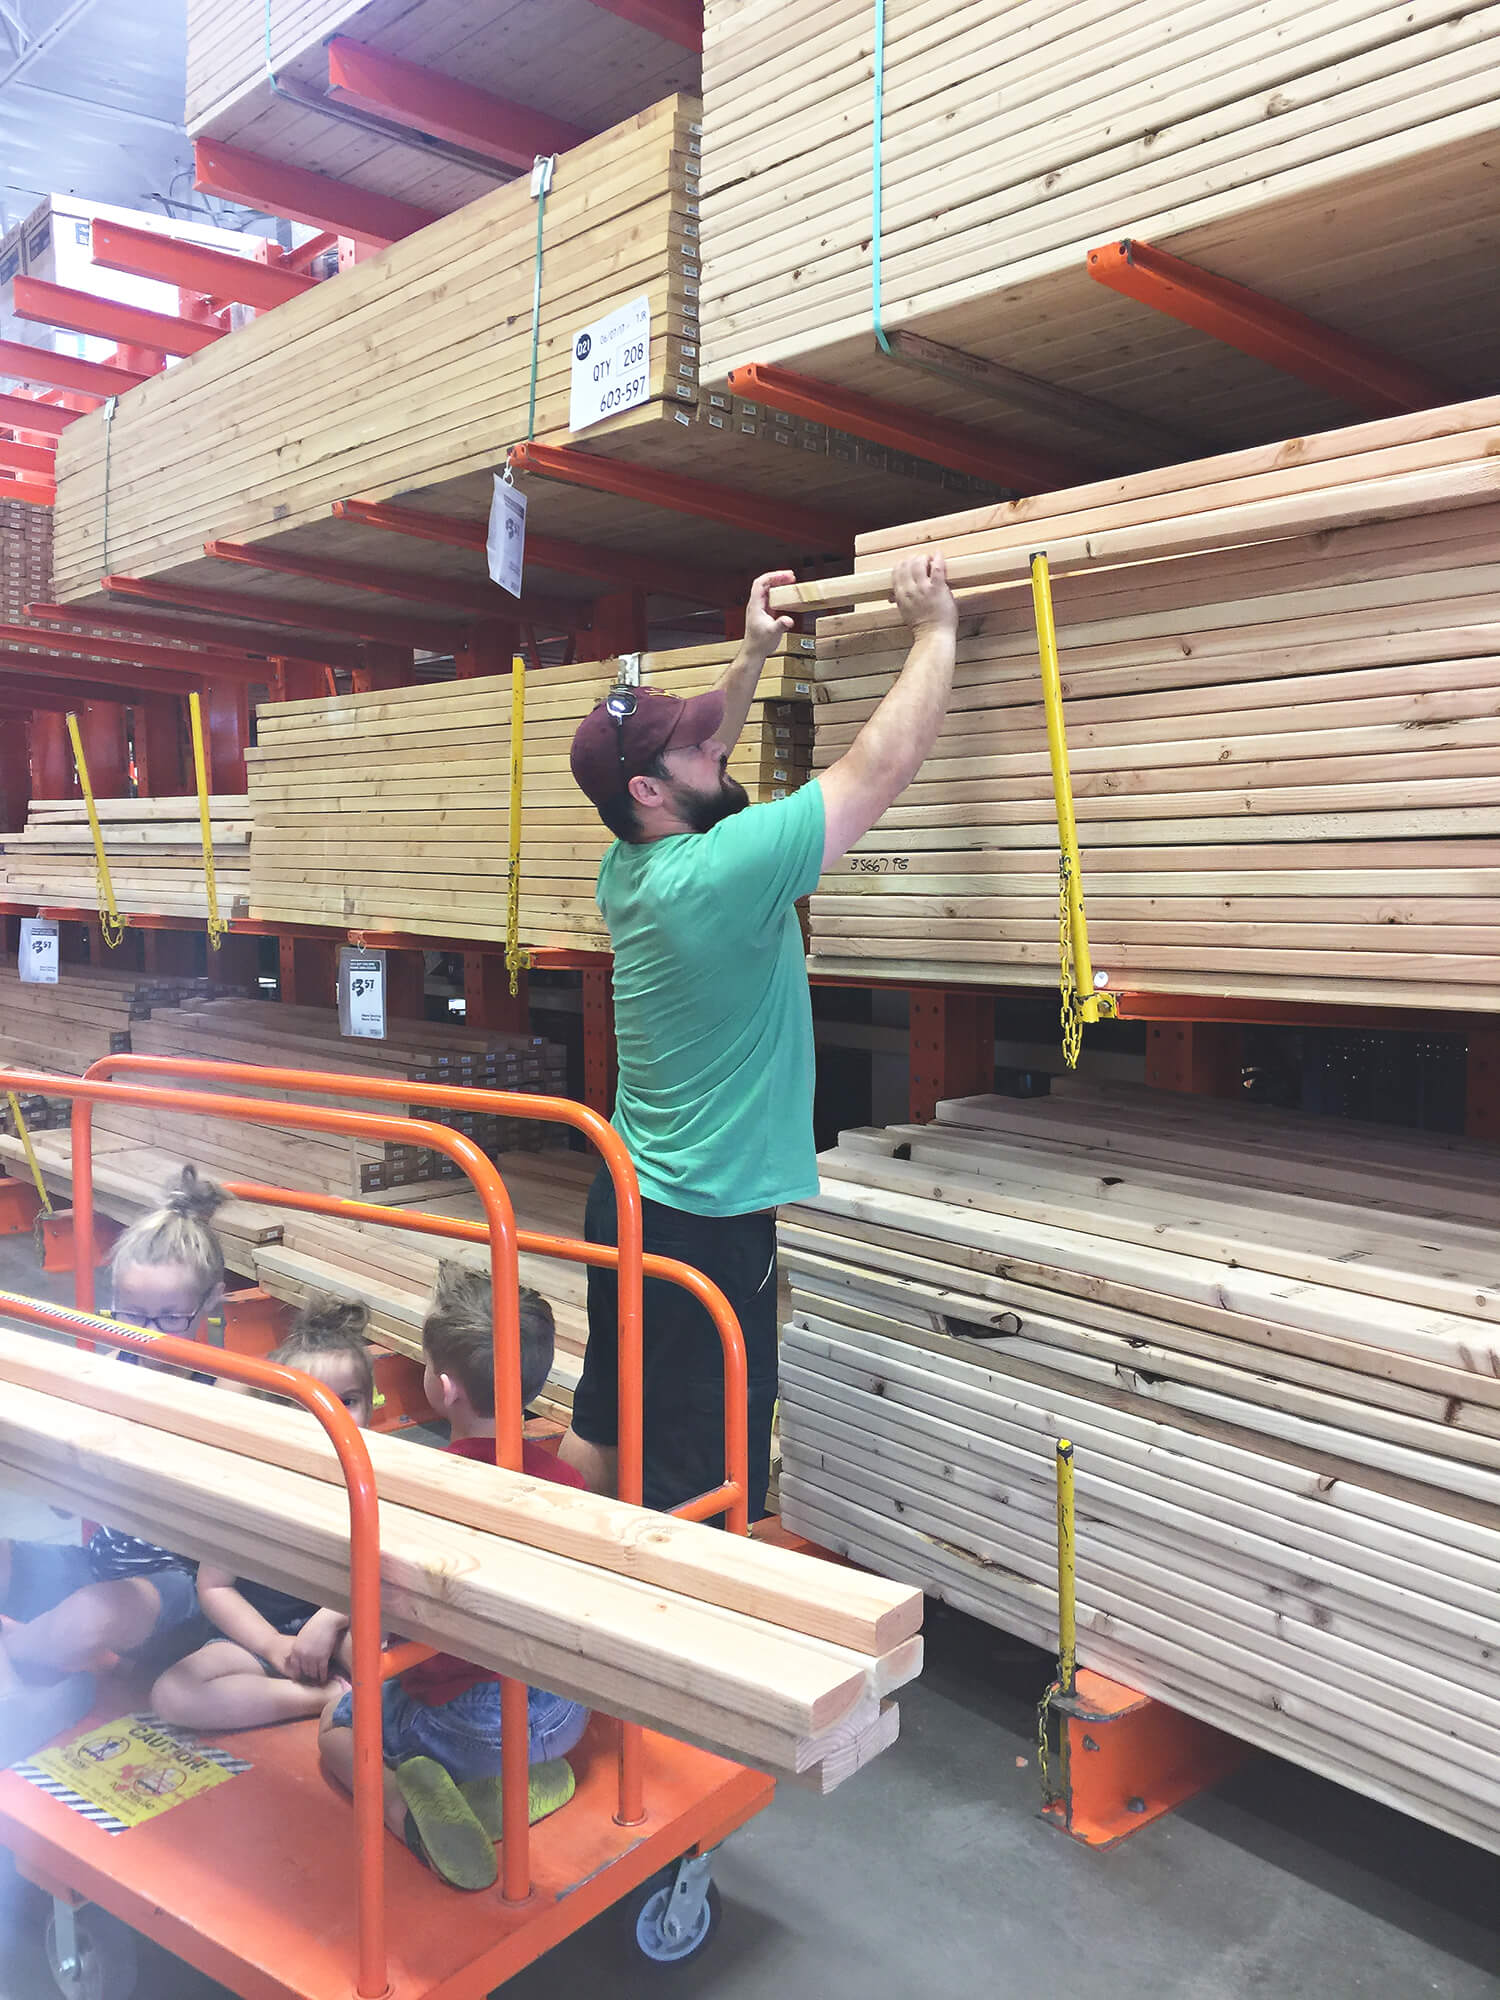
Starting at Home Depot, we picked up the wood and supplies needed. And, as with most things, it was a family affair.
Supply List:
- (8) – 2×4’s cut to 75 inches long
- (2) – 2×6’s cut to 53.5 inches long
- (1) – 2×4 cut to 77 inches long
- (1) – 1×3 cut to 76 inches long
- (2) – 2×4 cut to 19 inches long (these will be used to support the legs of the headboard)
- 2 1/2 inch screws
- 1 3/4 inch screws
- drill bit slightly smaller than the screws
- sandpaper in 60 and 100 grit
- electric sander
- wood filler/putty
- putty knife
- wood stain of choice
- scrap cloths for stain application
- sponge
- anchors to secure headboard
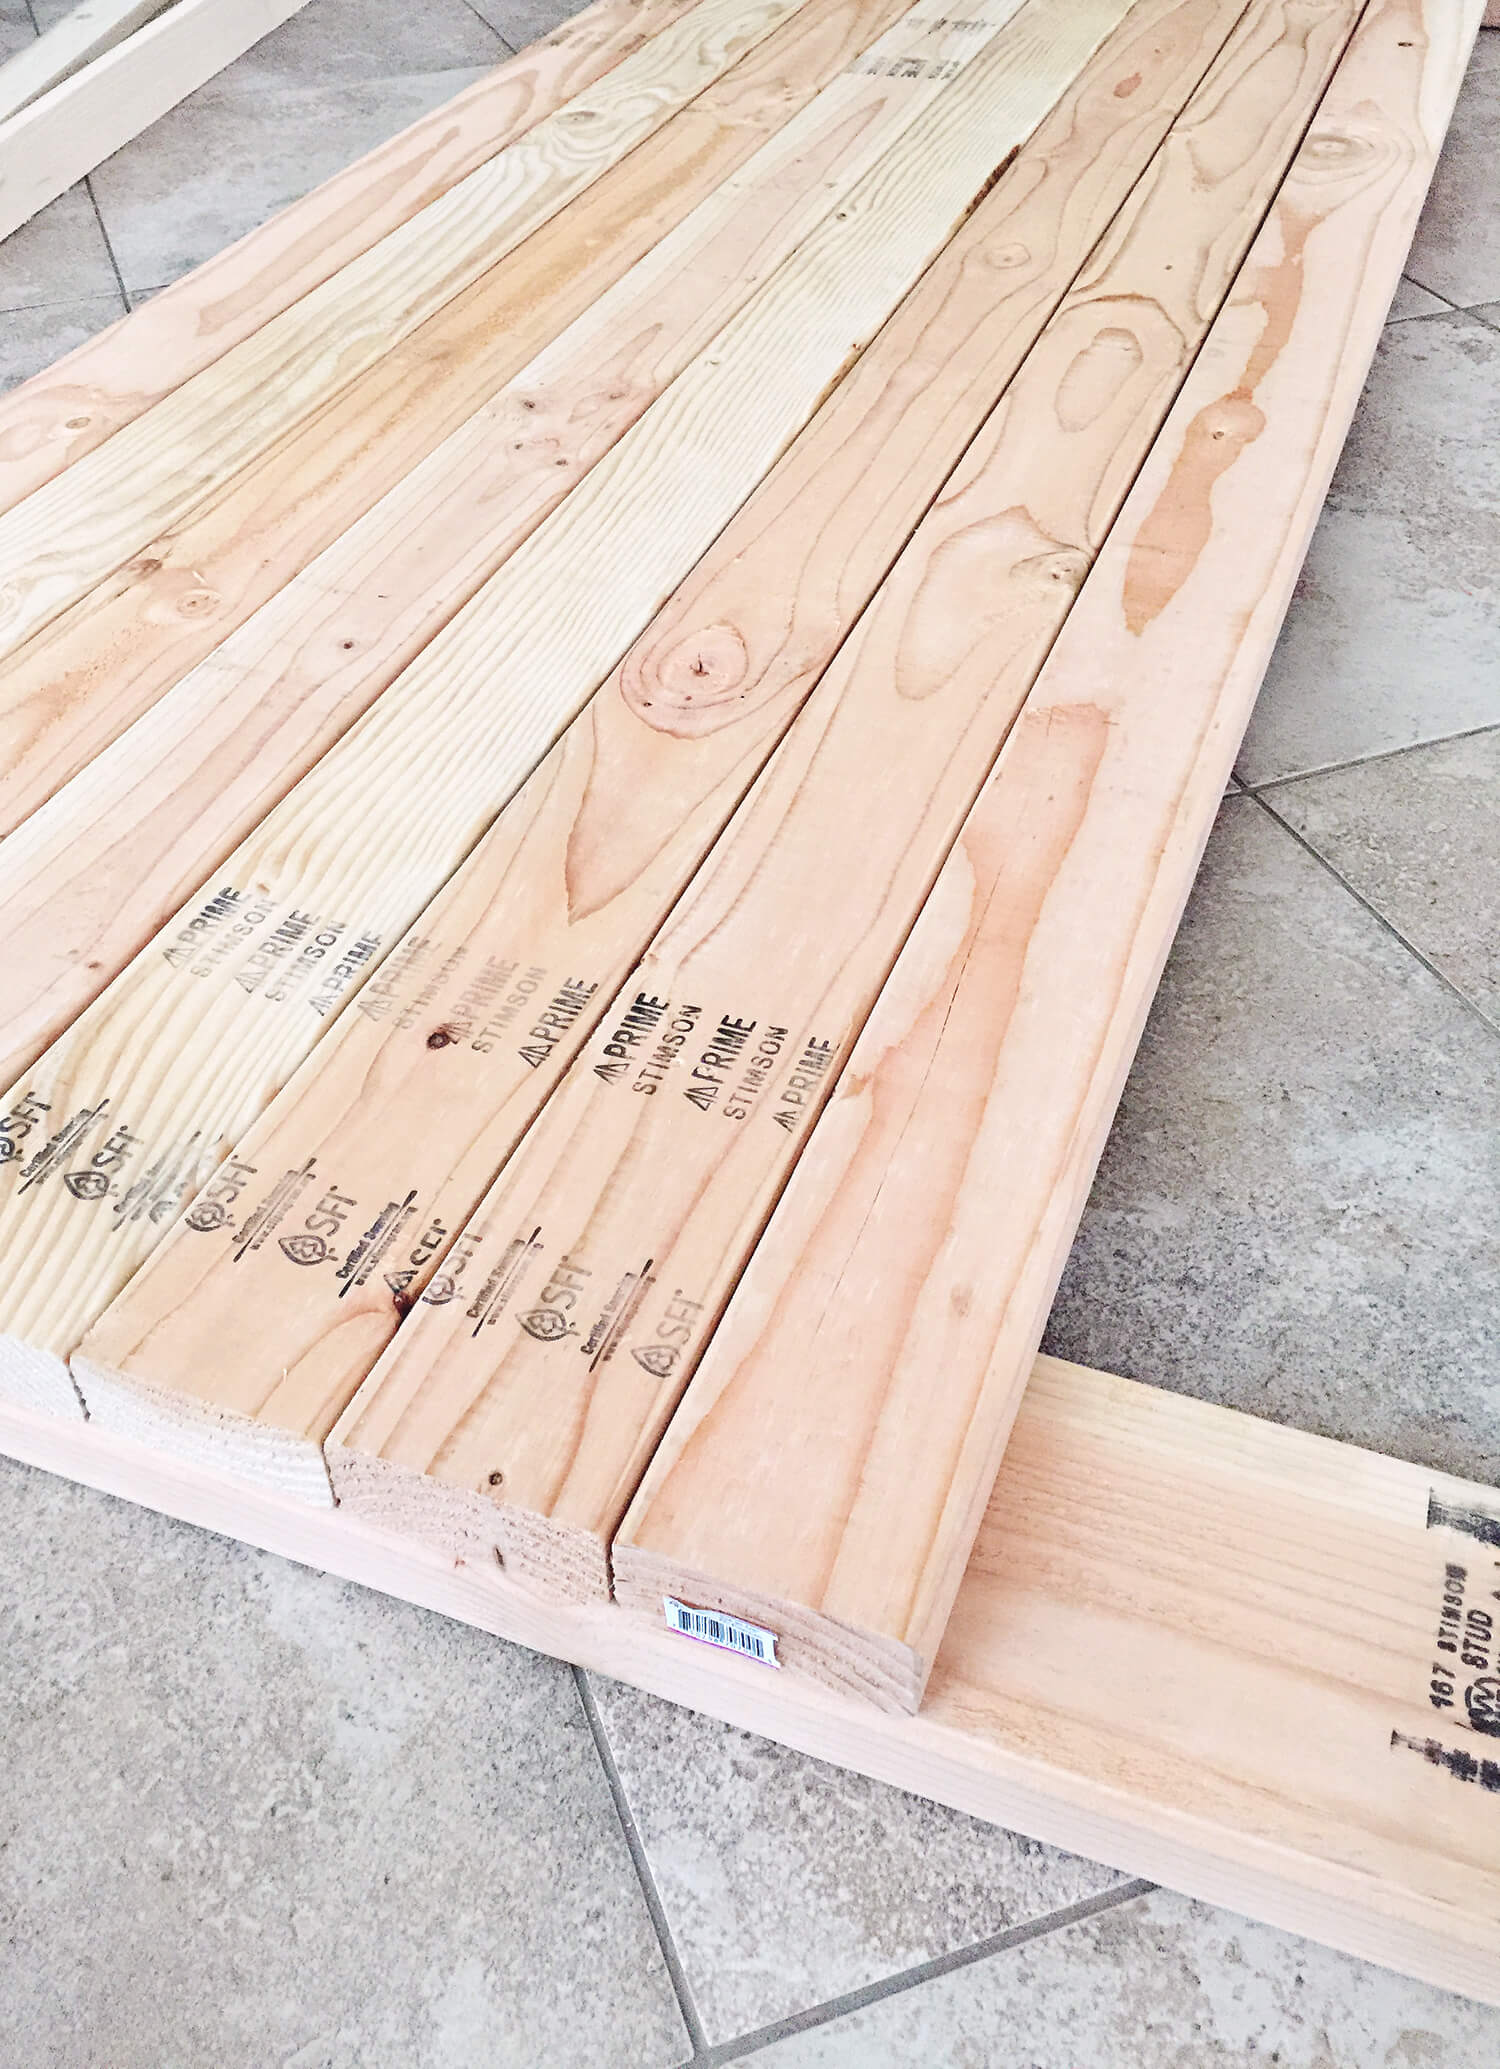
Since it is currently triple-degree summer weather here in Arizona, we most definitely set up inside the house for this project. It just required a bit of vacuuming and dusting after. Okay, maybe a lot, but it was worth it to work under the convenience and comfort of air conditioning.
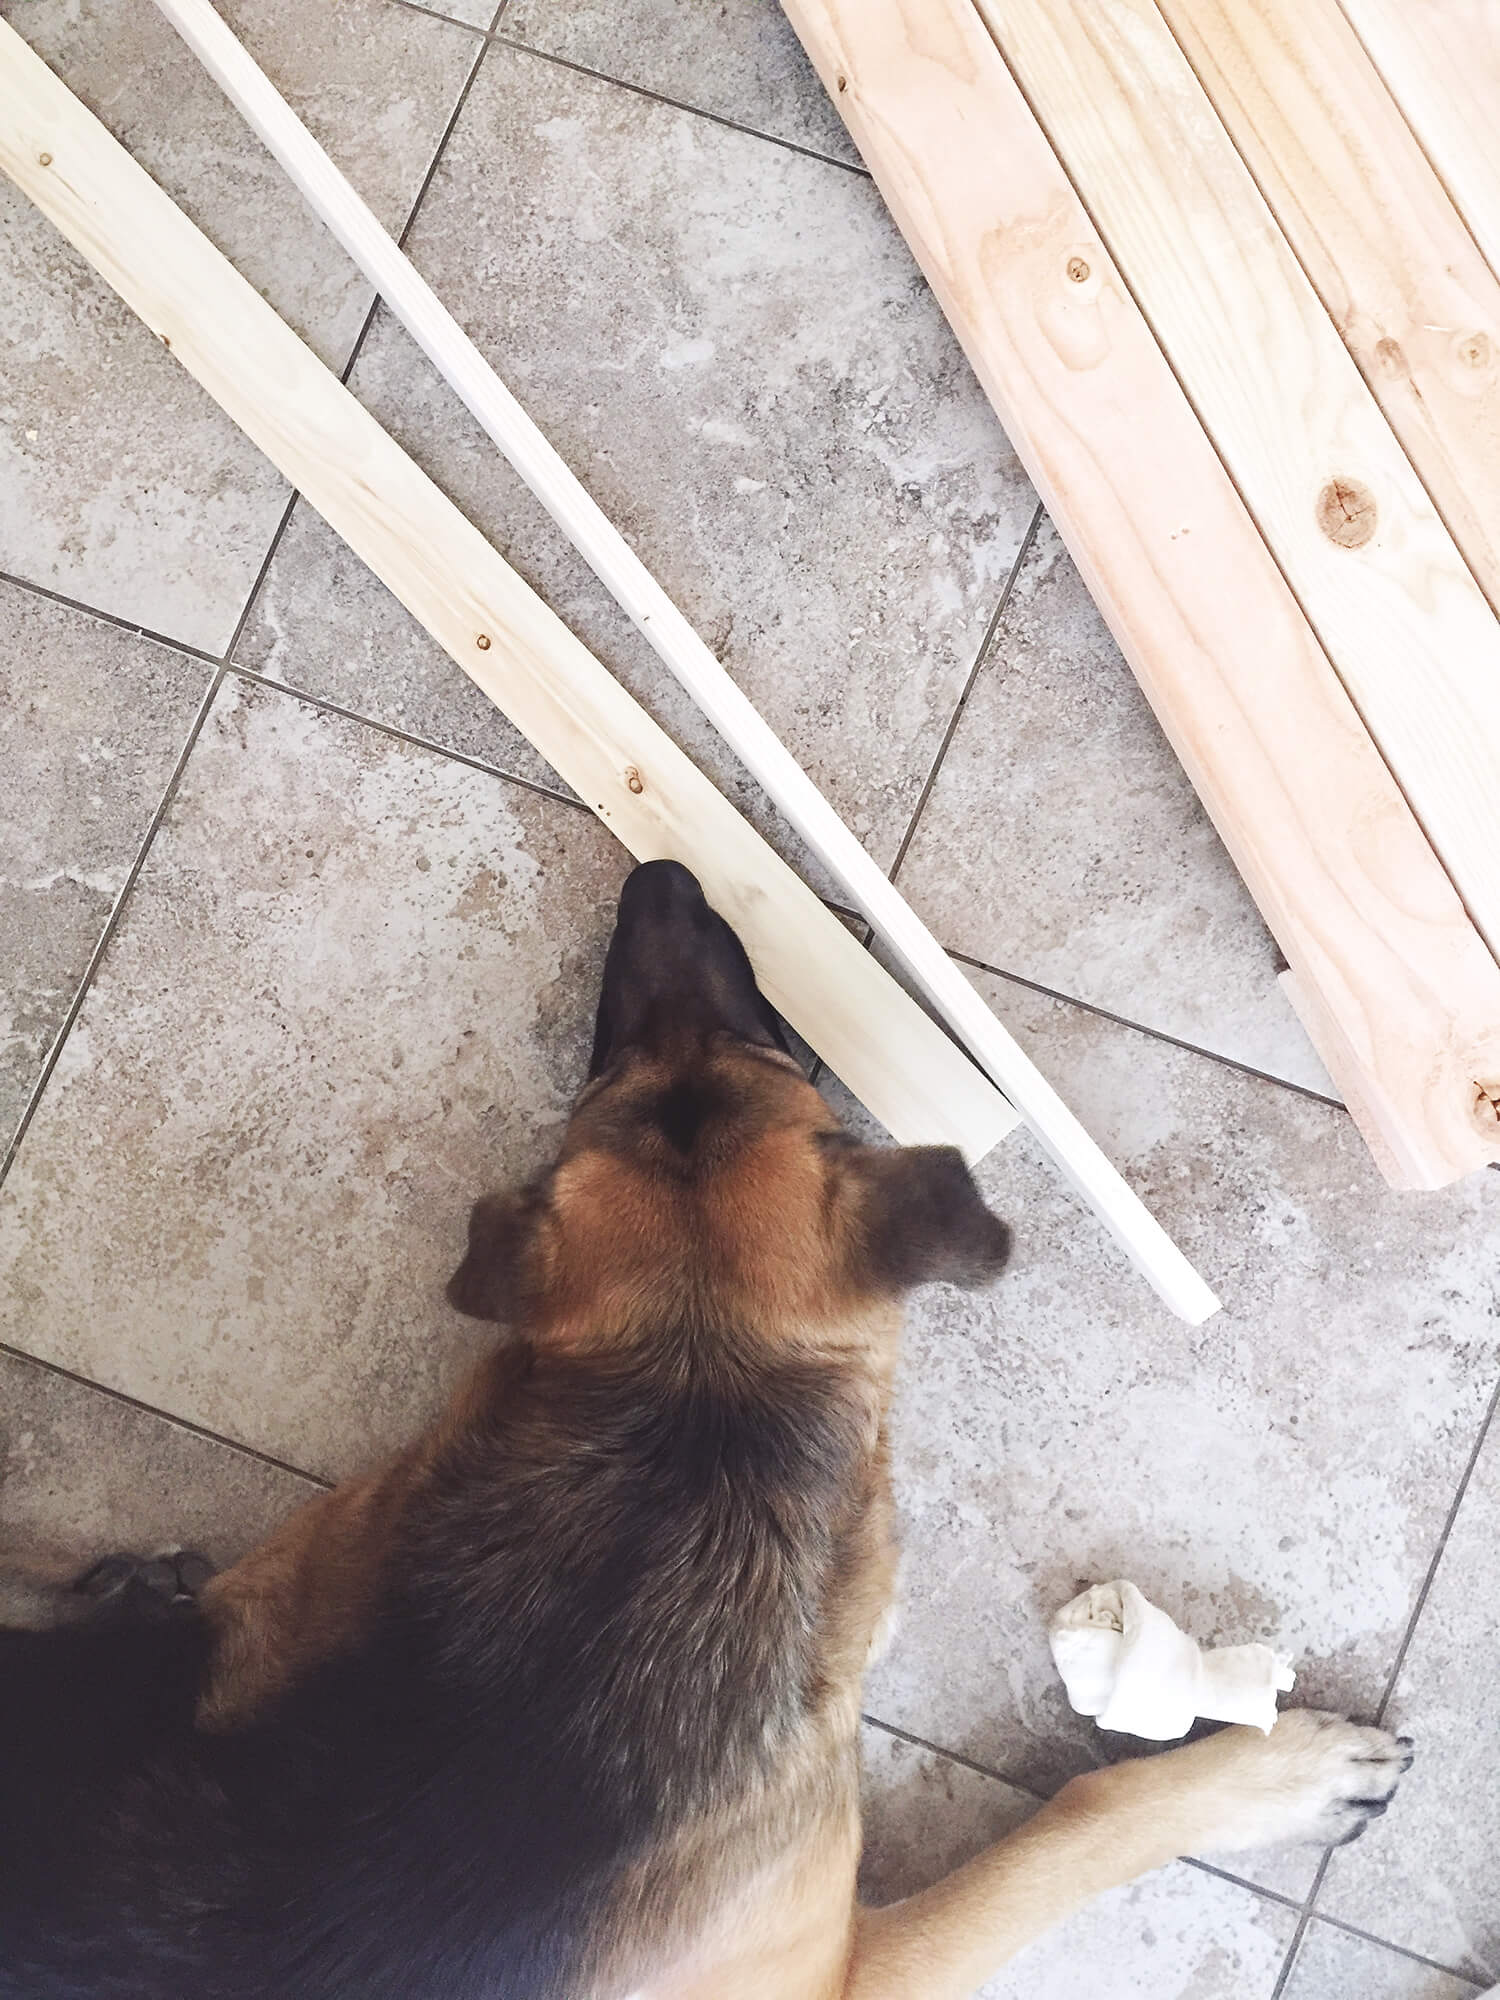
Step 1
You will want to lay out the pieces of your headboard as if you were looking at the back of it since that is where your nails will be going.
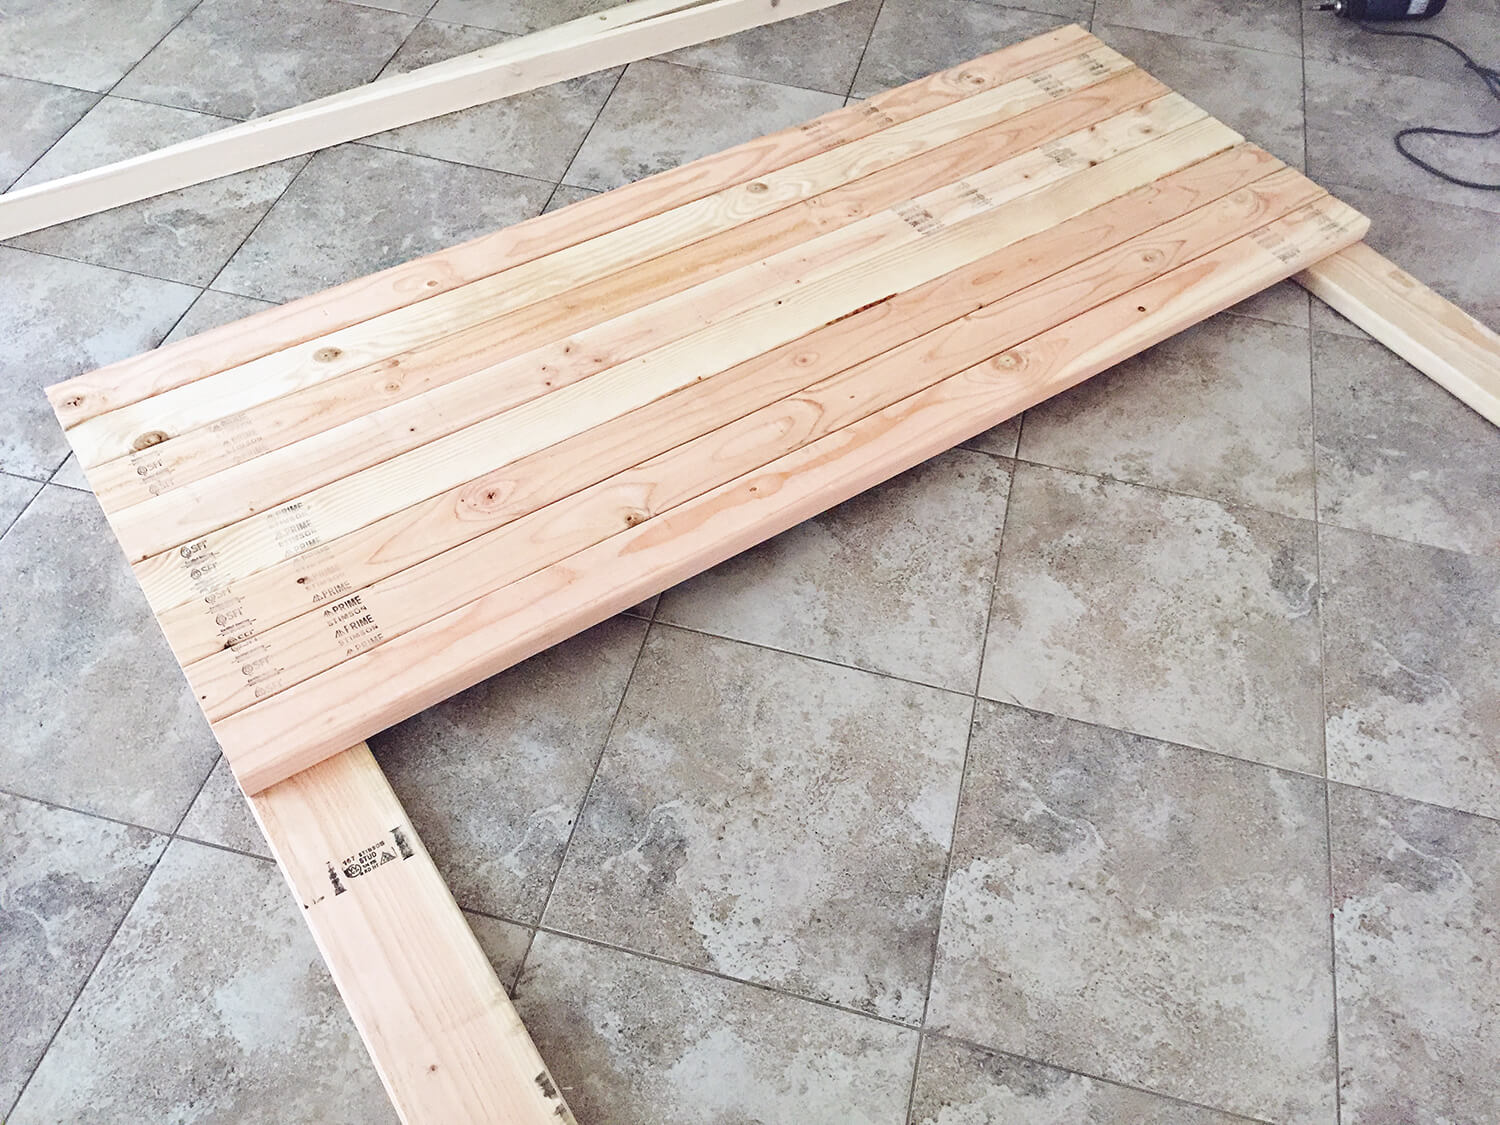
Step 2
You will then want to drill your 2×4’s into your base.
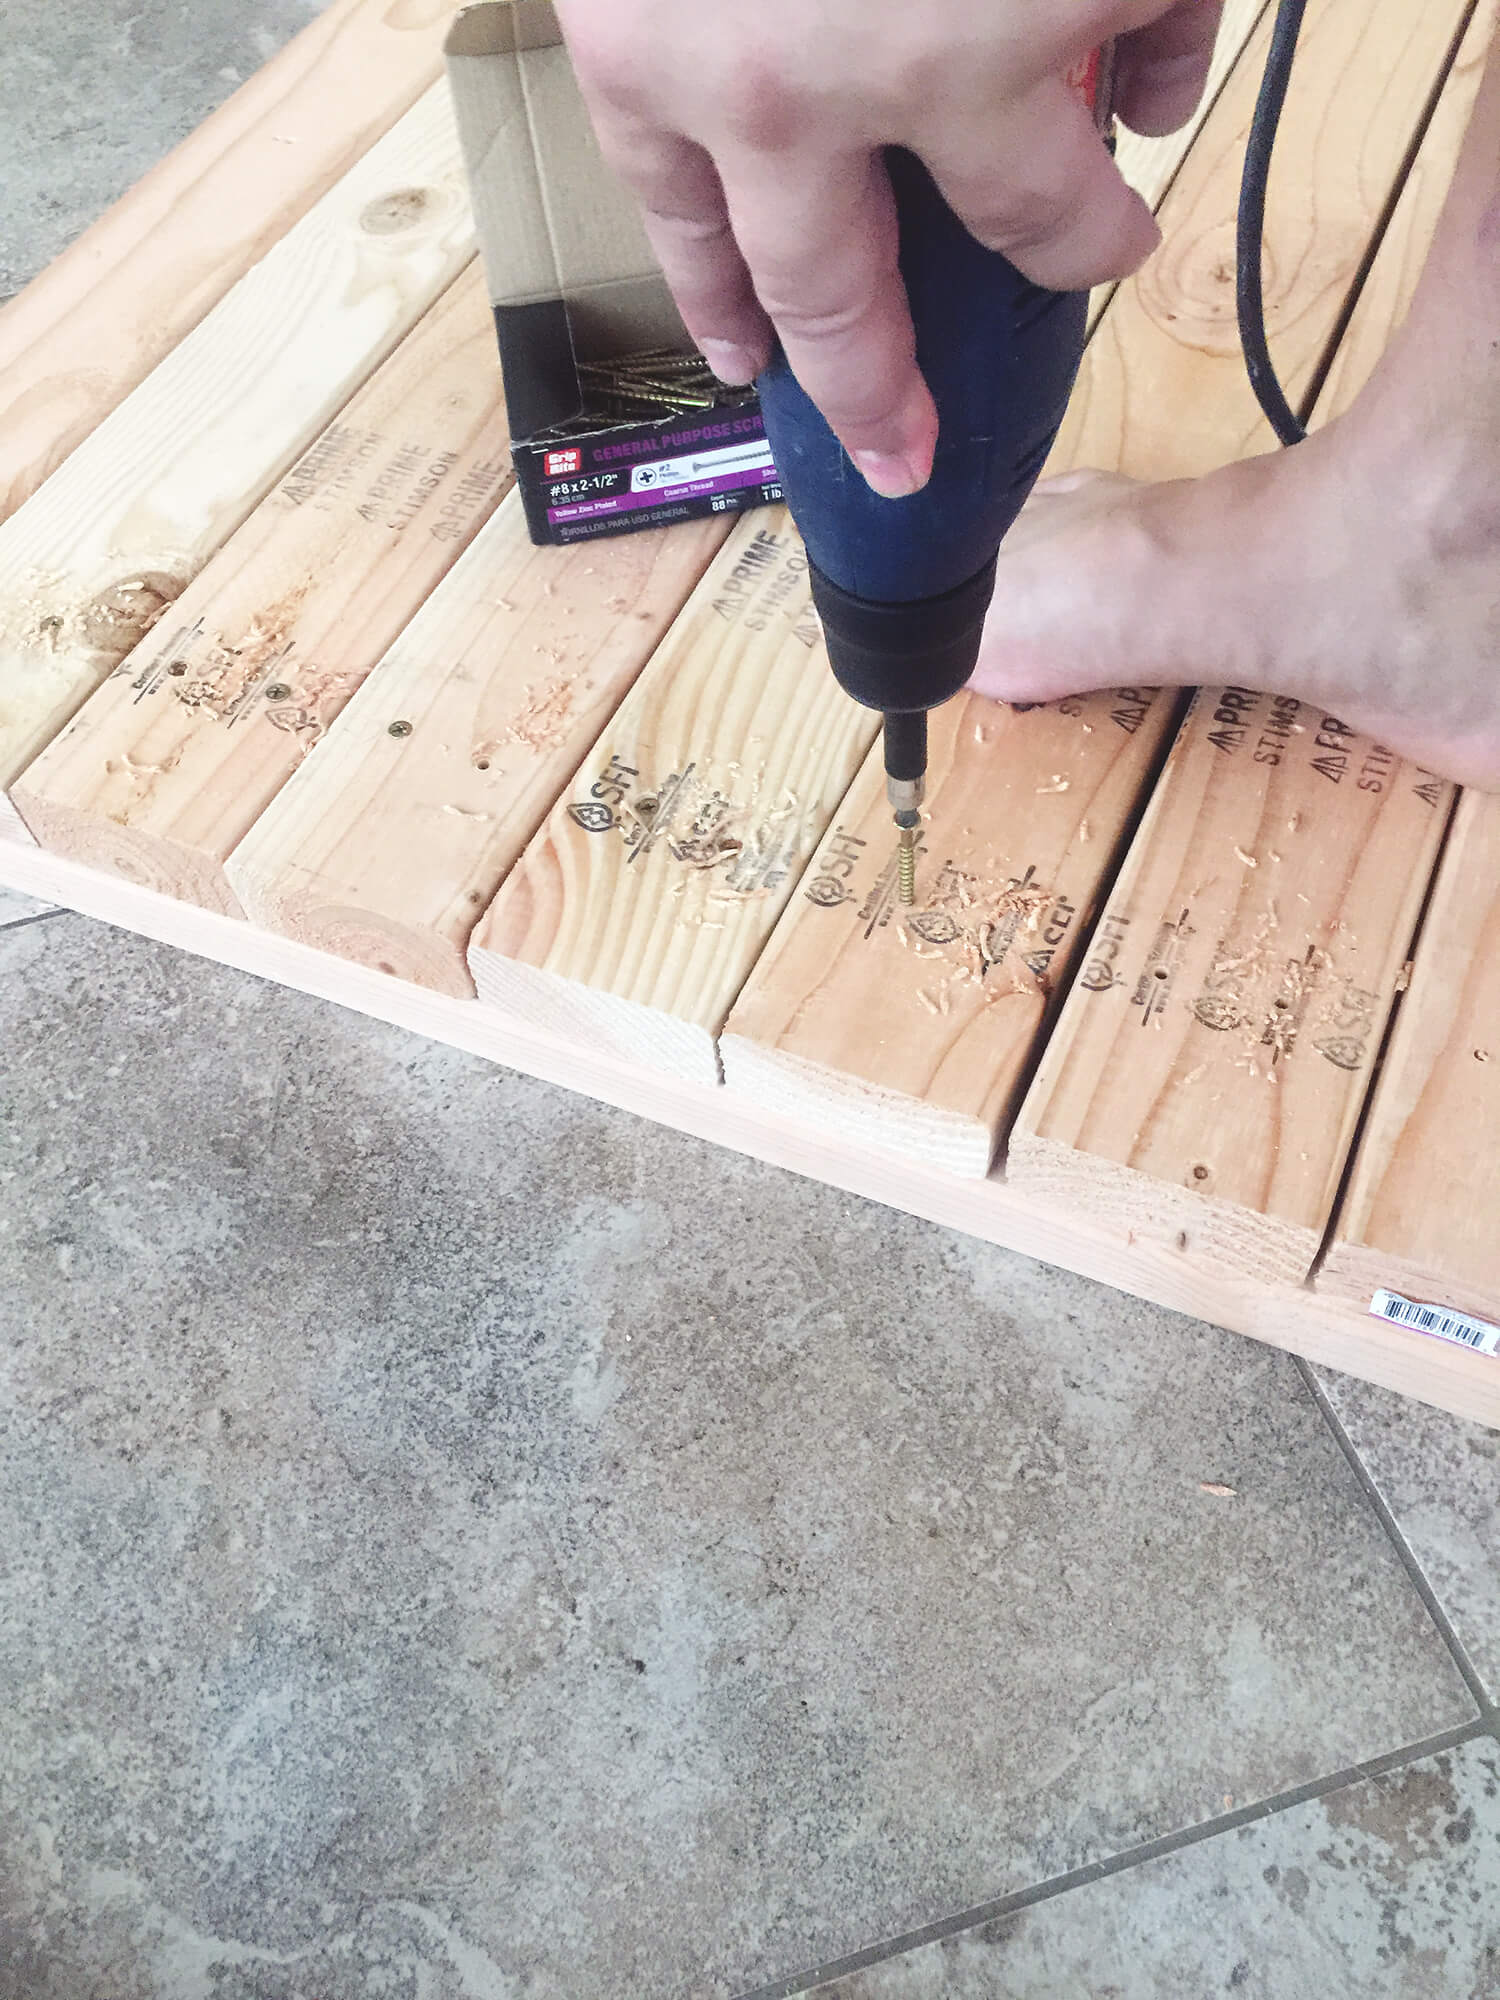
Step 3
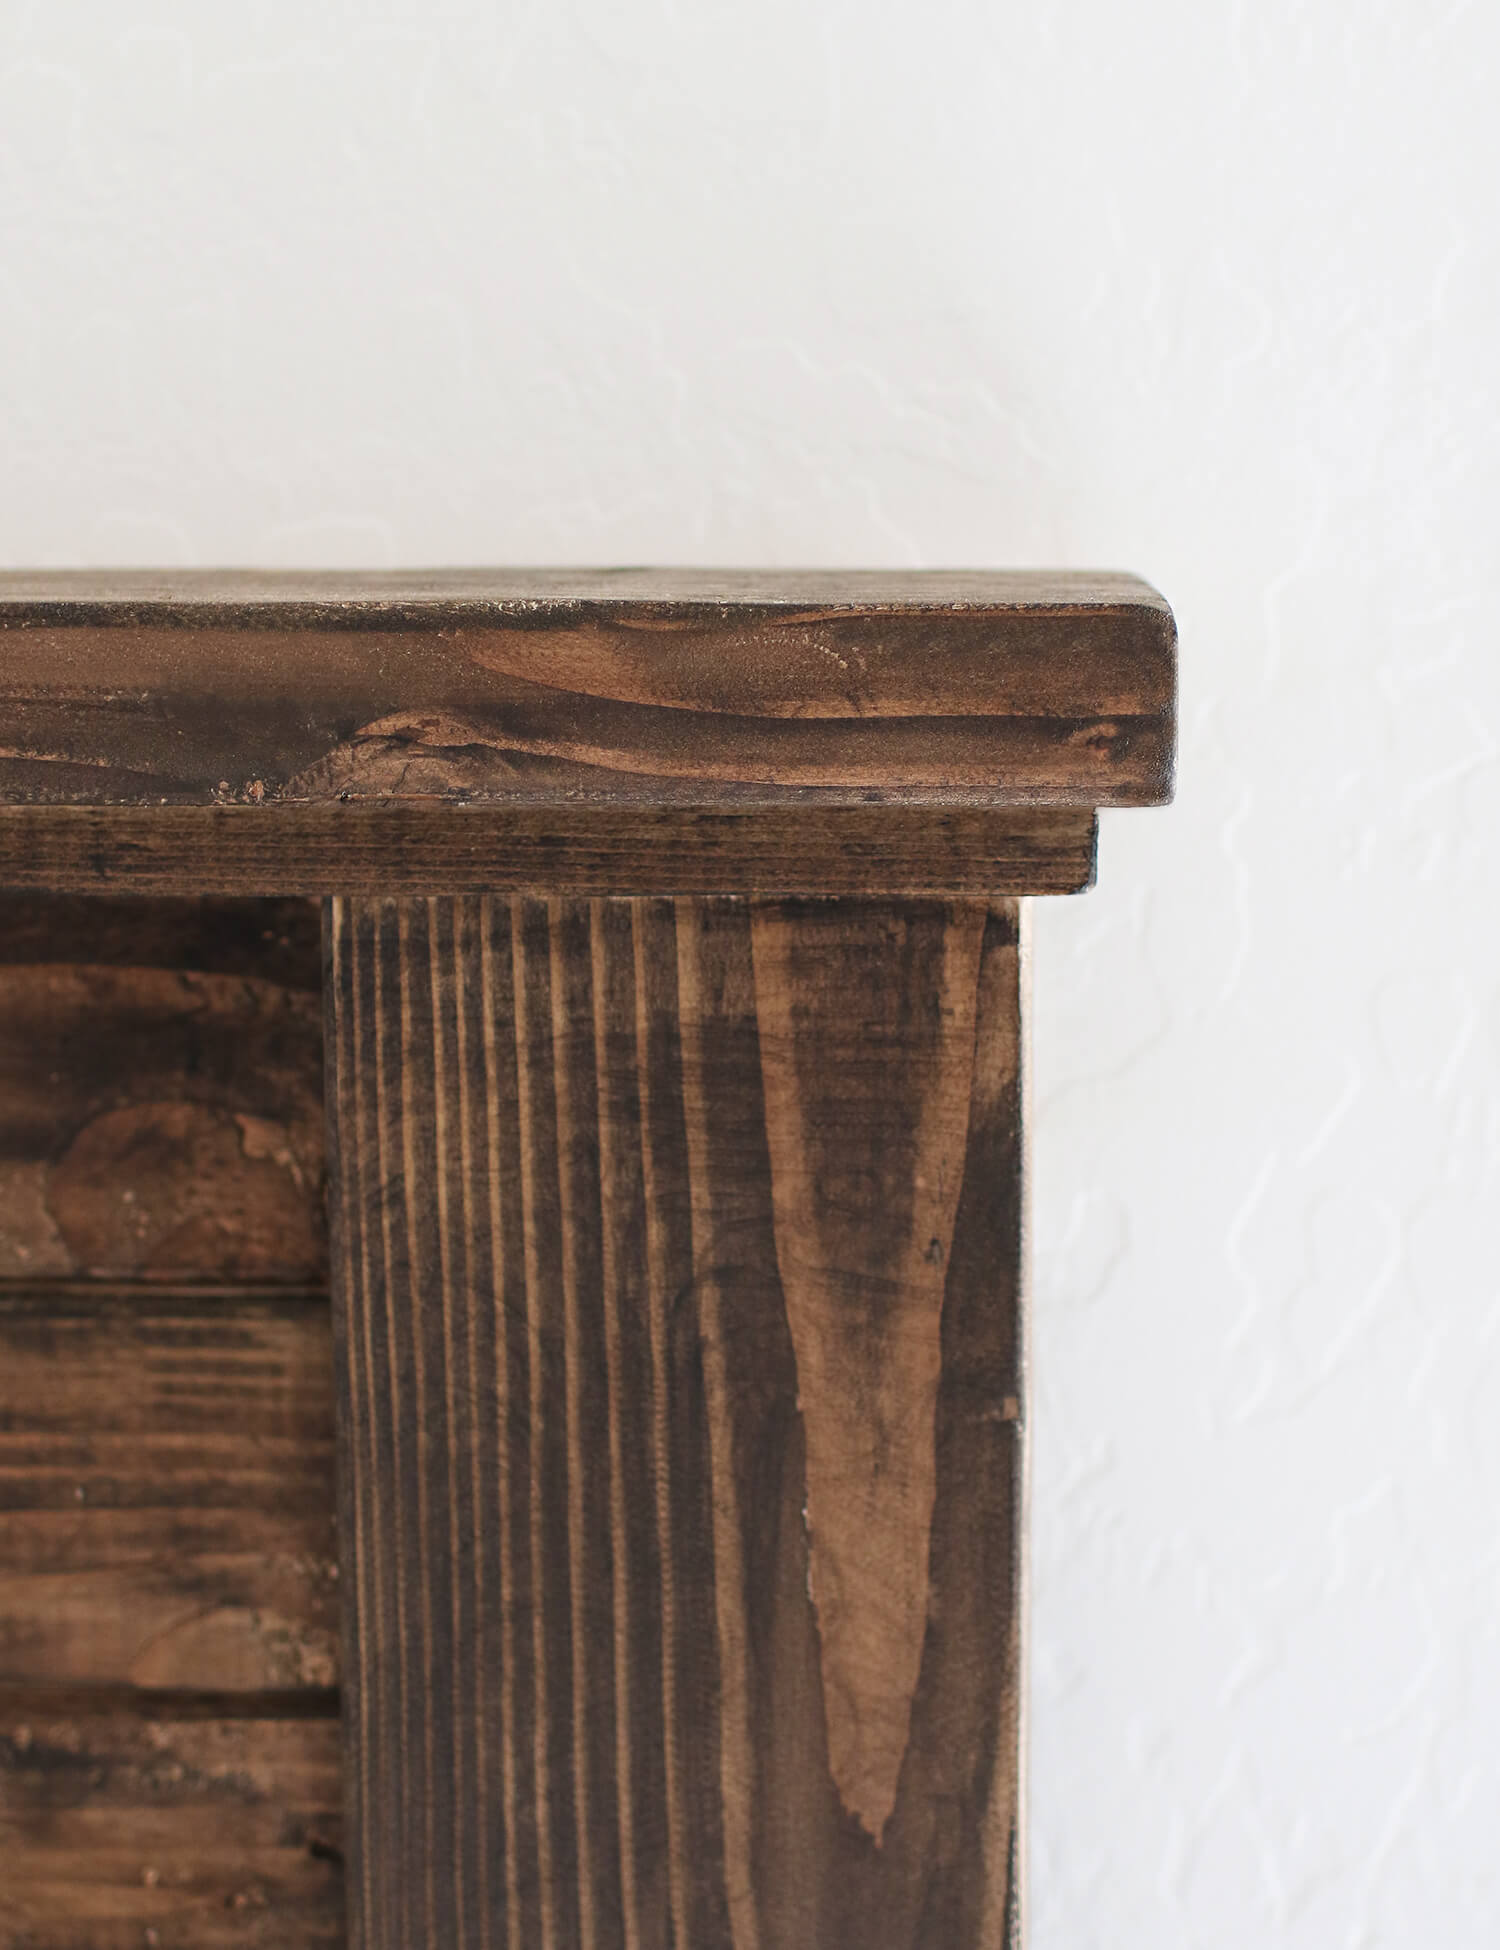
The detail at the top of the headboard was so simple, but added such great detail to the project and finished look. We first drilled the 1×3 into the top followed by the 2×4. To camouflage the screws we simply filled them in with wood putty and then sanded them down until smooth.
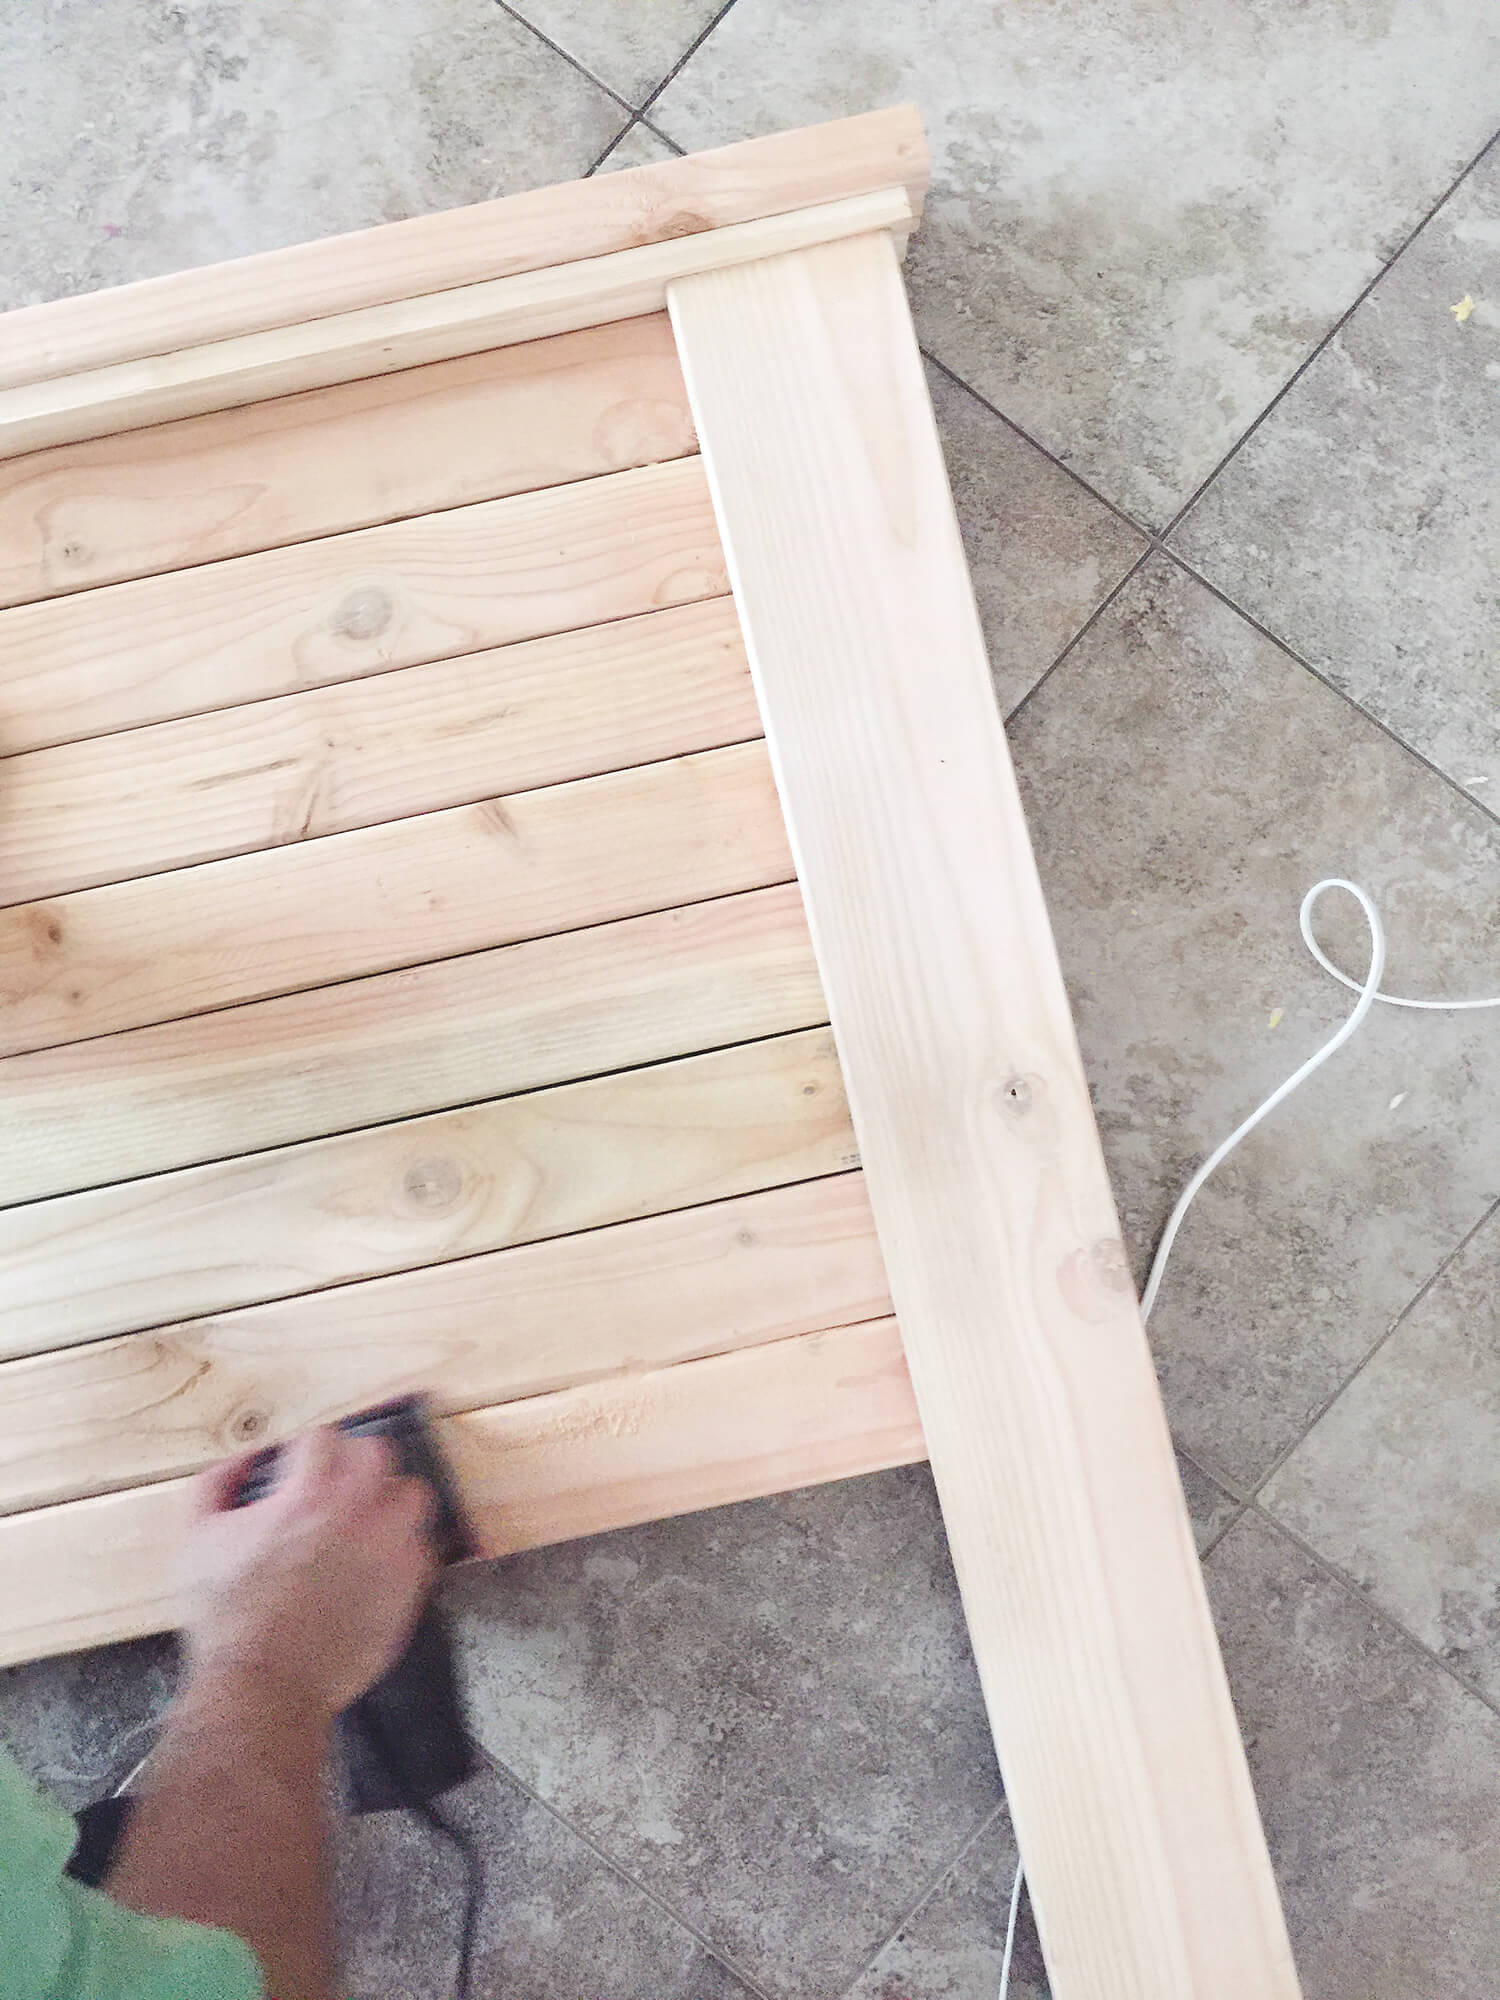
Step 4
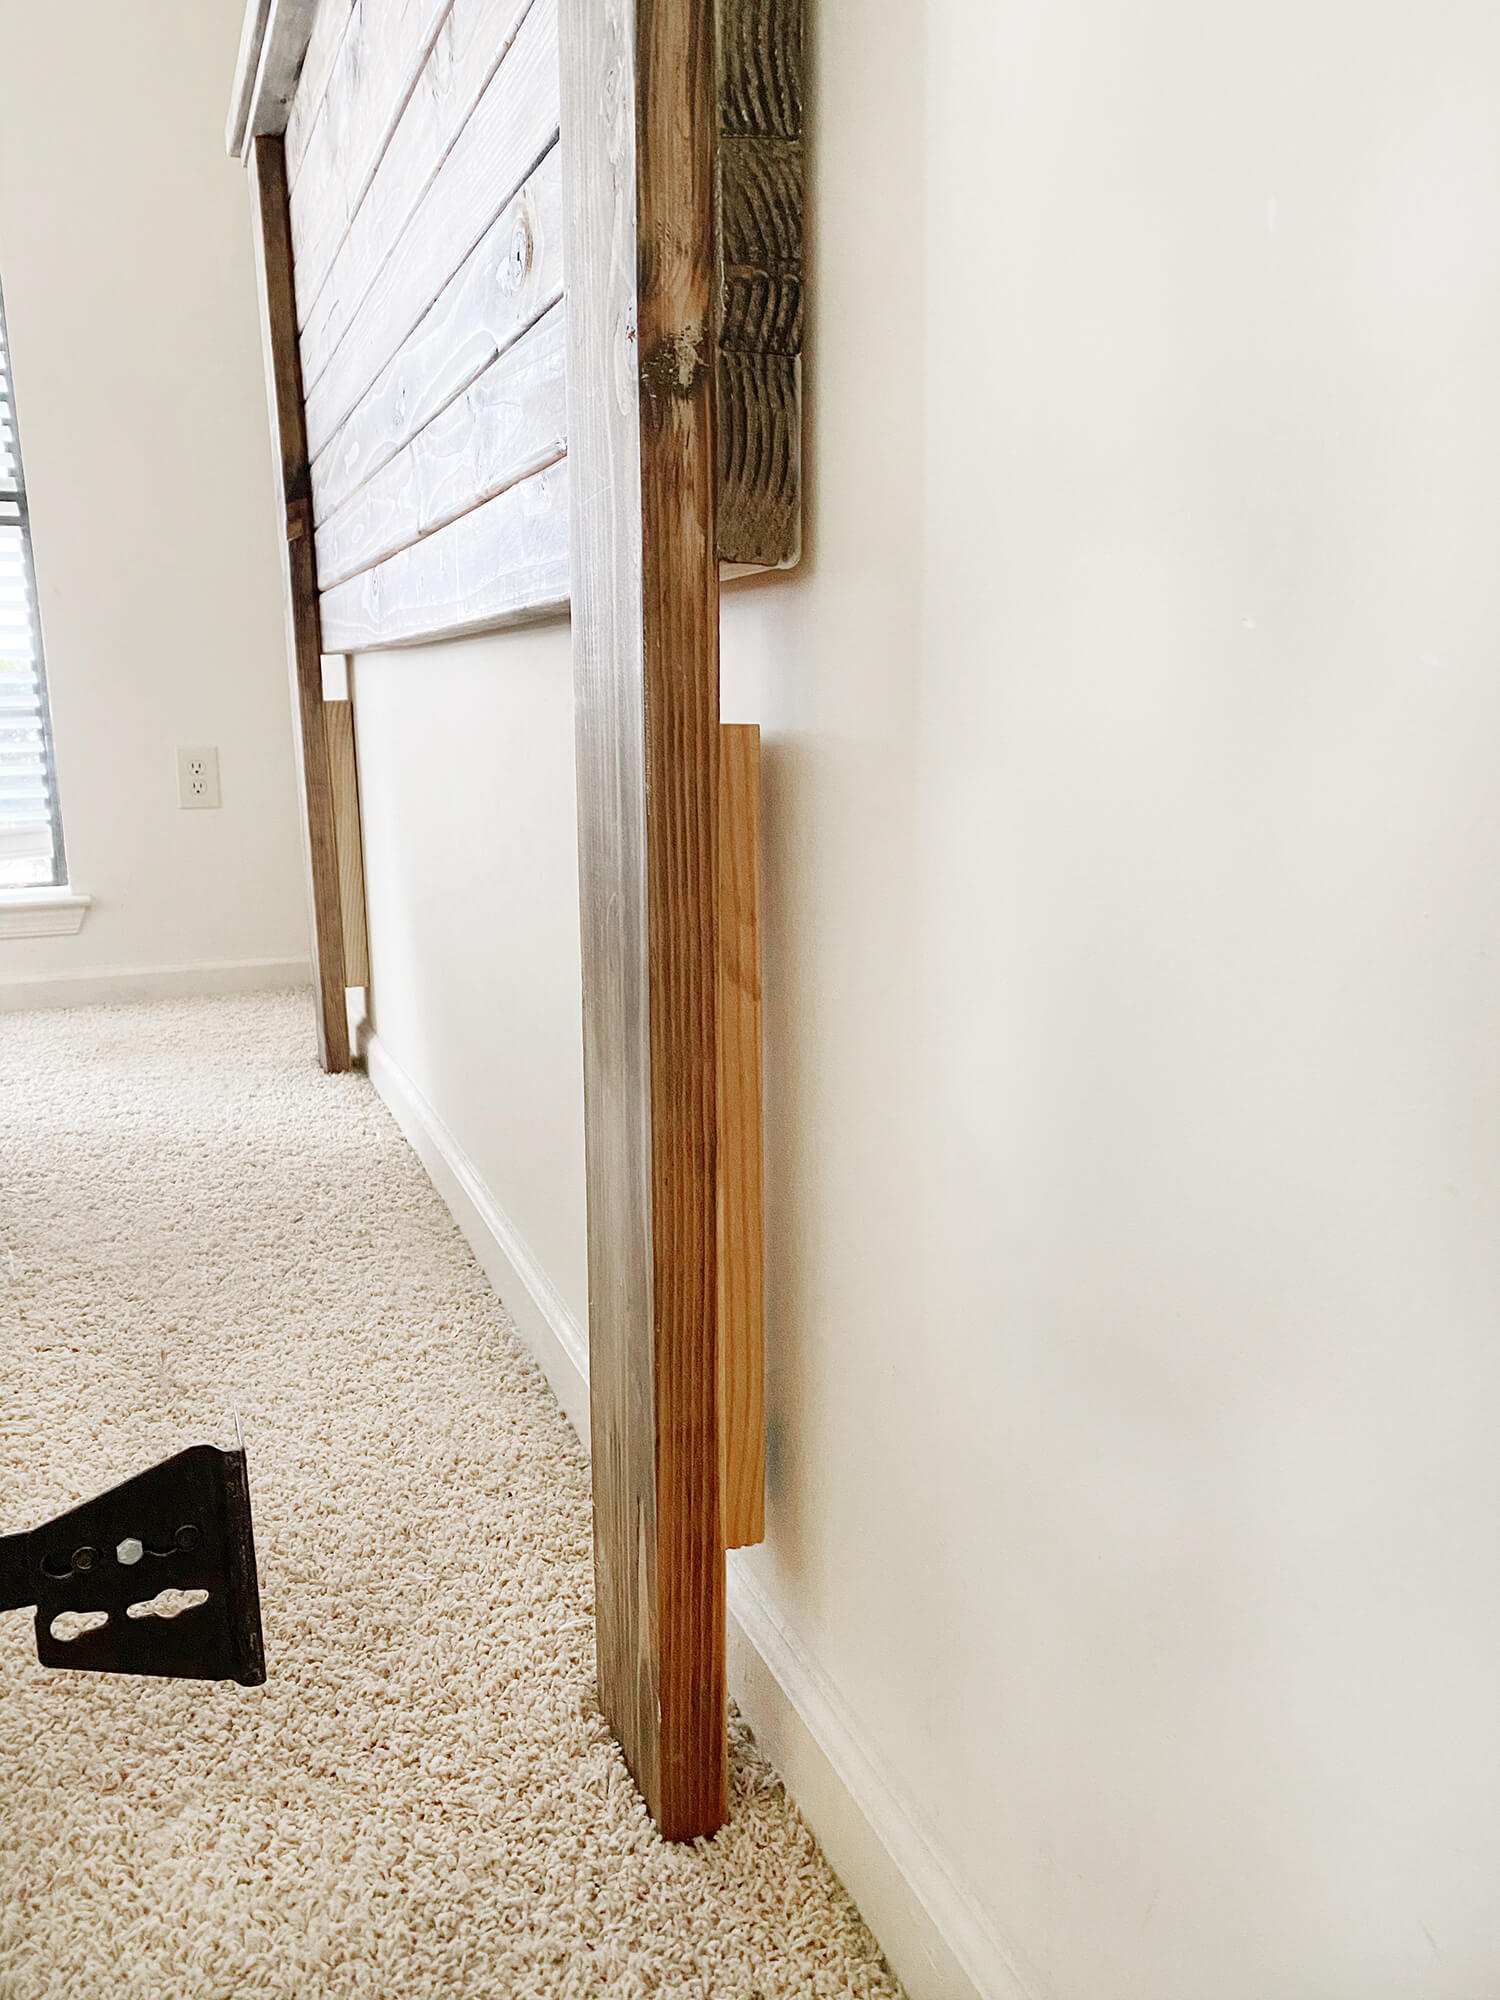
We added two 2×4 scraps cut to 19 inches long towards the bottom to ensure that the headboard sat flush against the wall and to increase support.
Step 5
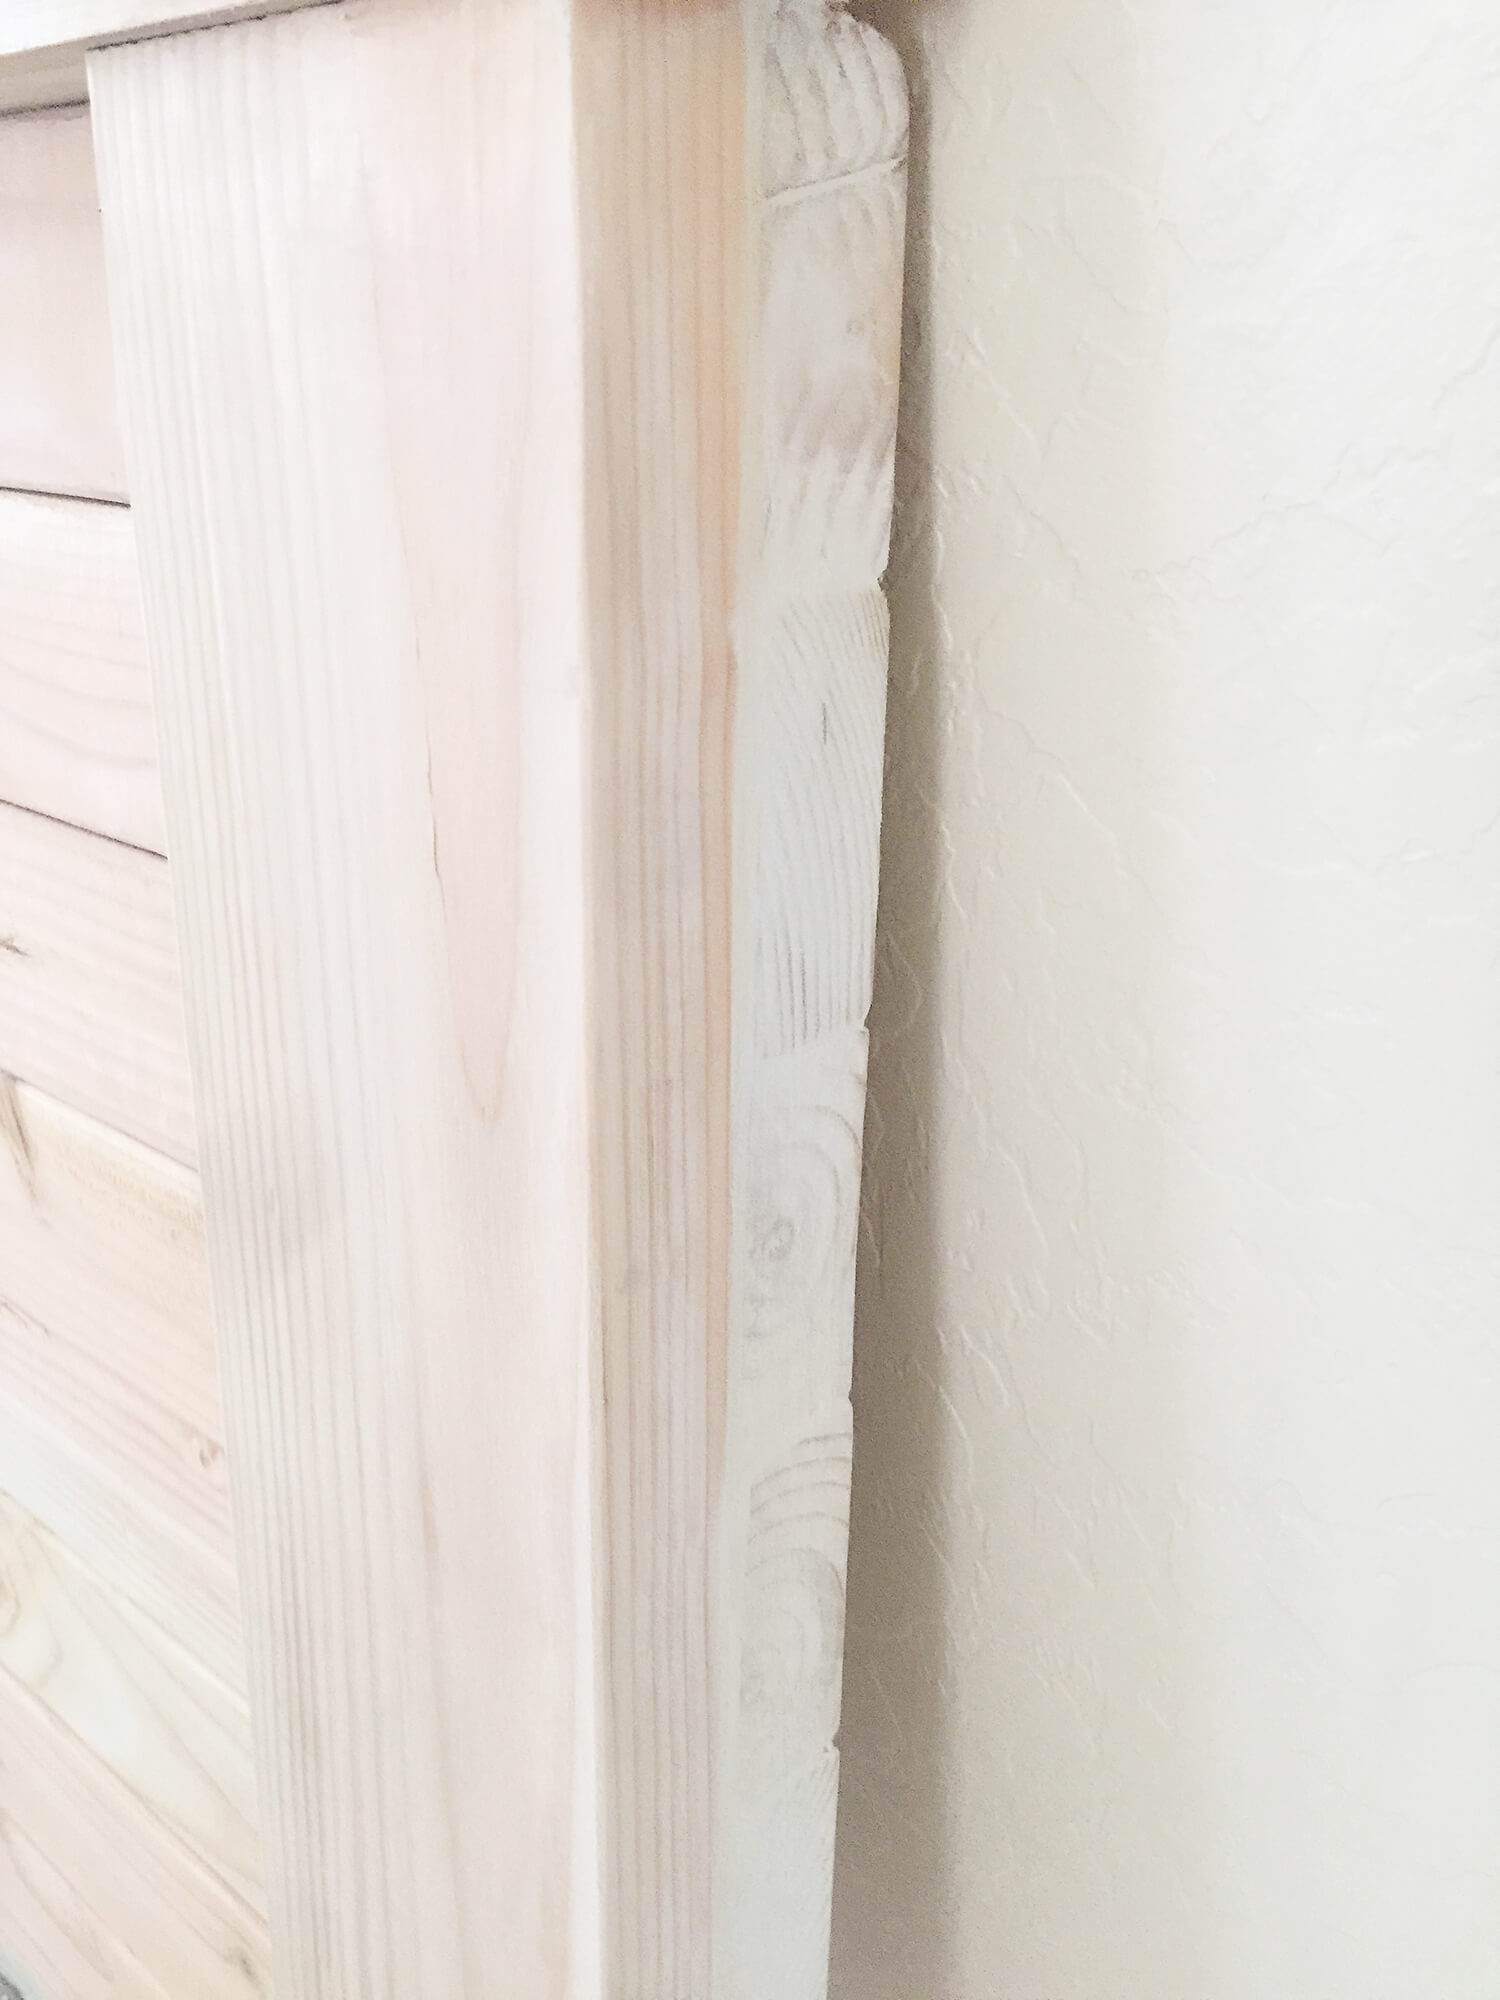
To try and make the finished product as well done as possible, we chose to mask the ends of the 2×4’s used by applying wood filler. This part only shows if you are standing against the wall looking at the side of the headboard. However, it helped to fill in the spaces between each of the planks and made it look more solid in the end.
Step 6
Once everything was in place and nailed, we then sanded everything using 60 grit sandpaper. Then we went over everything a second time with 100 grit. This ensured the headboard was as smooth as possible. Make sure to also sand down where you used wood filler!
Step 7
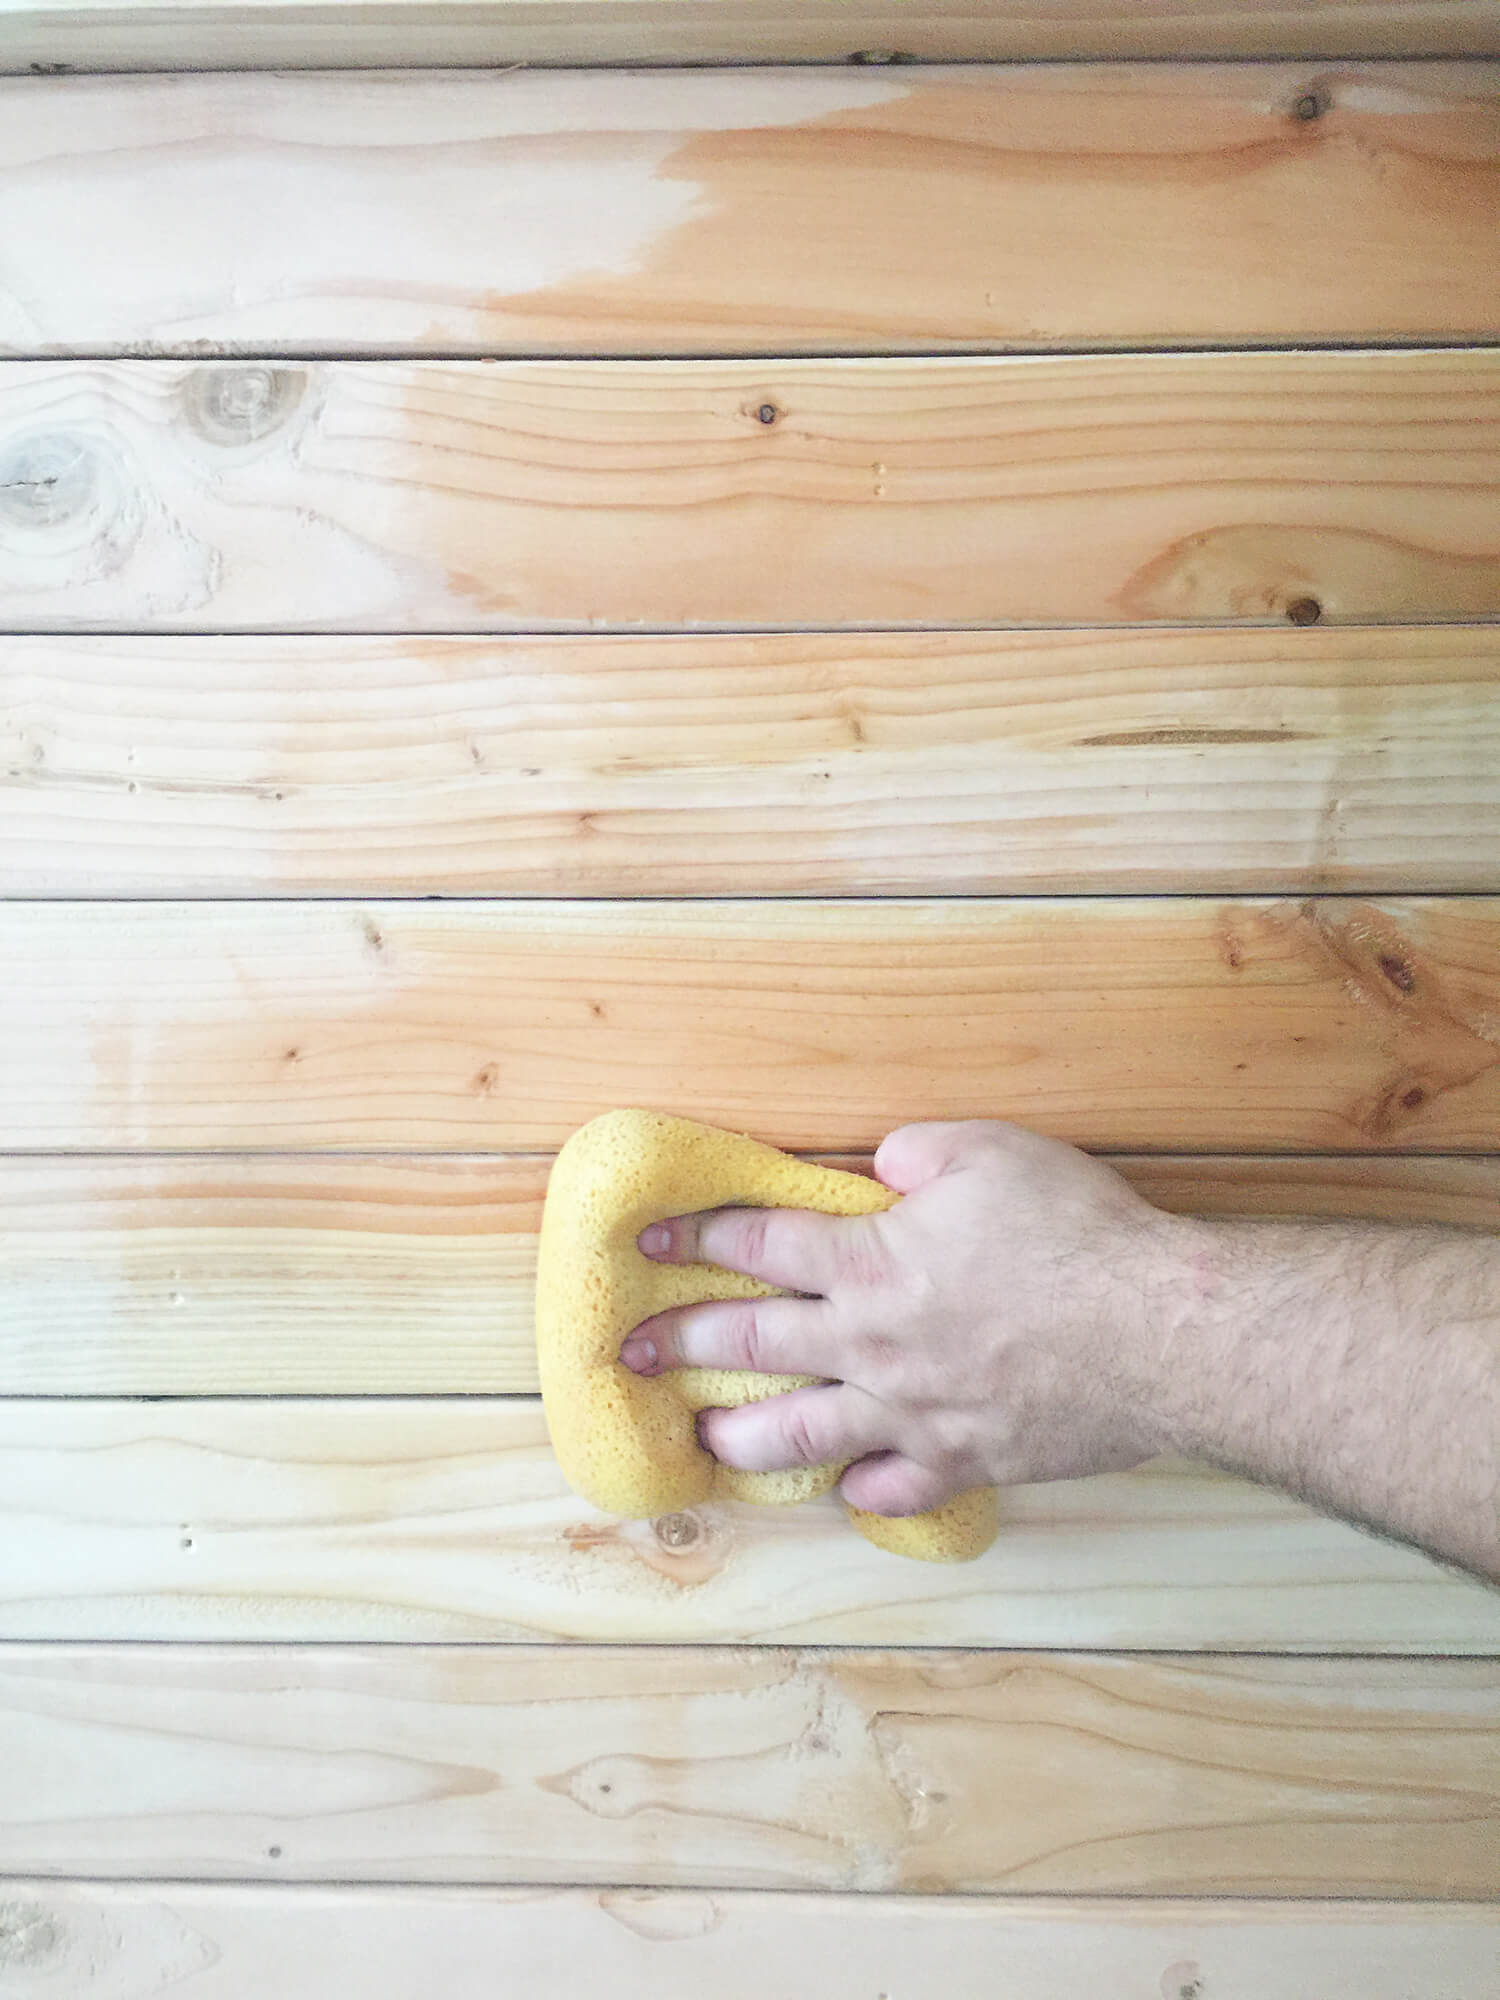
After that, we wiped everything down with a damp sponge. This helps to ensure that all excess wood dust is removed before the staining process.
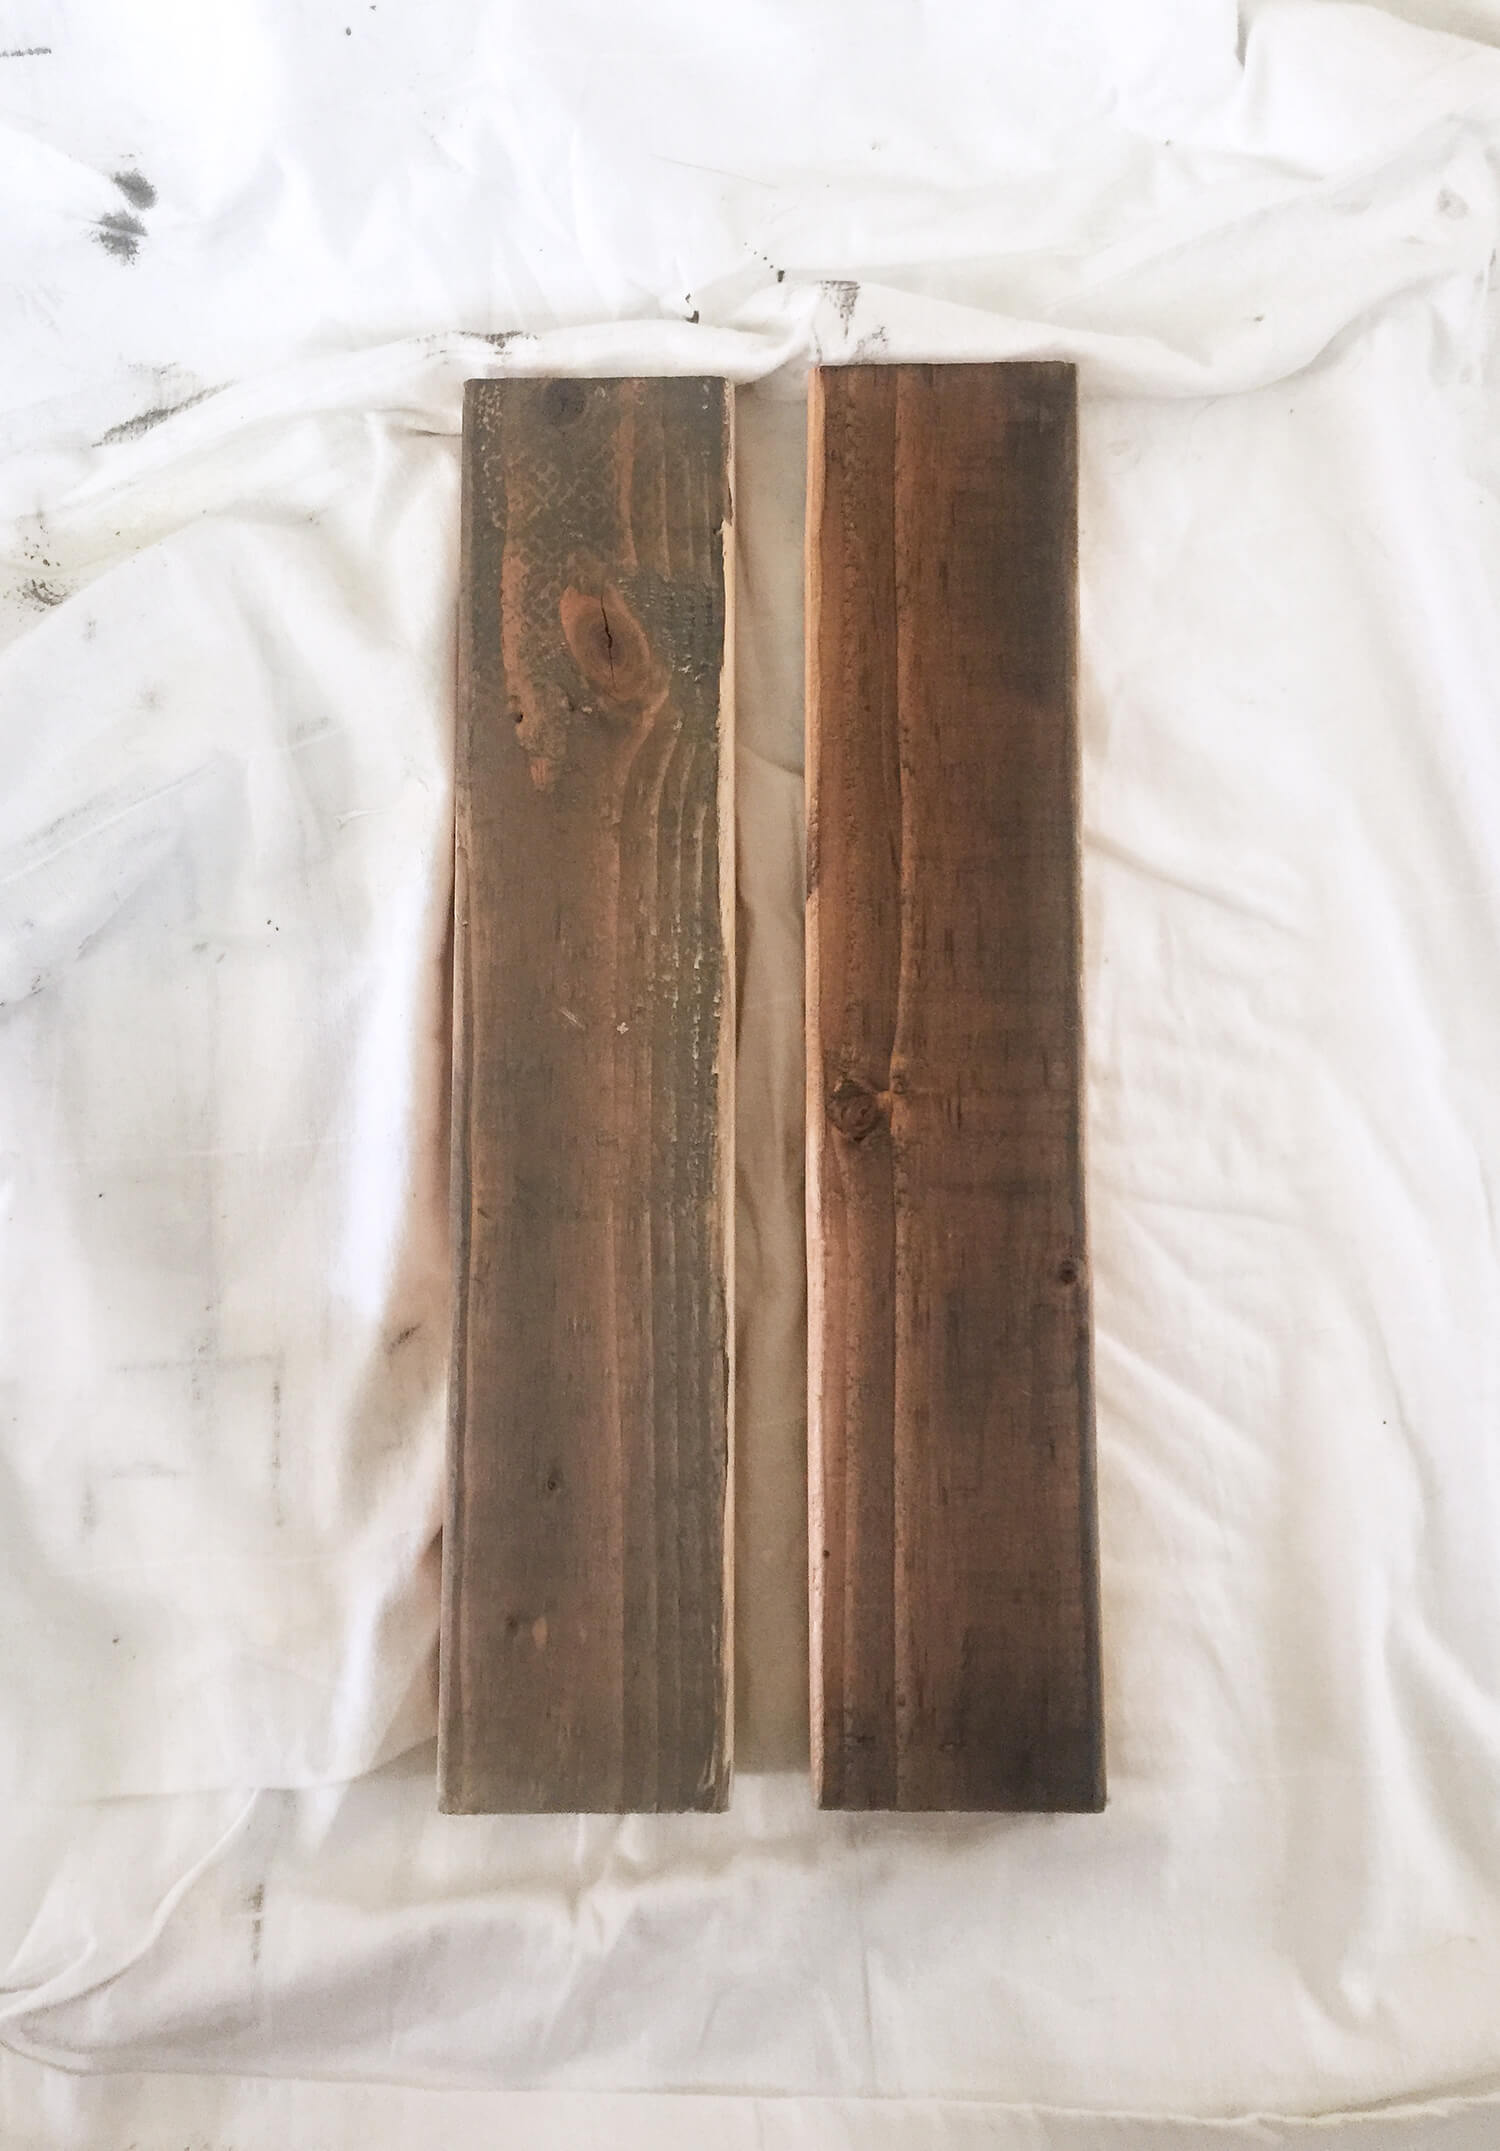
When we were picking up supplies I browsed the stains to see if I connected with one for this project. I came across “Briarsmoke” by Verathane and loved the sample finish of it – not too red, not to green/grey – so we picked it up.
While we are not experts in staining yet (this is only our second staining project), one big tip is to always test first. Simply take scraps of wood from your project and use varying amounts to compare how light or how dark you want your stain. And after testing Briarsmoke and stepping back, I didn’t care for it at all. It’s a thicker stain so it didn’t glide on as well. And the finish, while you may not be able to tell from this picture, came out with a green tint (on the left). You could totally blame it on user error, but we didn’t enjoy the application of it as much as the Minwax.
We pulled the leftover stain from our last project, which is “Dark Walnut” by Minwax, and tested it and it automatically felt so much better (right side). In the end, we decided not to apply it as dark as we did for our previous project. And how nice that we had plenty on hand to get this one done! Tip: Don’t throw supplies away!
Step 8
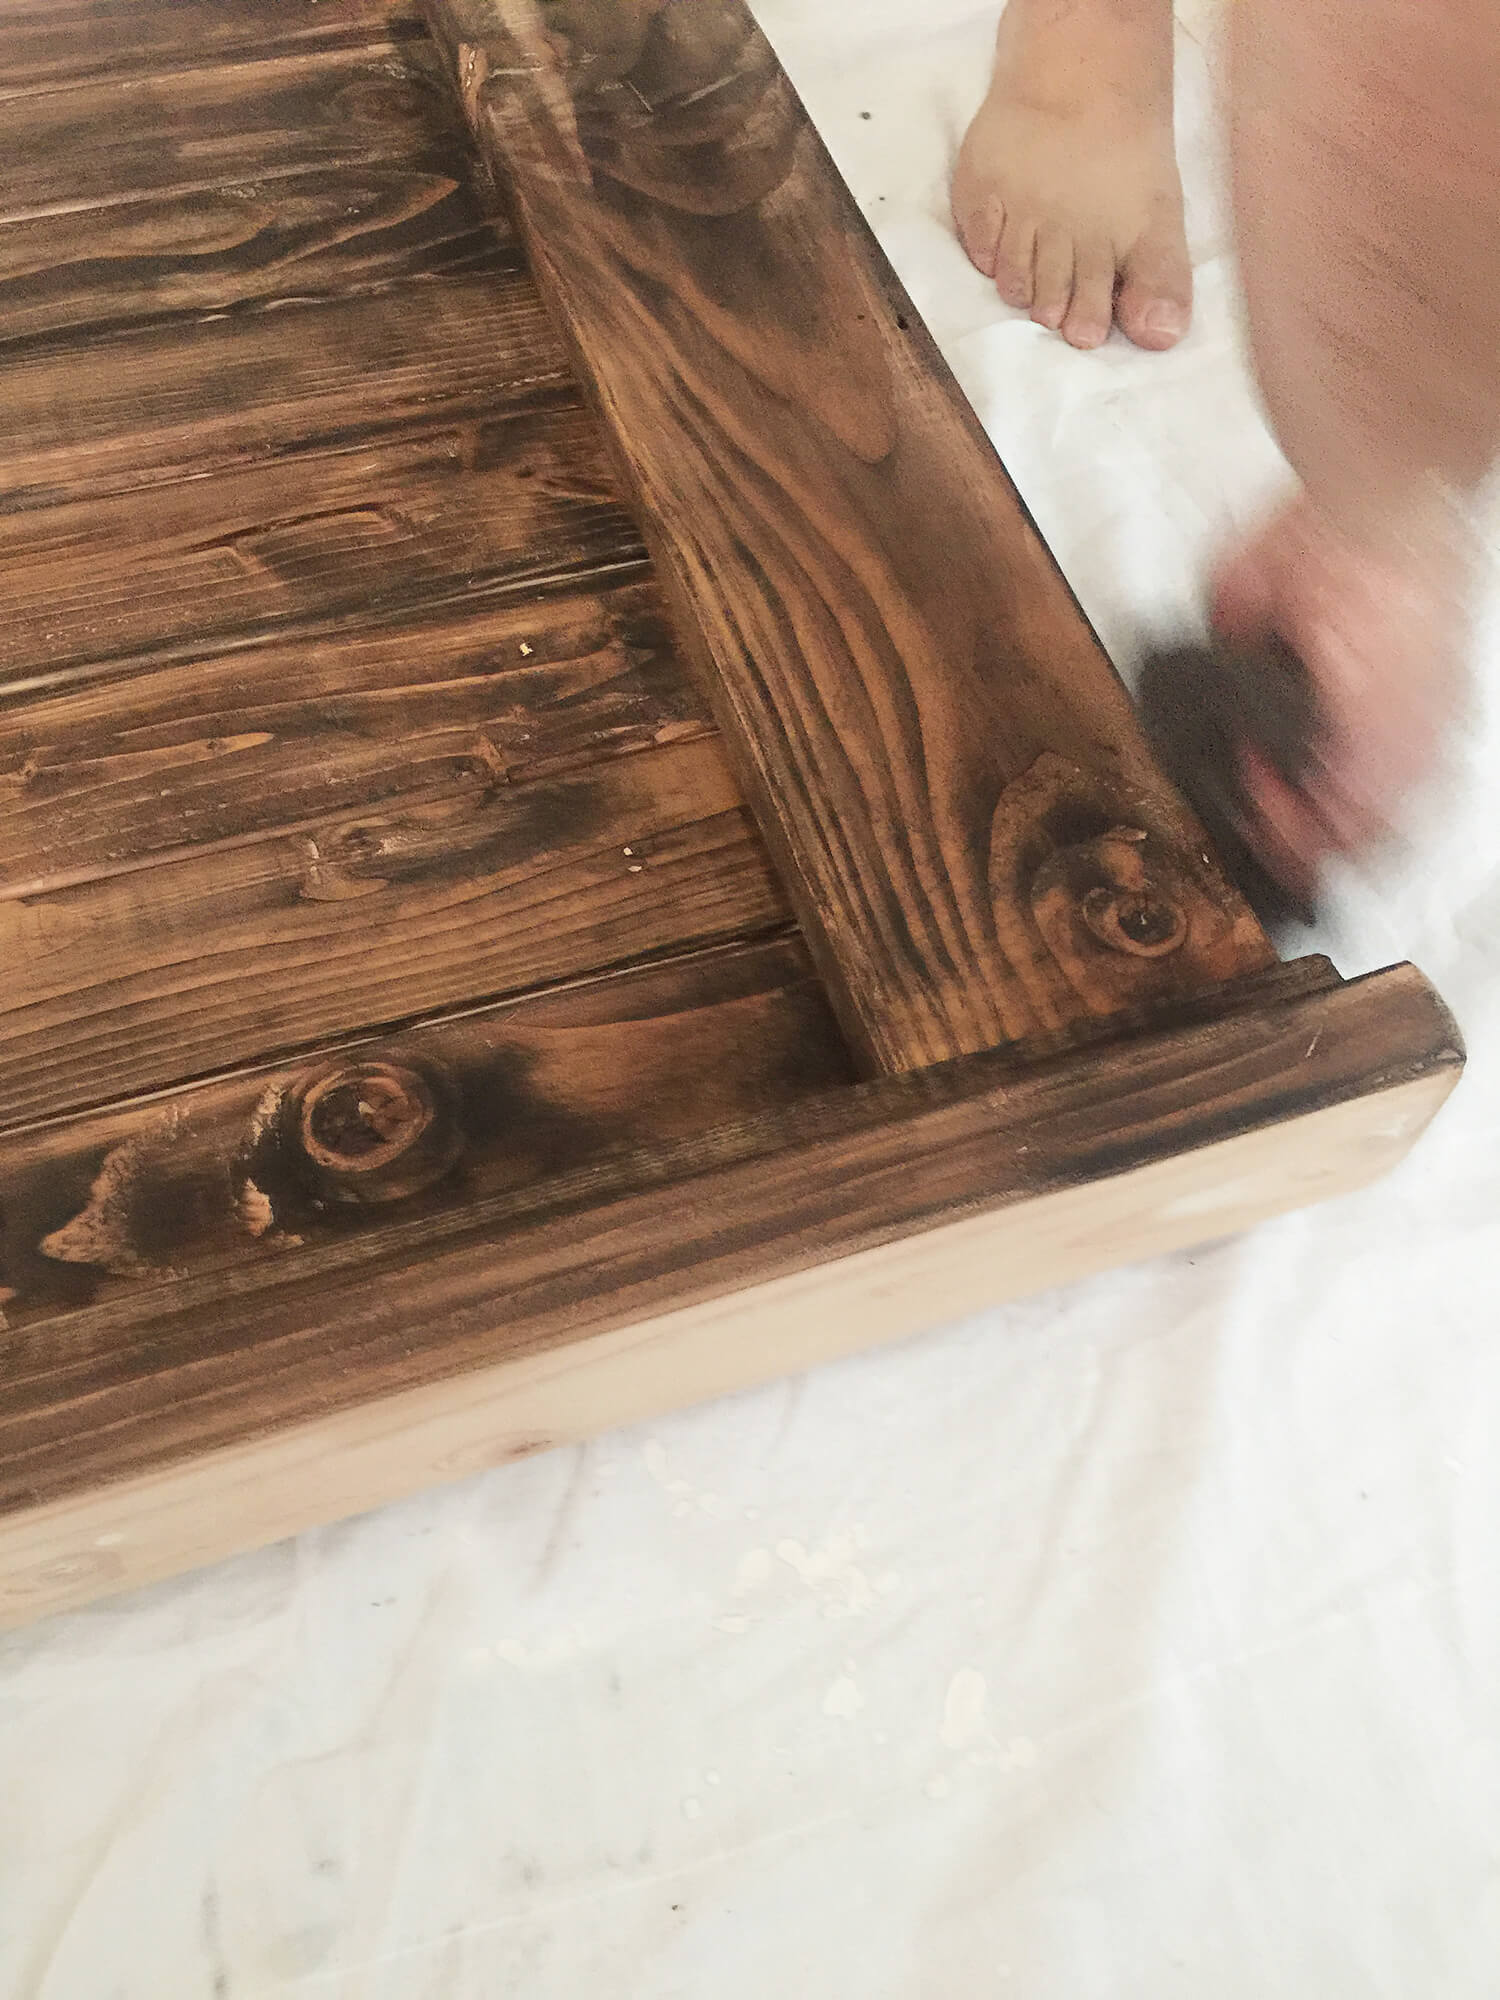
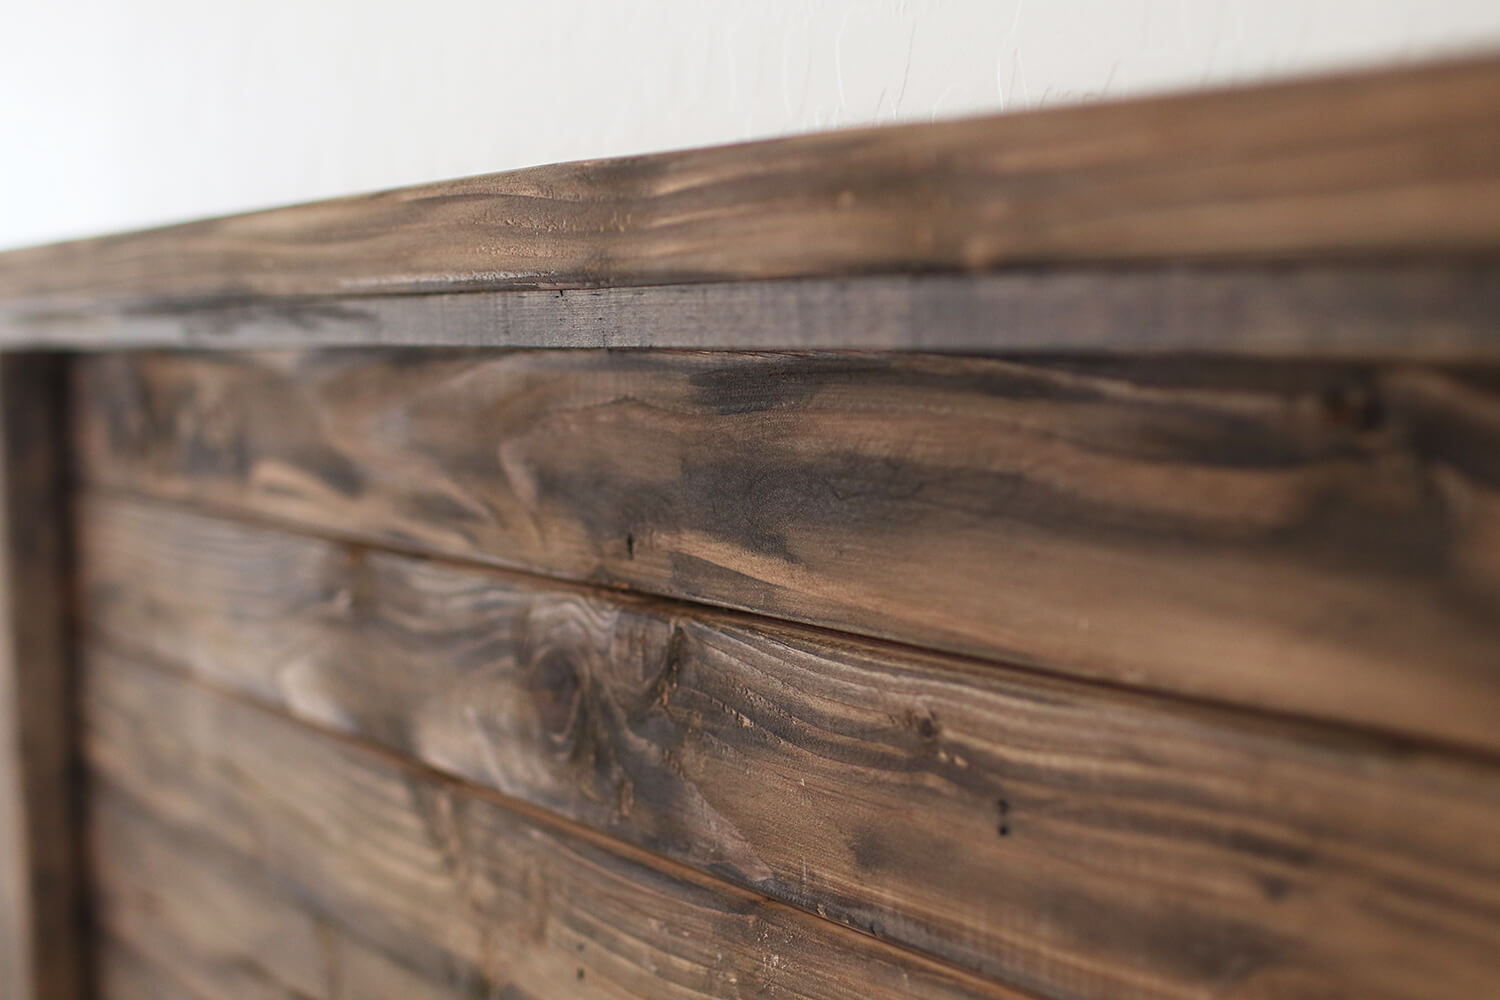
The big guy and I worked together to get the stain exactly how we wanted. My husband would stroke with the stain and I would follow behind him with a cloth to remove the excess before it dried. We just wanted to work as hard as we could to not have it end up too dark. That technique ended up working well for us and the end result was just the right shade.
Remember when using a wood stain that the true color does not show until it is dry and soaked into the wood. My suggestion would be to go into it with the “less is more” mentality. After all, you can always layer on more after if you decide the first round of stain isn’t dark enough.
And I don’t think we will ever work with any other stain brand other than Minwax. It truly is a wonderful product.
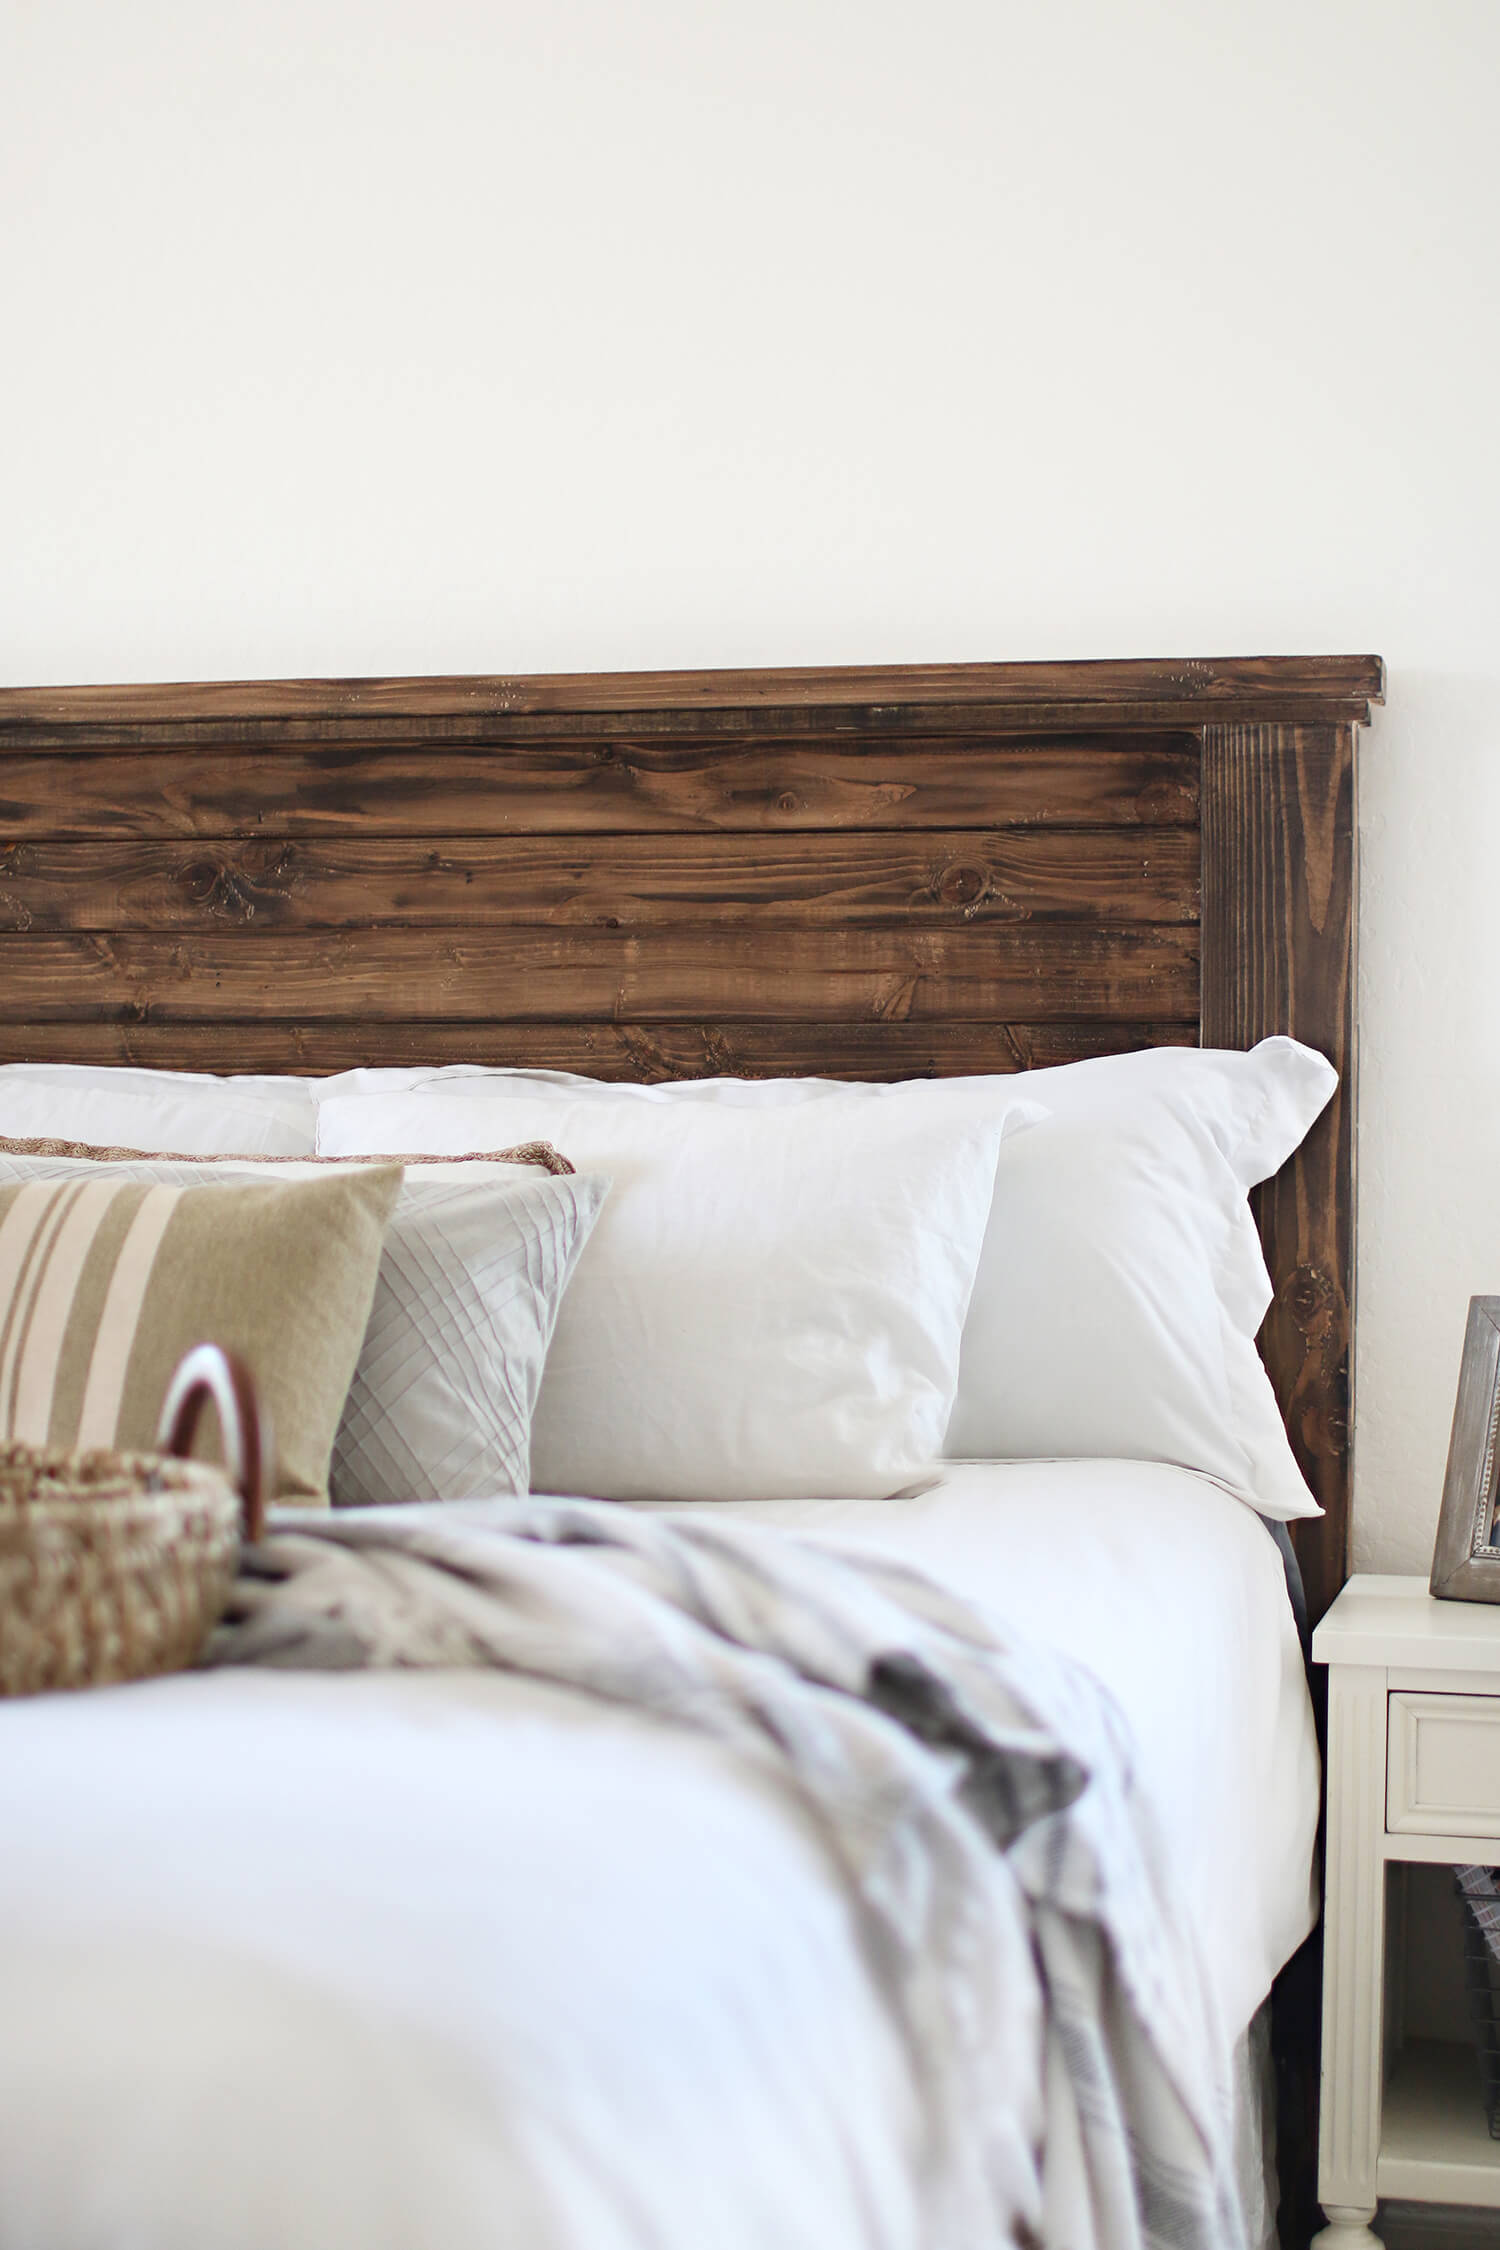
After awhile of drying – voila! The final result. It really turned out absolutely perfect for what we were wanting.
Step 9
To install the headboard, we anchored it to the wall using headboard/furniture anchors. You can find at your local hardware store.
There is still more to complete for this space in our home, but this headboard was a huge leap forward.

Download the free plans right here!
And if you build our own DIY farmhouse headboard, be sure and tag me on social media @thekaralayne so I can cheer you on to the finish line!
I hope you enjoy this one!





July 14, 2017