Navigate
Shop
Brand
Elevate your inbox
SUBSCRIBE NOW


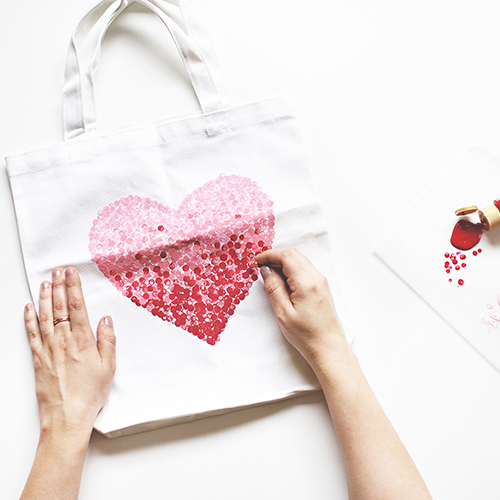
Here at our house we love tote bags. With little ones, they are easy and functional and offer a blank canvas to create some great designs. Some of you may remember the DIY Halloween tote I blogged about back in 2014. Well, today is all things Valentine’s Day and I am showing you a gorgeous DIY ombre heart Valentine’s tote concept using paint and the end of a pencil. Easy, right? I first saw this idea used on a card so I cannot take credit for it, but I thought I would create totes for the kids with the same look and share with you how I got it done.
Whenever the kids have their classroom Valentine’s Day parties at school, they are usually hauling their goodies and cards home in a box or even tossed into their backpacks. I love that the tote idea is flexible and can keep all of their valentines together, but placed in their backpacks without being too bulky or heavy for them.

I first started by sketching a heart onto one side of a new blank tote. If you are a perfectionist or don’t have the eye to sketch it, you can simply print a heart shape and cut it out to use on your tote and trace your shape.
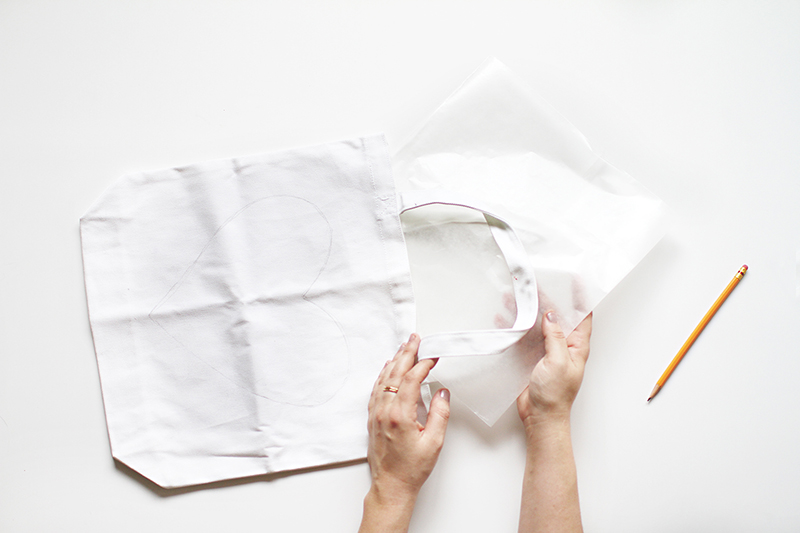
Once I had the heart sketched, I then made sure to place wax paper inside the bag before working with the paint. You can also use newspaper, but this will help to ensure the paint does not bleed through to the other side of the tote.
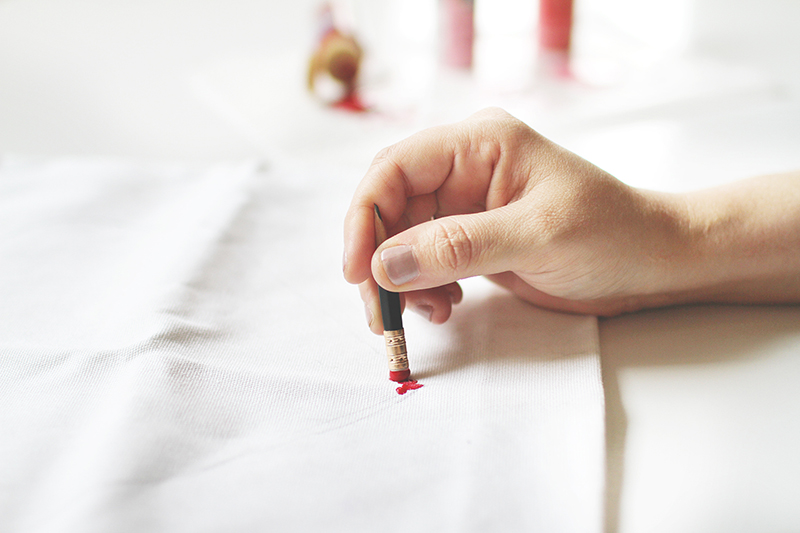
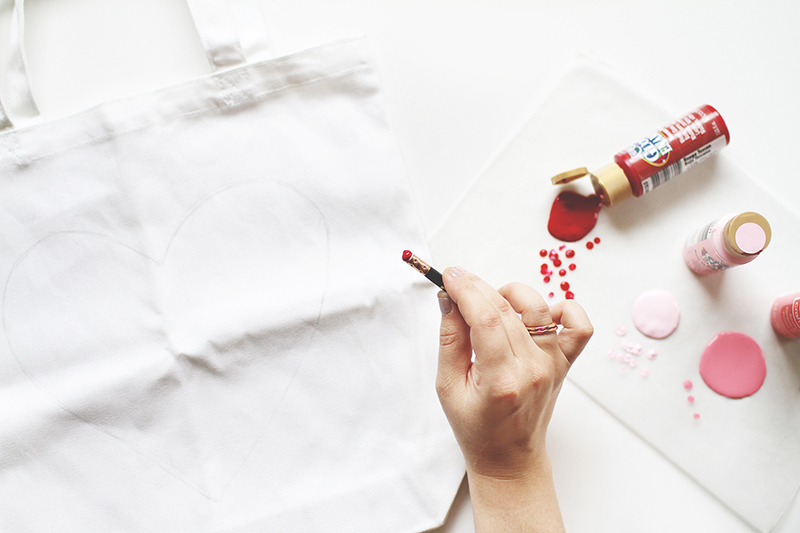
I borrowed a whittled down pencil from my kids because I found it easier that it fit in my hand. This DIY project takes a bit of time and a smaller pencil made it more comfortable. You will simply want to choose three shades of the color you would like. I went with a traditional color and choose a dark, middle and light shade in the reds and pinks. You then dip the eraser into the darkest color first and start pressing it repeatedly beginning at the bottom of the heart on your tote.

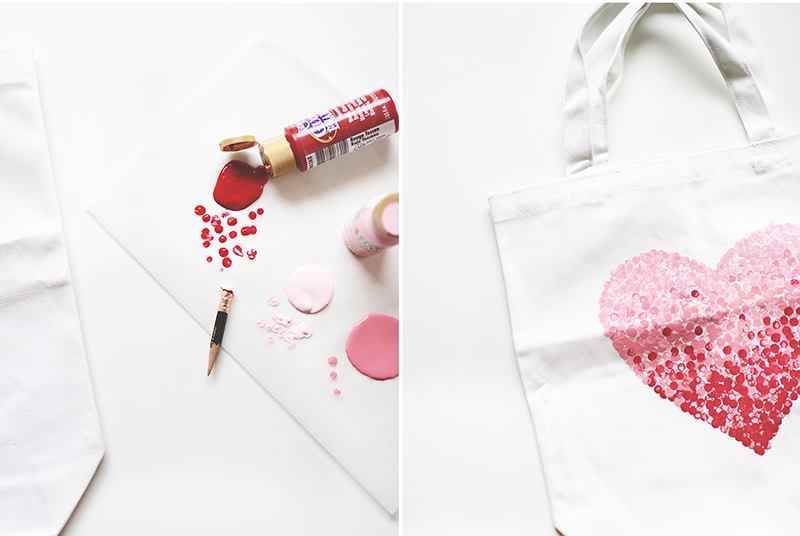
You will then continue upward switching to your middle shade and then to your lightest shade as you near the top of your heart.
Hope you enjoyed!


Binge Recent Posts:
Download The FREE Holiday Planner
Experience all of the joy
this holiday season and none of the overwhelm.


January 29, 2016